After having my car detailed a few weeks ago I was dissapointed with the look of the headlights always looking dirty after a wash due to the scatches/contamination from over the years.
First off, I removed both headlights so I wouldn't have to mask up the car and end up getting polish all over it!
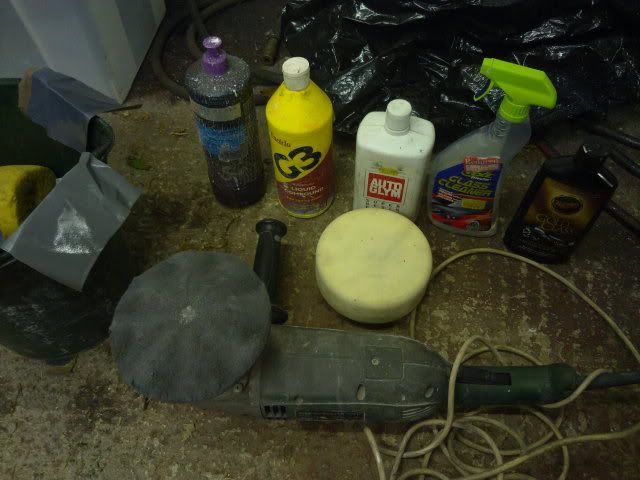
1. Wet sand each headlight using 1200 grit, then 1500 grit then finish with 2000 grit
2. I then machine polished using a compound pad and 3M Perfect -It 3 course compound polish.
3. Wiped down the headlight and machine polished again with a compound pad using a finer G3 compound polish.
4. Wiped the headlight down again and machine polished using a 3M high gloss polishing pad and Autoglym Super Resin Polish
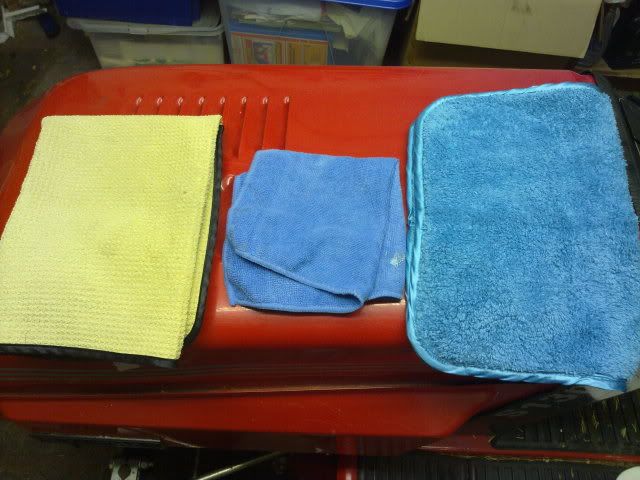
5. After washing off the excess polish I dried with a Meg's waffle drying towel.
6. I cleaned the glass with Meg's NXT Glass Cleaner and a microfibre cloth.
7. Finally I applied 2 coats of Meg's Gold Class wax buffing off with a Eurow Shag Pile towel.
Products used:
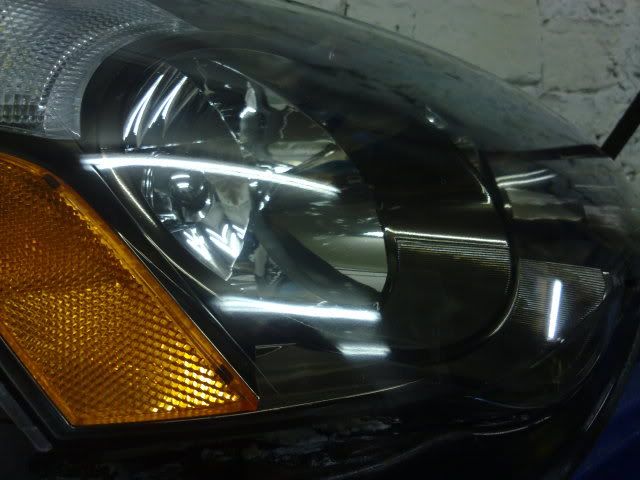
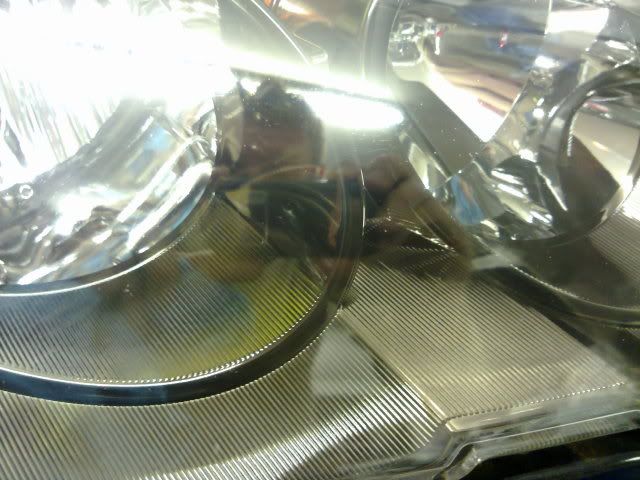
Finished lights:

Hope this helps!!
First off, I removed both headlights so I wouldn't have to mask up the car and end up getting polish all over it!
1. Wet sand each headlight using 1200 grit, then 1500 grit then finish with 2000 grit
2. I then machine polished using a compound pad and 3M Perfect -It 3 course compound polish.
3. Wiped down the headlight and machine polished again with a compound pad using a finer G3 compound polish.
4. Wiped the headlight down again and machine polished using a 3M high gloss polishing pad and Autoglym Super Resin Polish
5. After washing off the excess polish I dried with a Meg's waffle drying towel.
6. I cleaned the glass with Meg's NXT Glass Cleaner and a microfibre cloth.
7. Finally I applied 2 coats of Meg's Gold Class wax buffing off with a Eurow Shag Pile towel.
Products used:
Finished lights:
Hope this helps!!