
Yo yo,
Been meaning to compile this write up and images for a while now, but
not had a chance, you'll see it was quite a biggy! Very picture heavy, so leave
now if you've got tortoise spec internet speed.
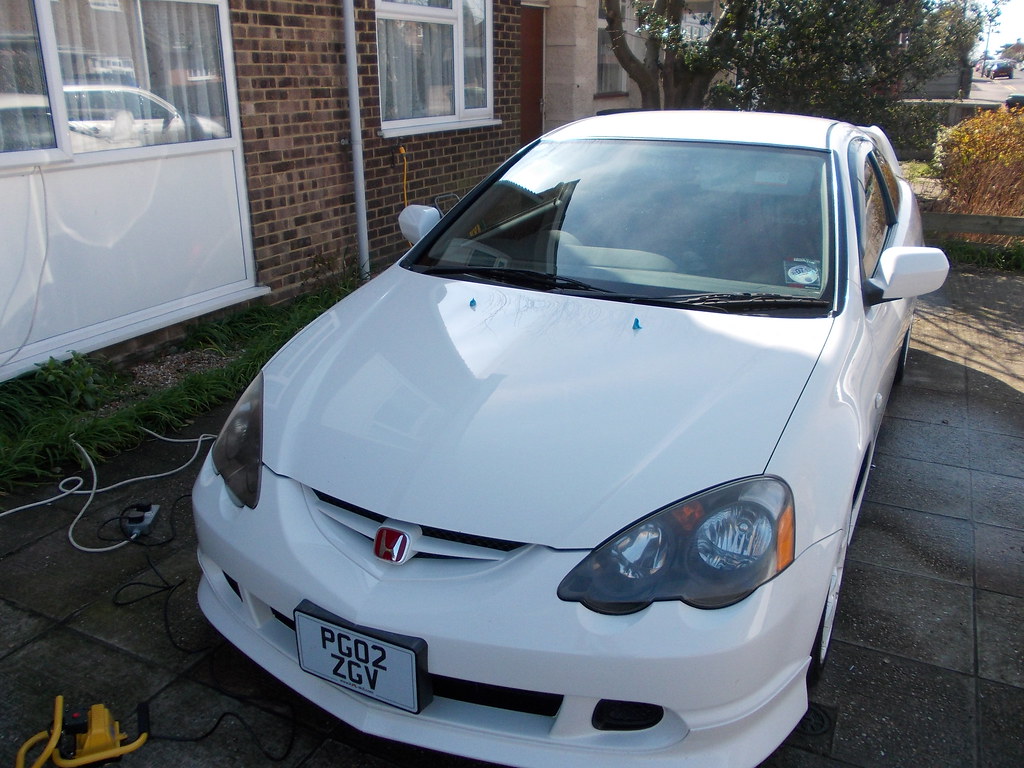
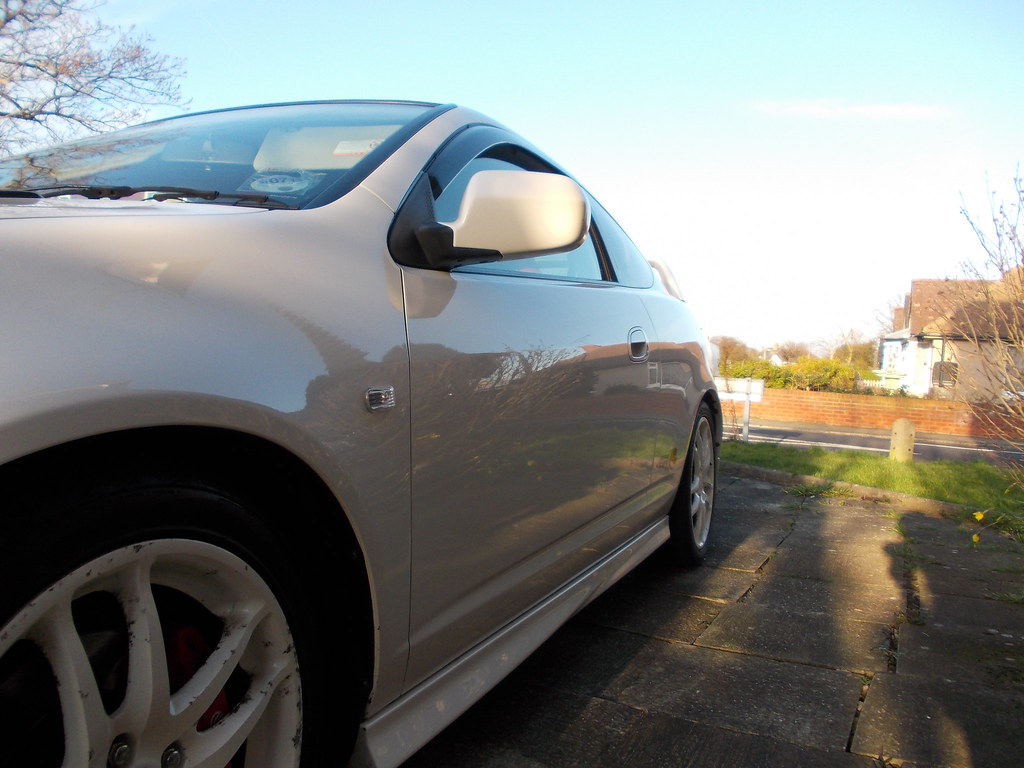
Well, I'd been planning to machine polish my Dad's C/W DC5 for quite
some time and finally got a couple of days to get it done. The paint had turned
Championship Cream, with plenty of surface imperfections, marring and dullness.
Approximately 20 hours worth of work later and she's finally looking factory
fresh.
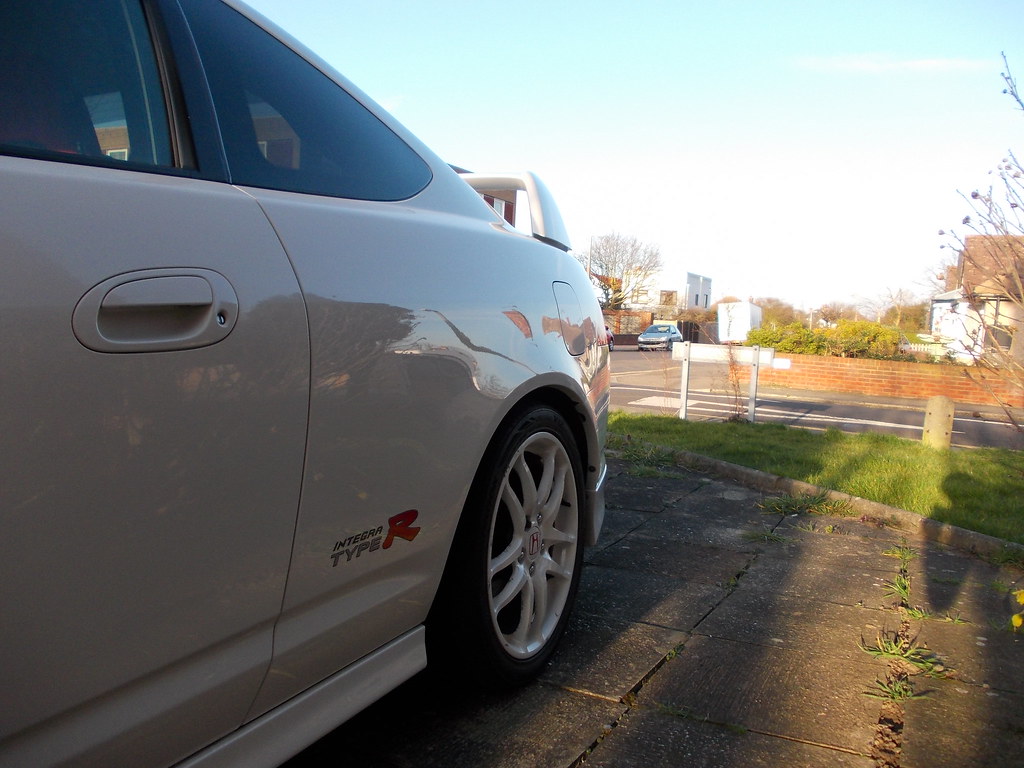
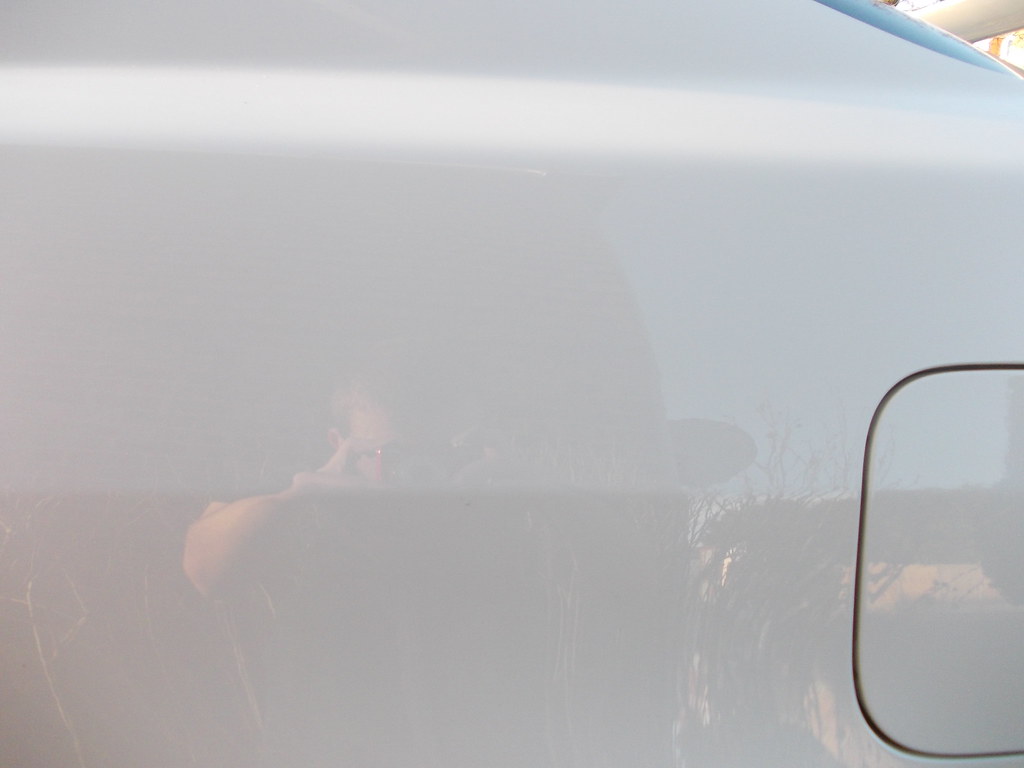
I'll start with some before pictures, I won't bore you wish wash and
clay stages but will include a list of methods and products at the end.
DSCN0610
by harVTEC, on Flickr
DSCN0611
by harVTEC, on Flickr
DSCN0612
by harVTEC, on Flickr
DSCN0613
by harVTEC, on Flickr
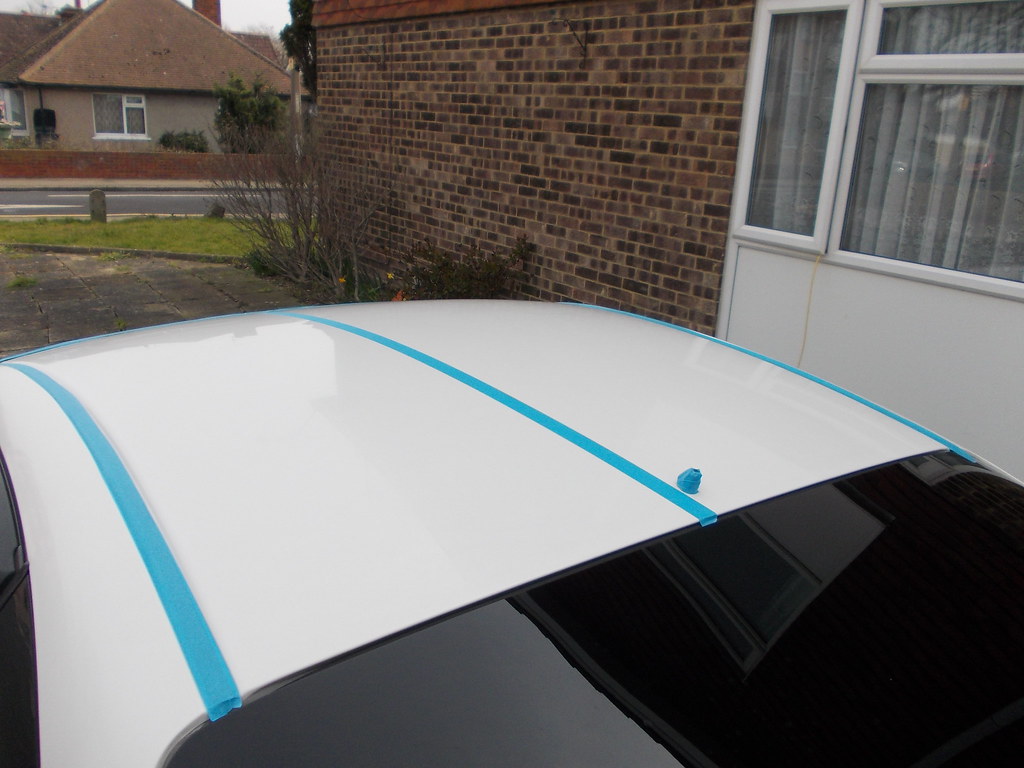
Not looking too shabby, until the correction started :-
Roof 50/50:
DSCN0614
by harVTEC, on Flickr
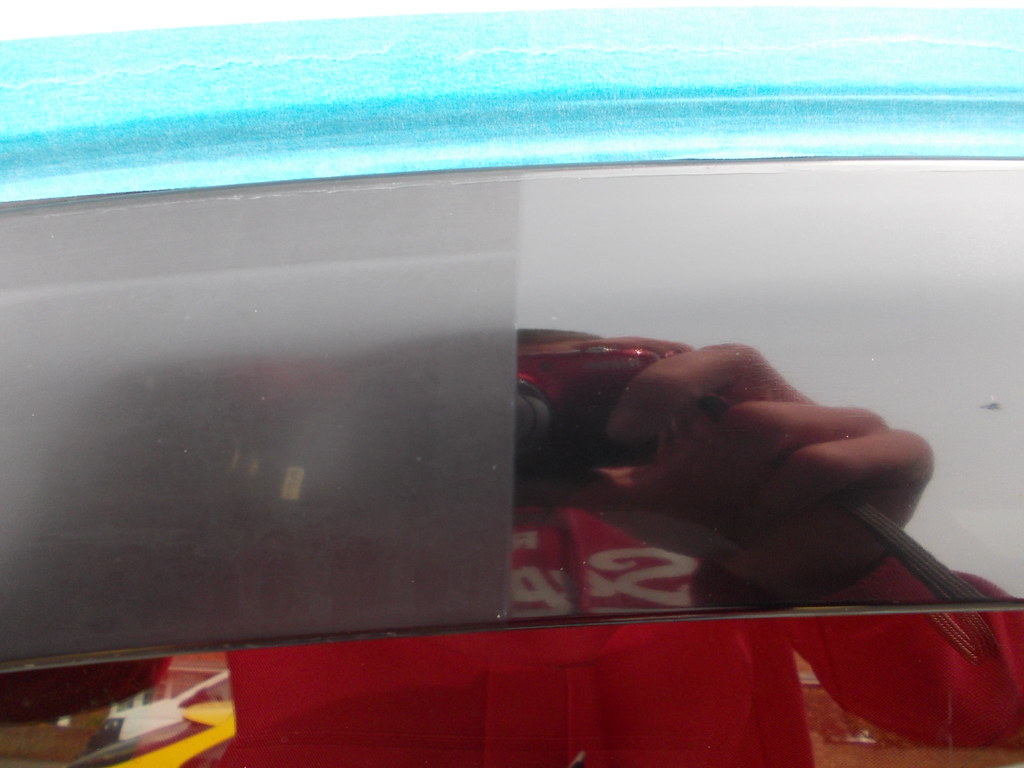
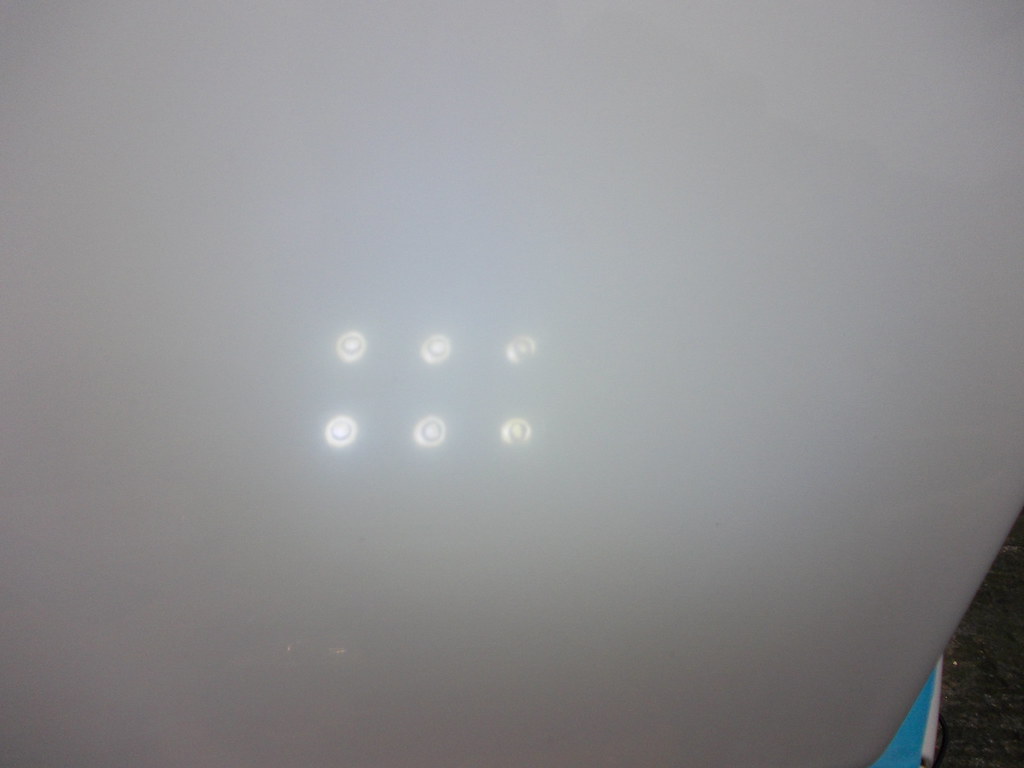
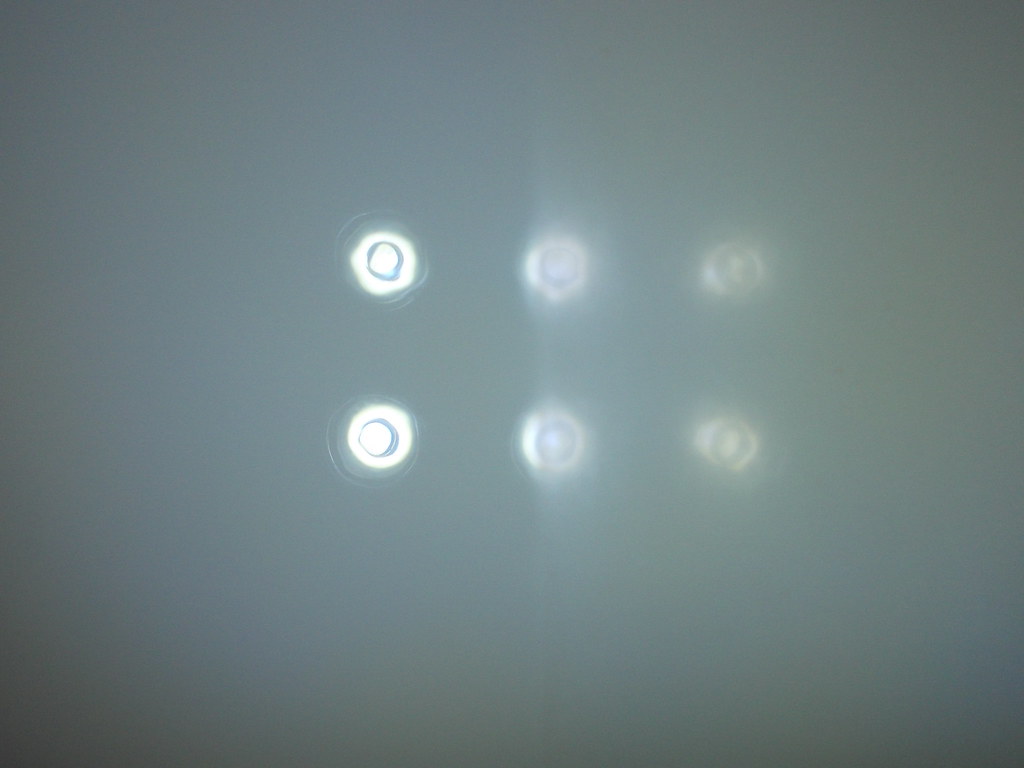
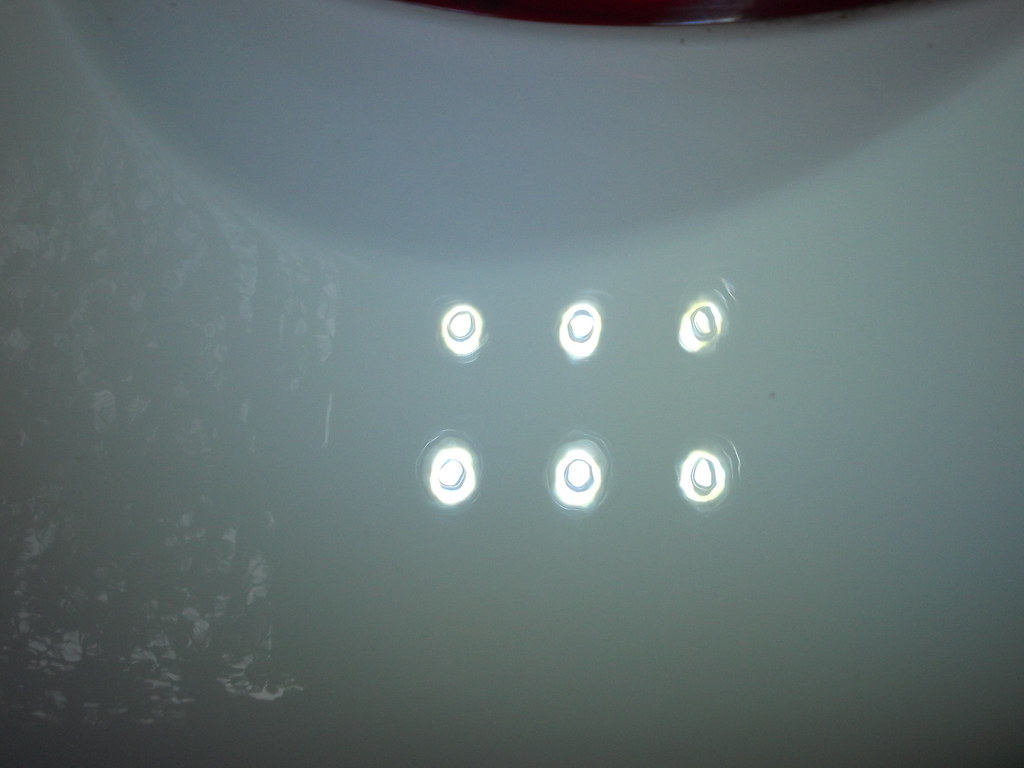
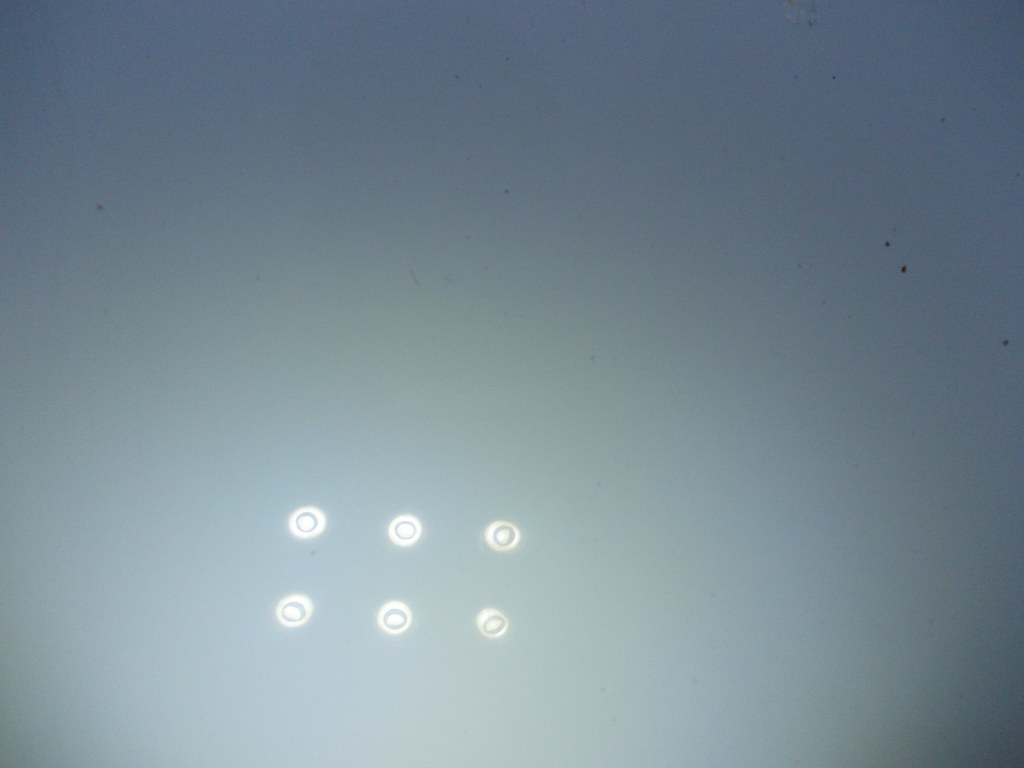
Light reflection before:
DSCN0618
by harVTEC, on Flickr
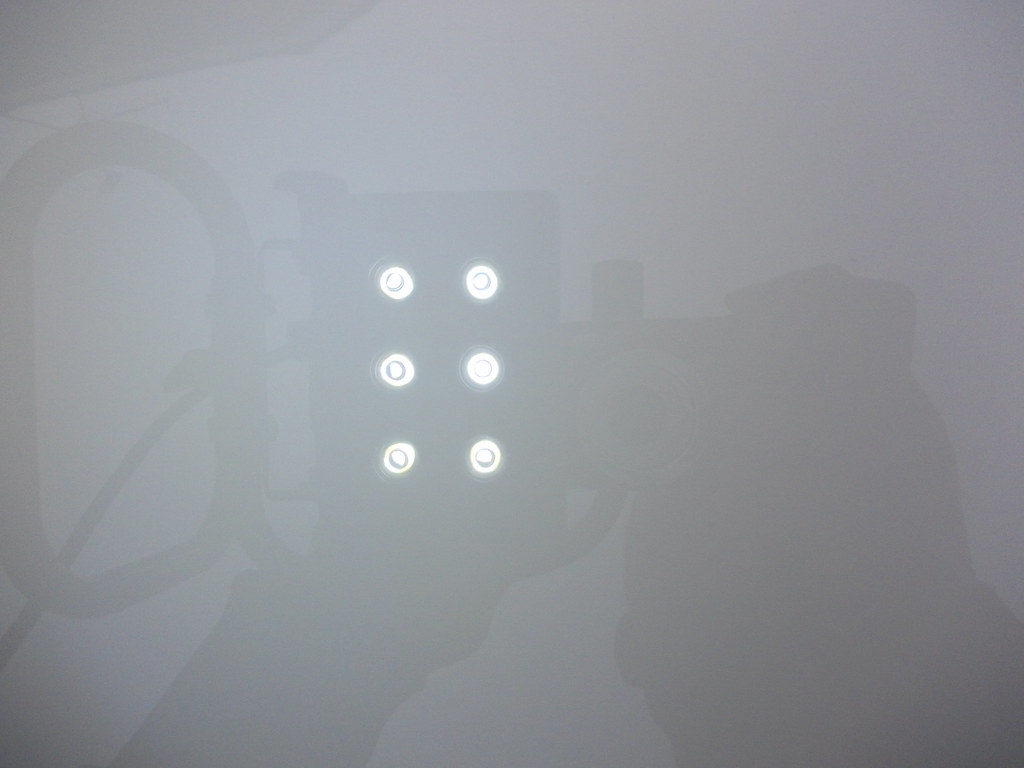
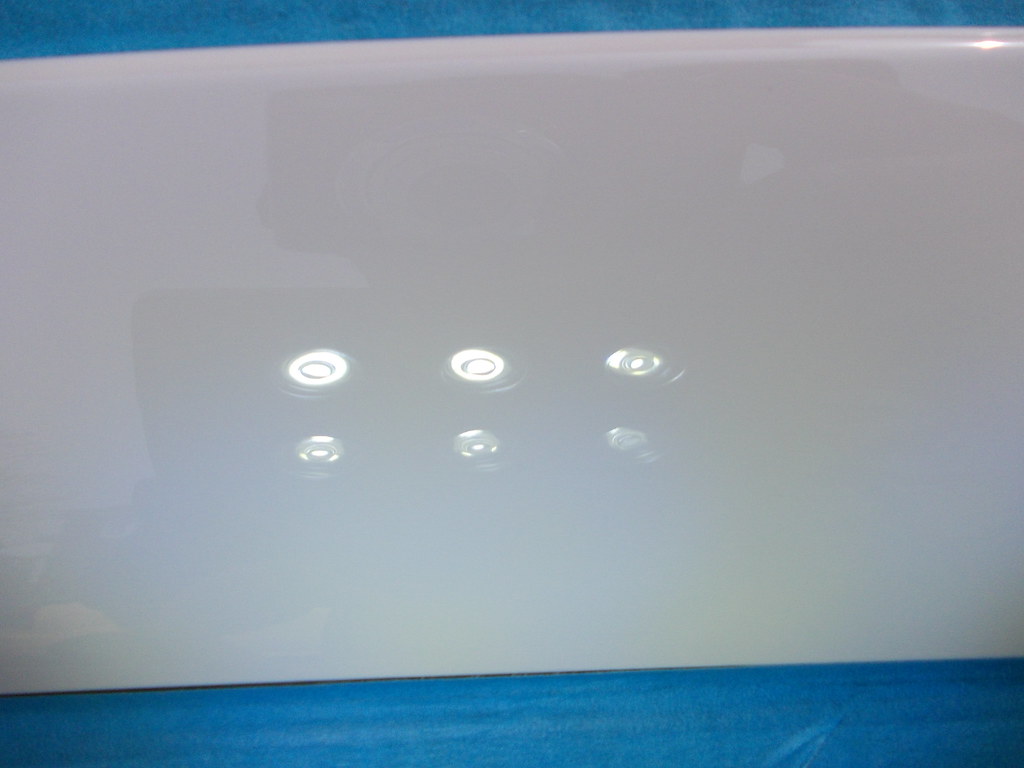
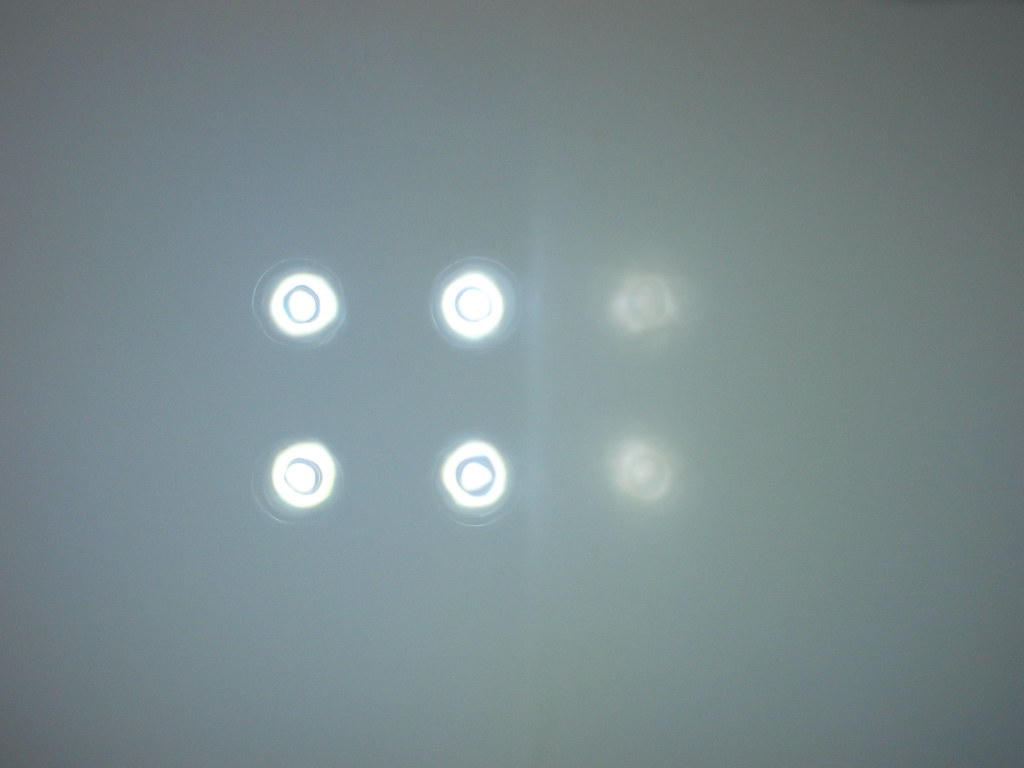
Light reflection after:
DSCN0617
by harVTEC, on Flickr
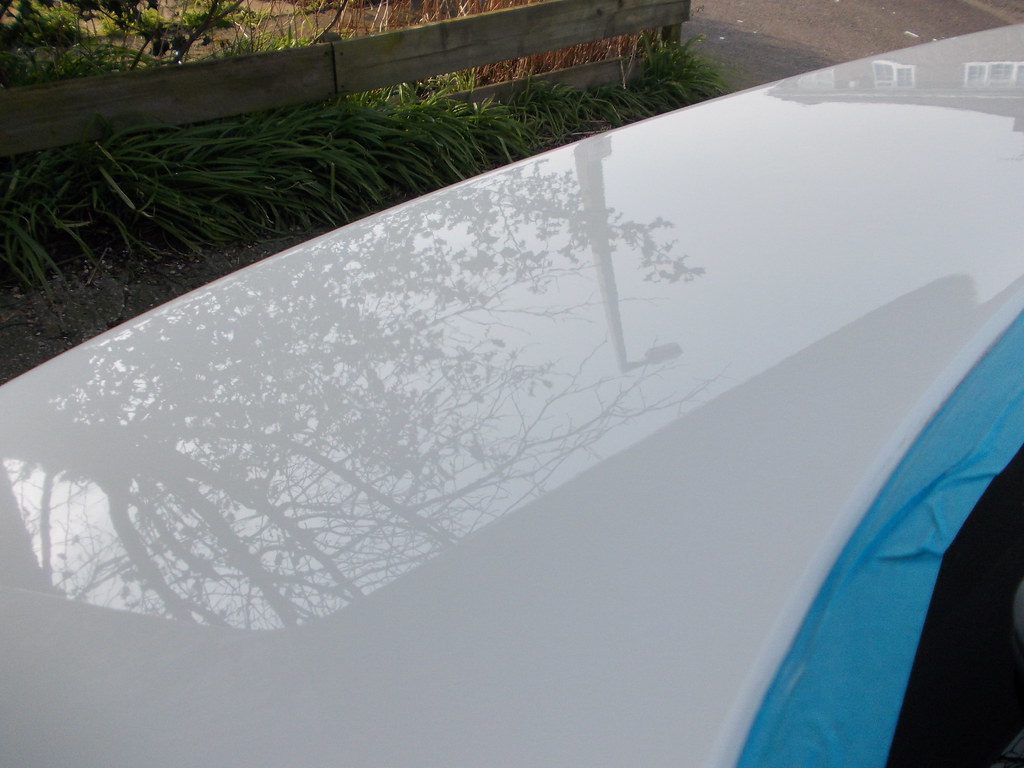
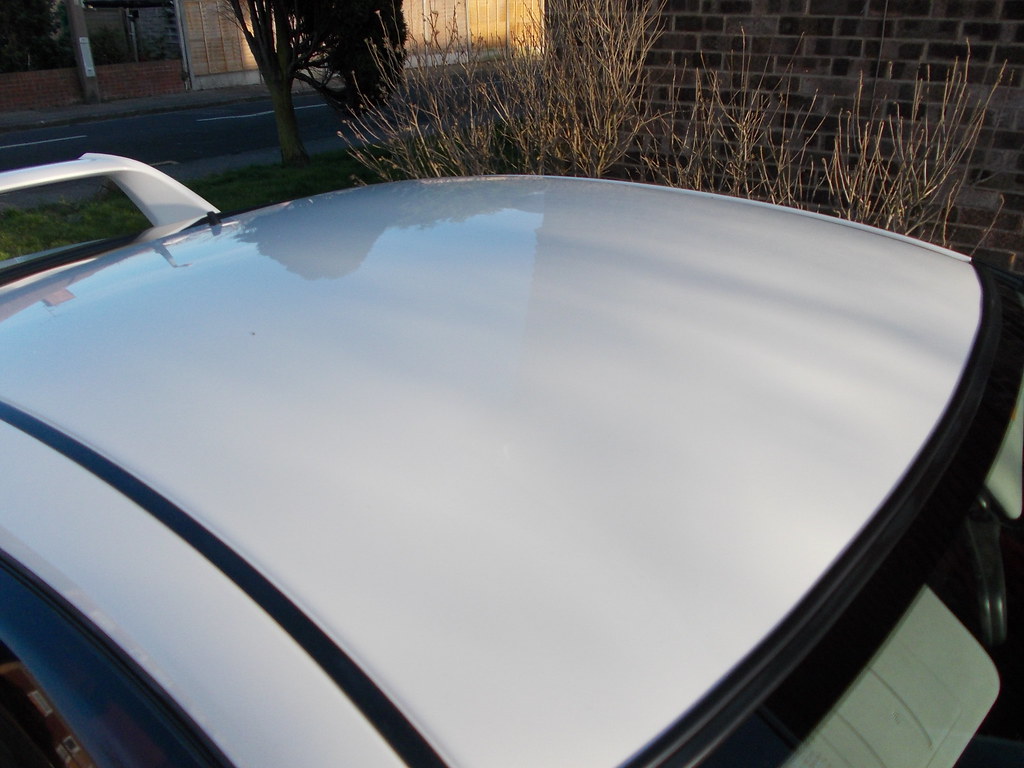
Roof completed:

DSCN0624
by harVTEC, on Flickr
DSCN0625
by harVTEC, on Flickr
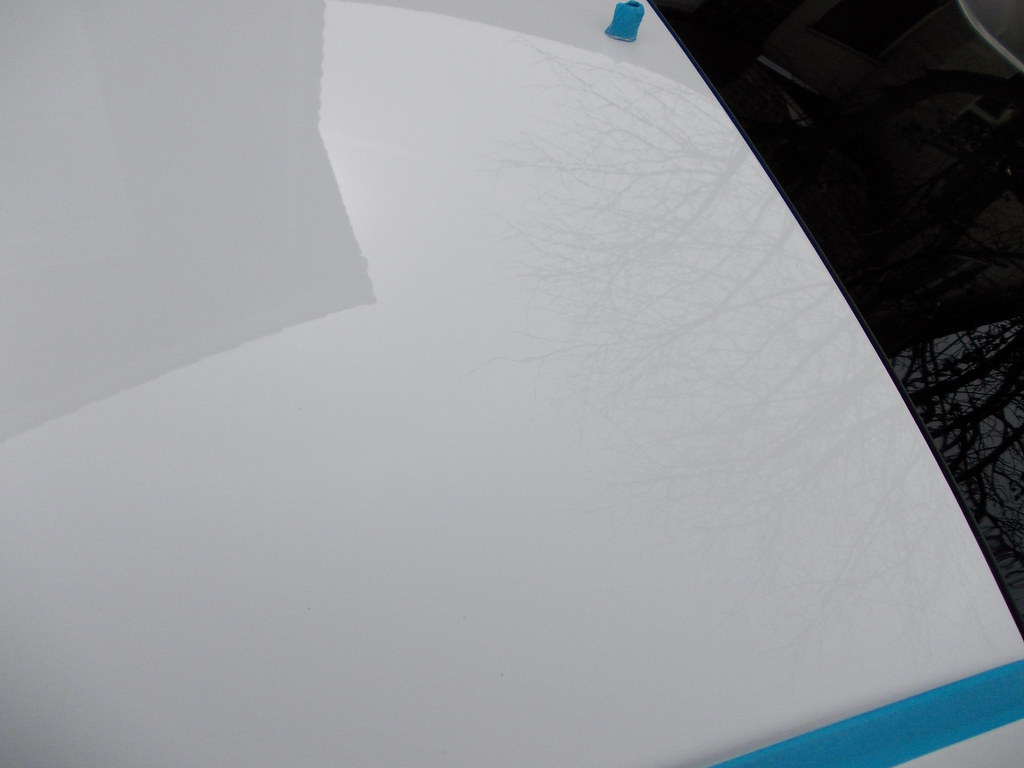
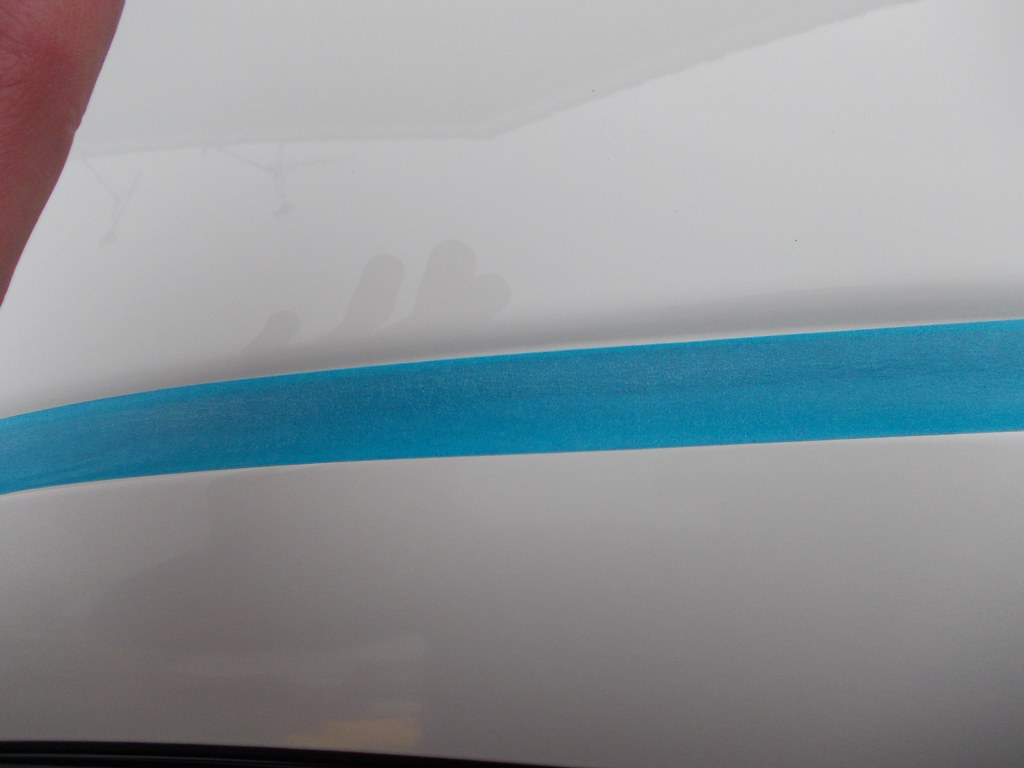
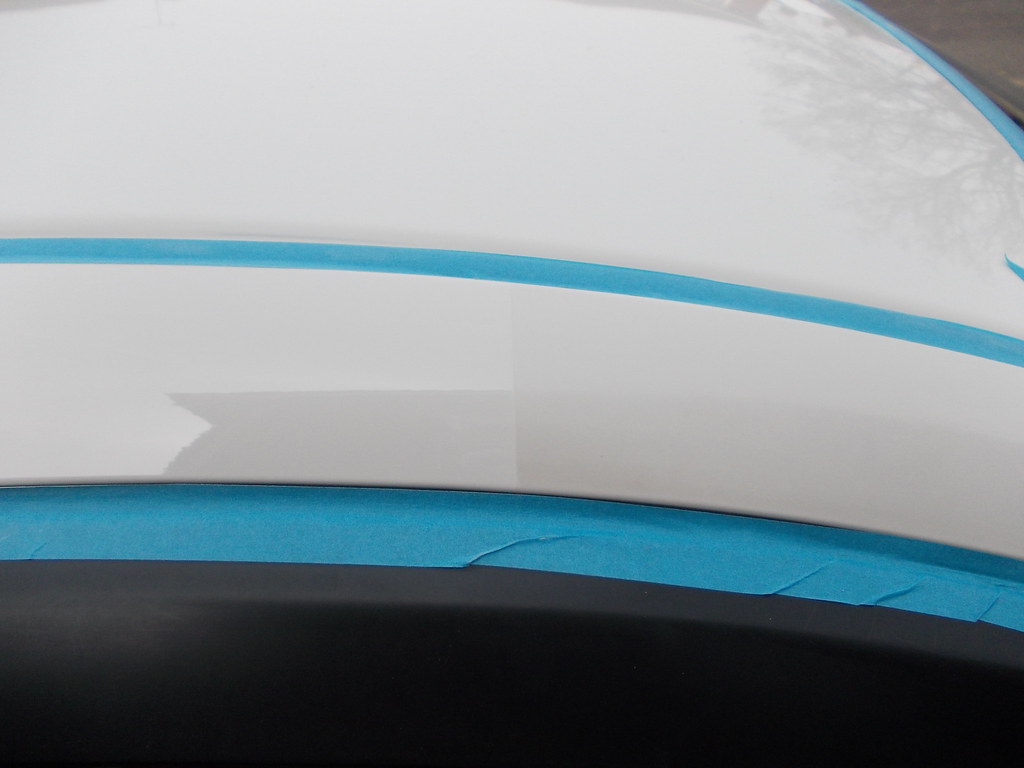
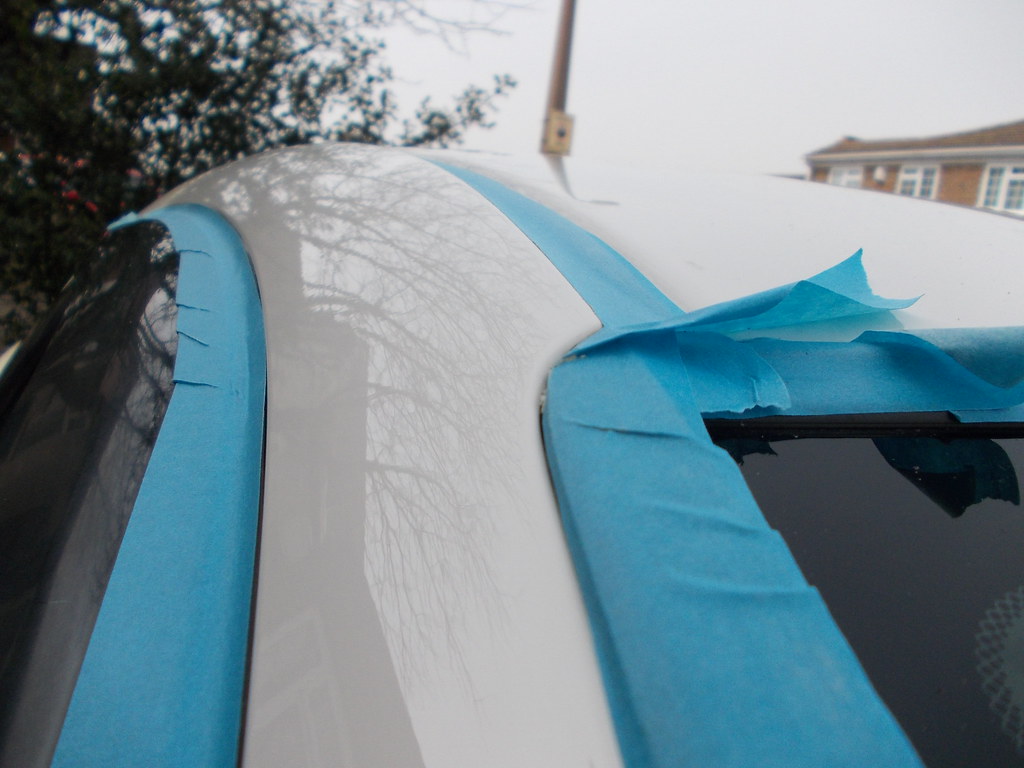
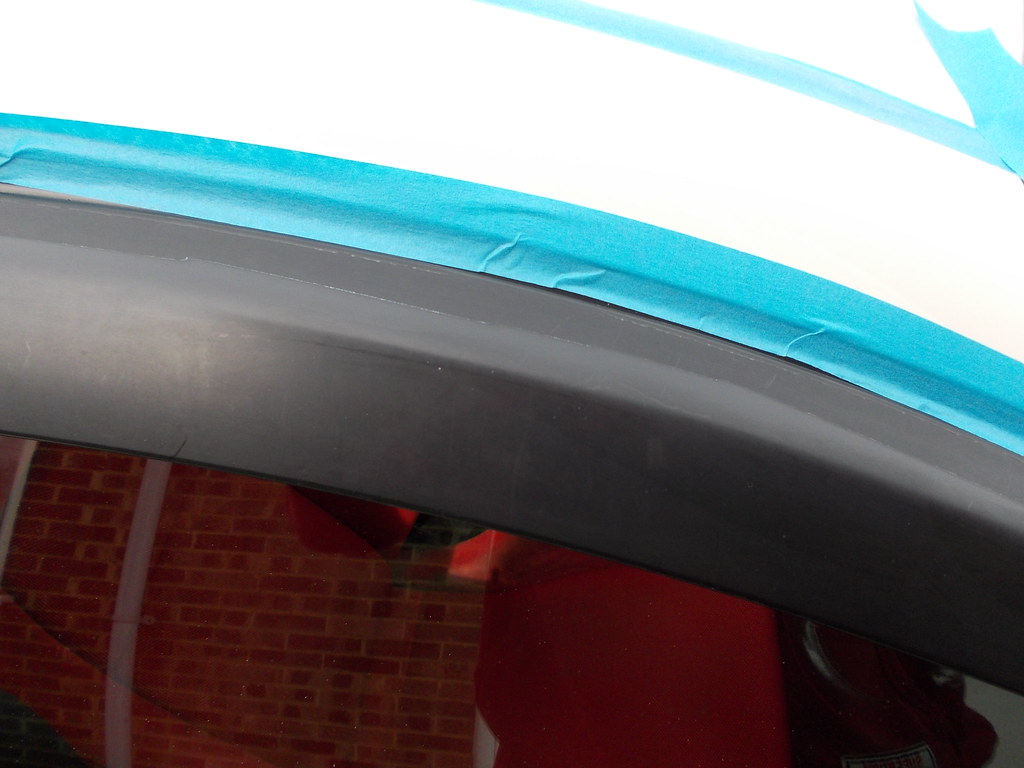
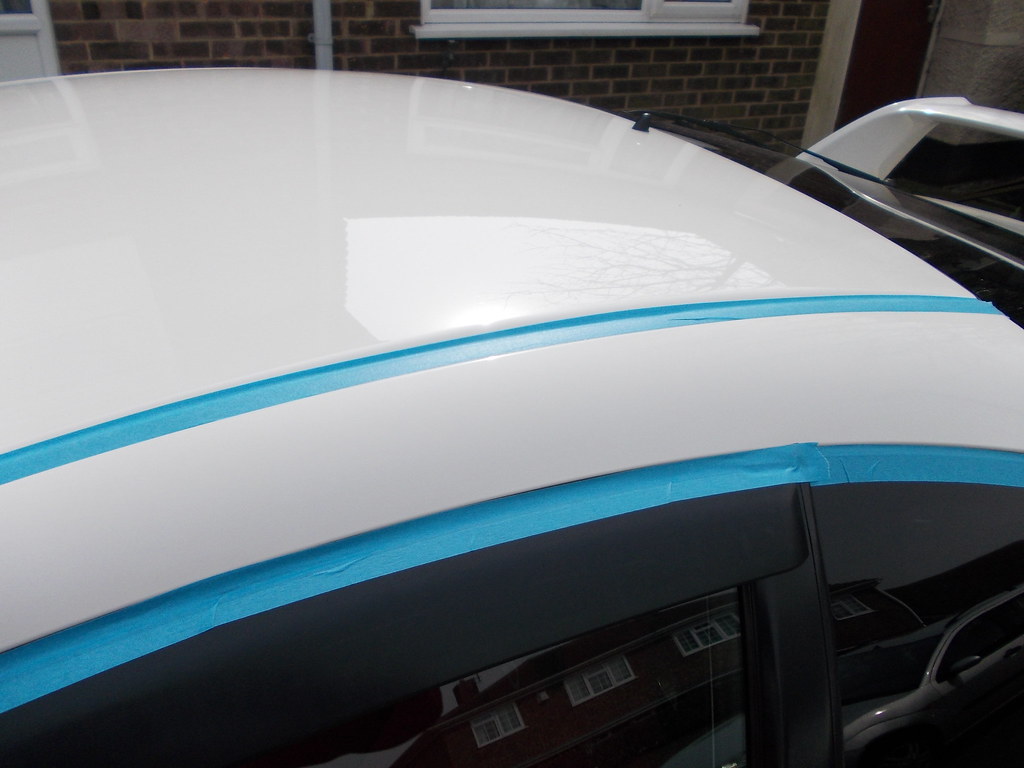
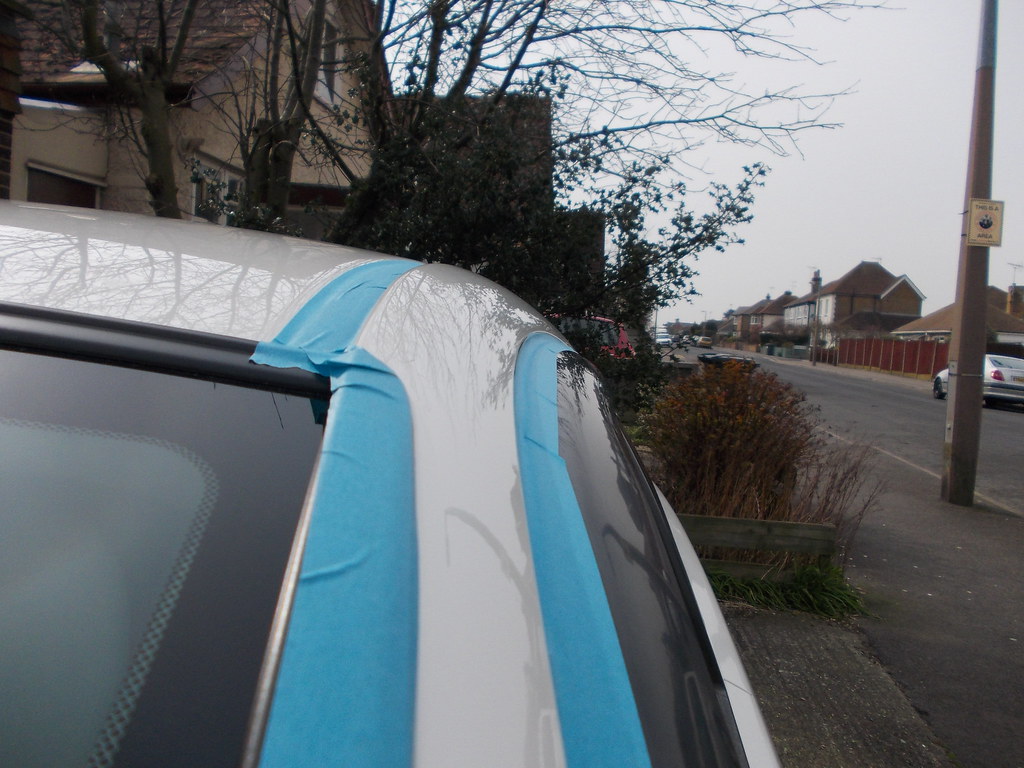
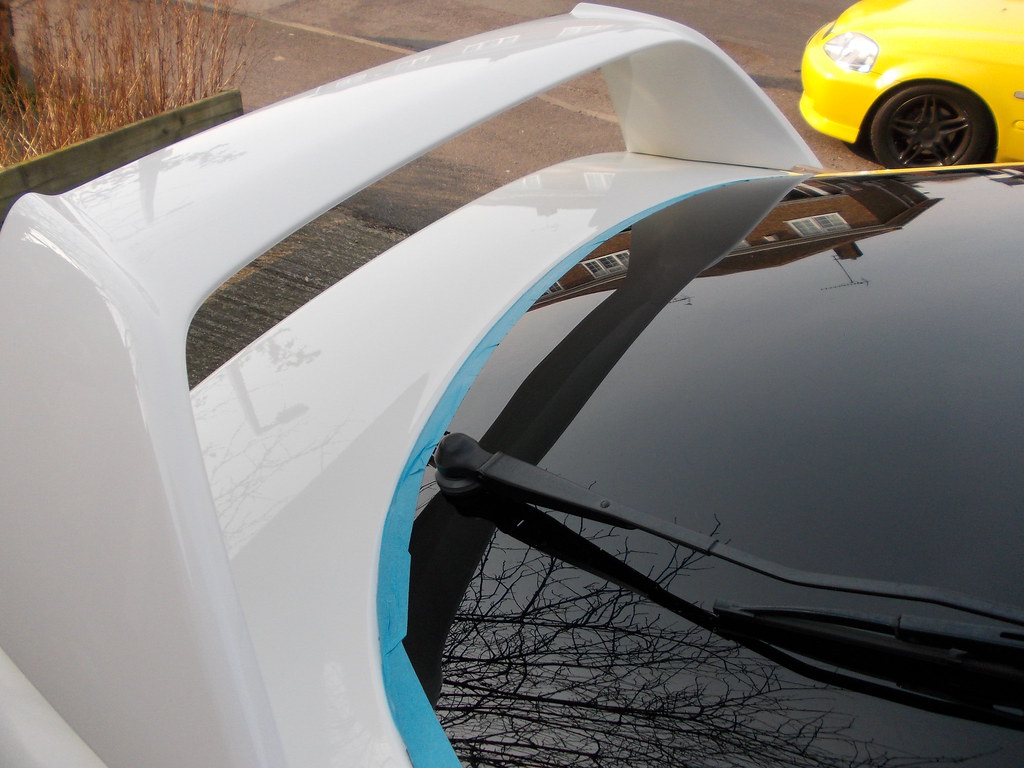
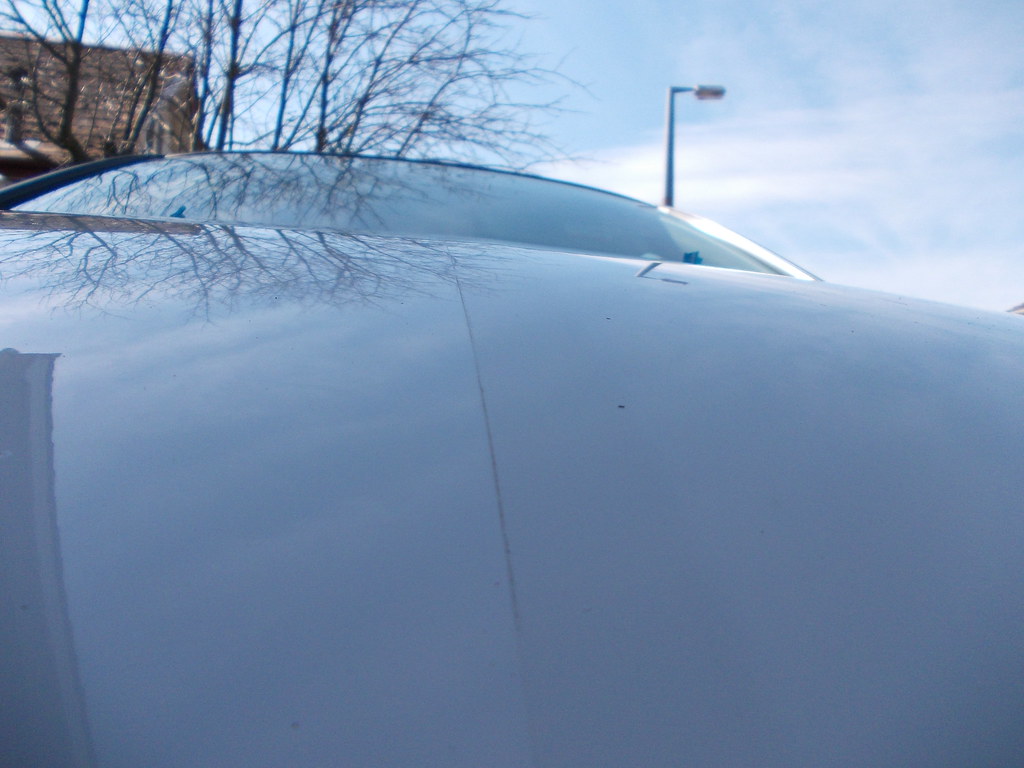
Next were the pillars, below shows the now polished roof, compared to the
pillar:
DSCN0627
by harVTEC, on Flickr
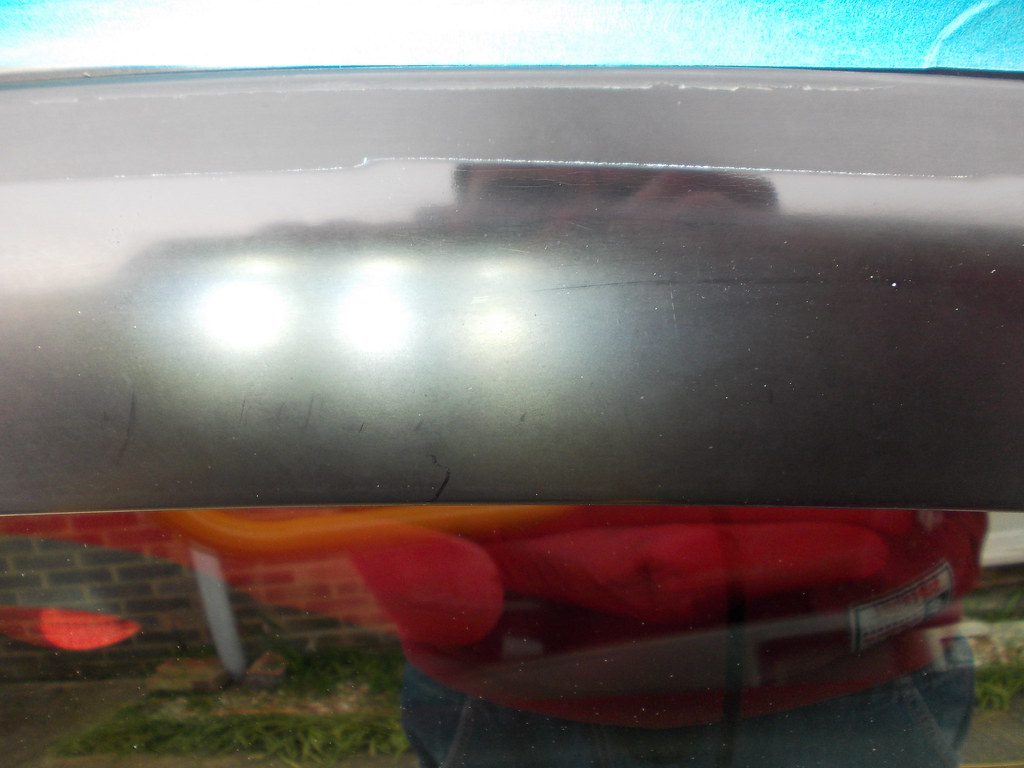
Pillar 50/50:

DSCN0631
by harVTEC, on Flickr
DSCN0634
by harVTEC, on Flickr
Pillar finished:
DSCN0636
by harVTEC, on Flickr
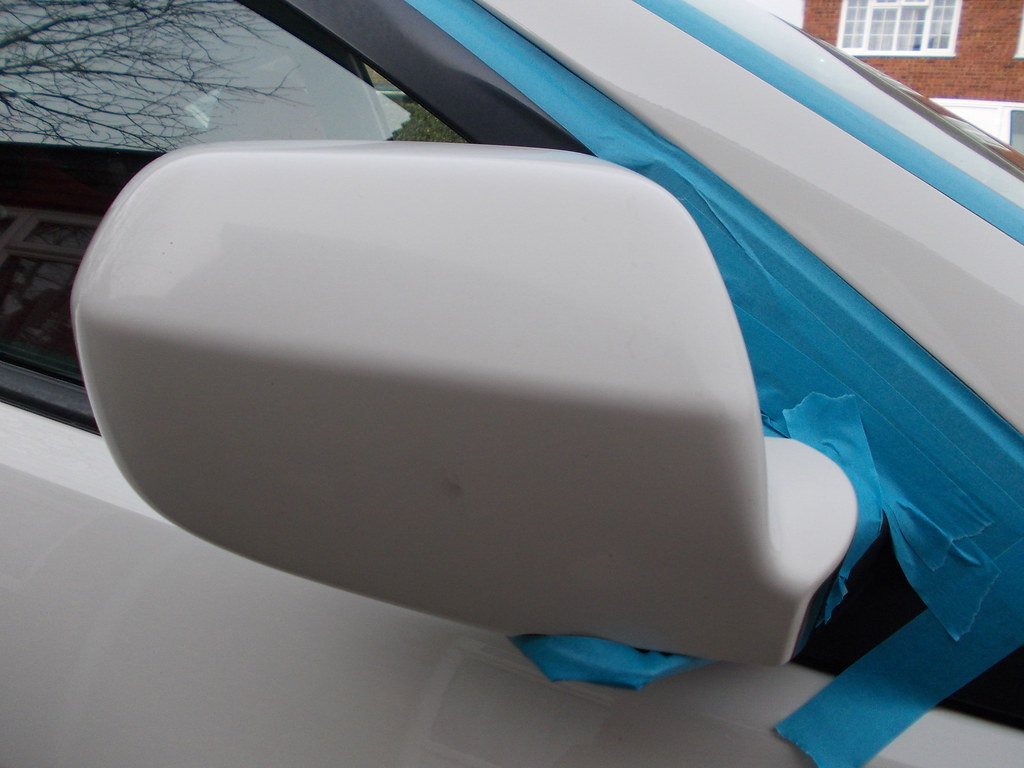
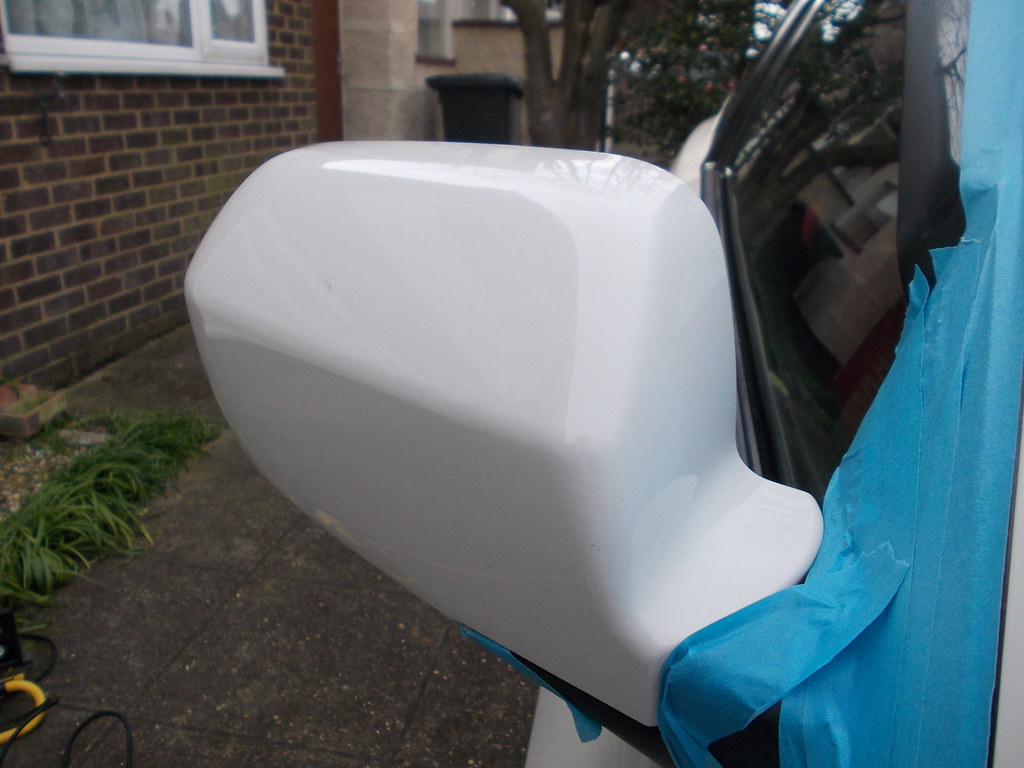
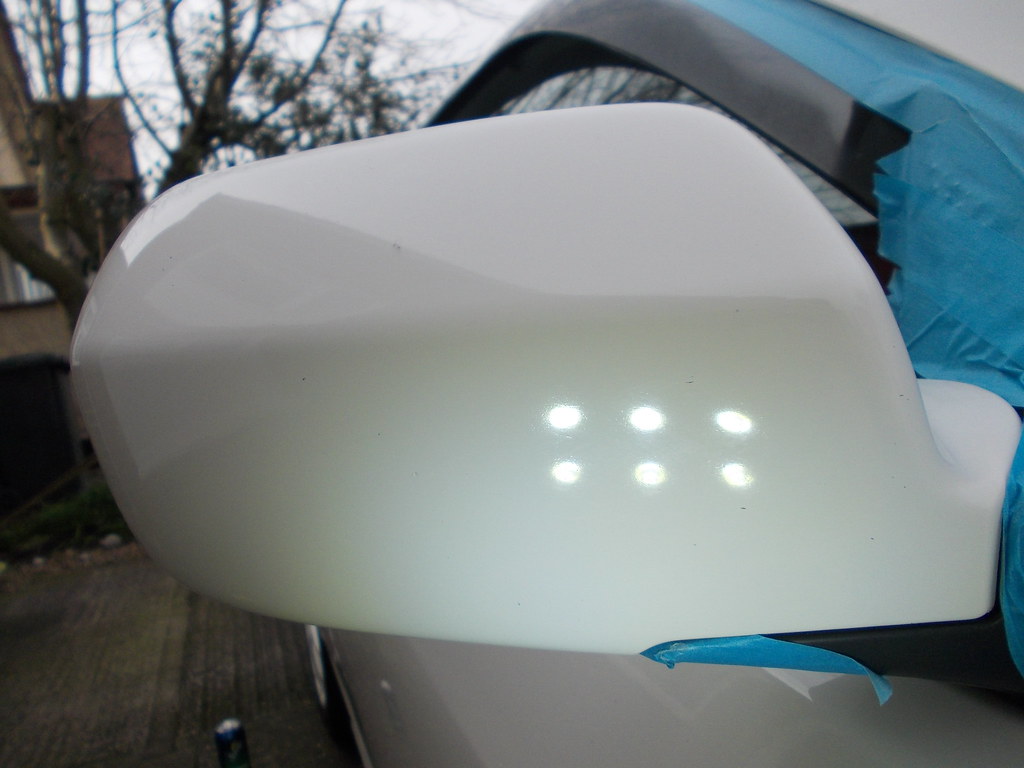
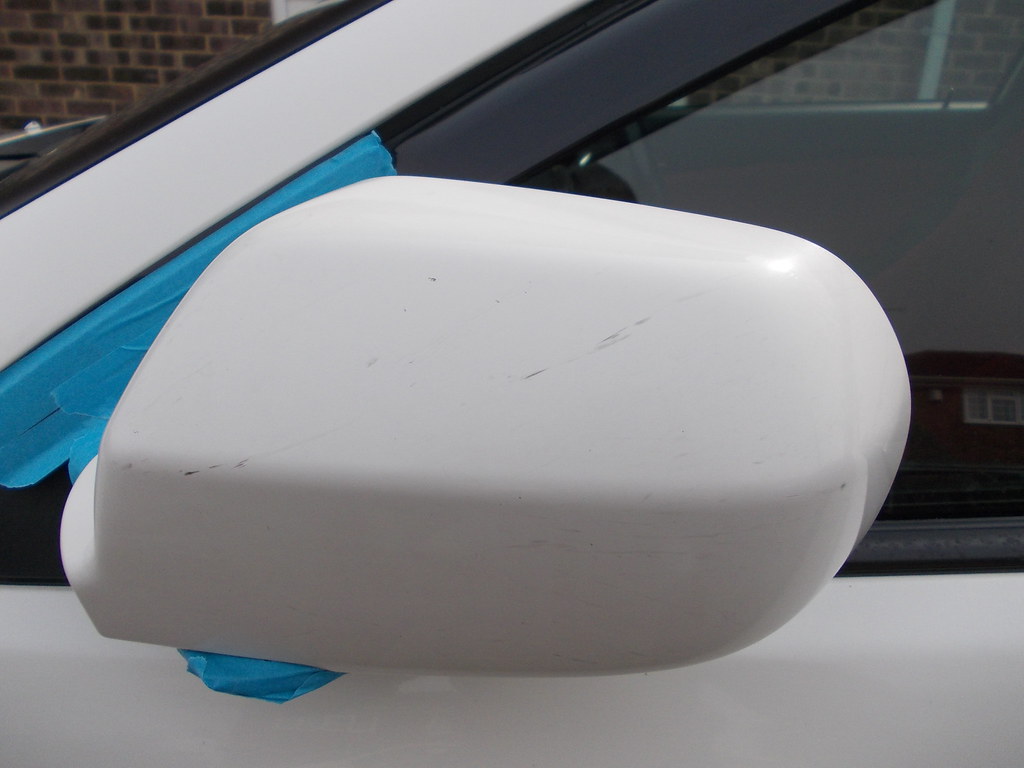
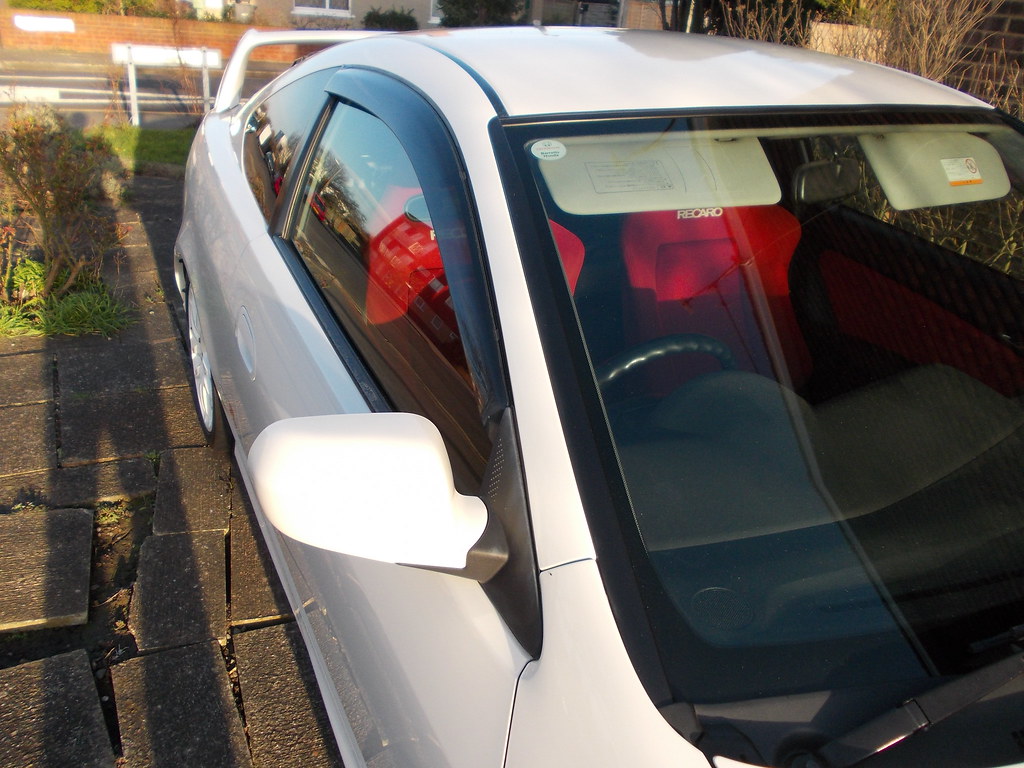
While I was there I attended to the wing mirror, suffering from the same
yellowing and dullness, with some light scratches thrown in for good measure:
DSCN0637
by harVTEC, on Flickr
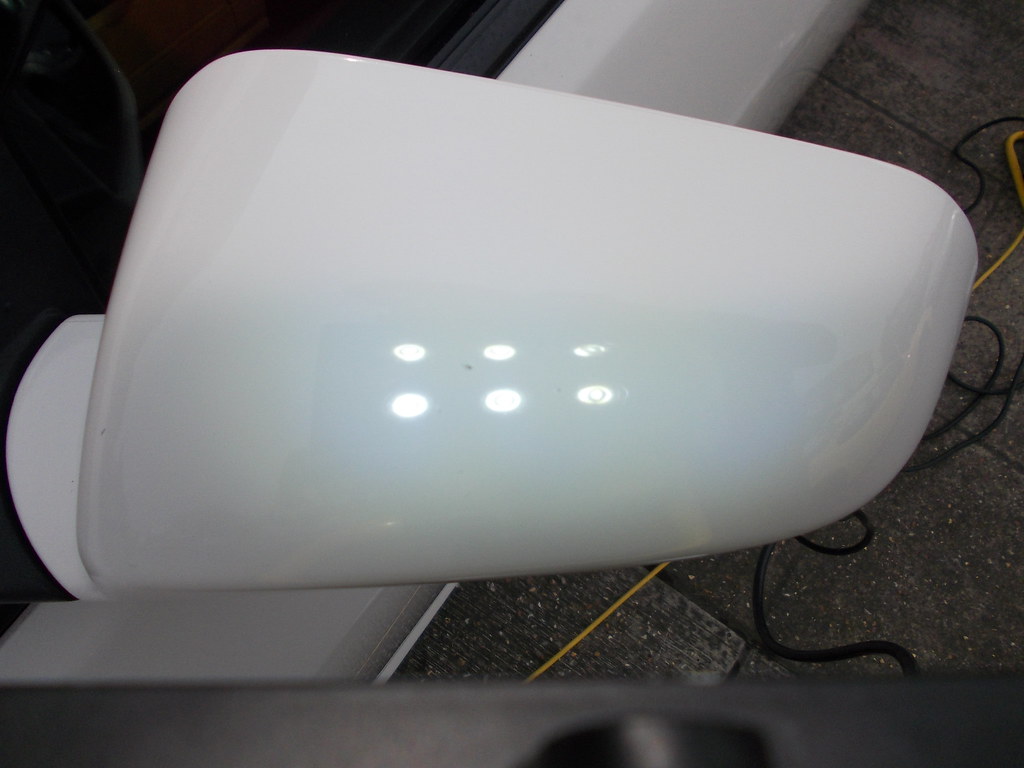
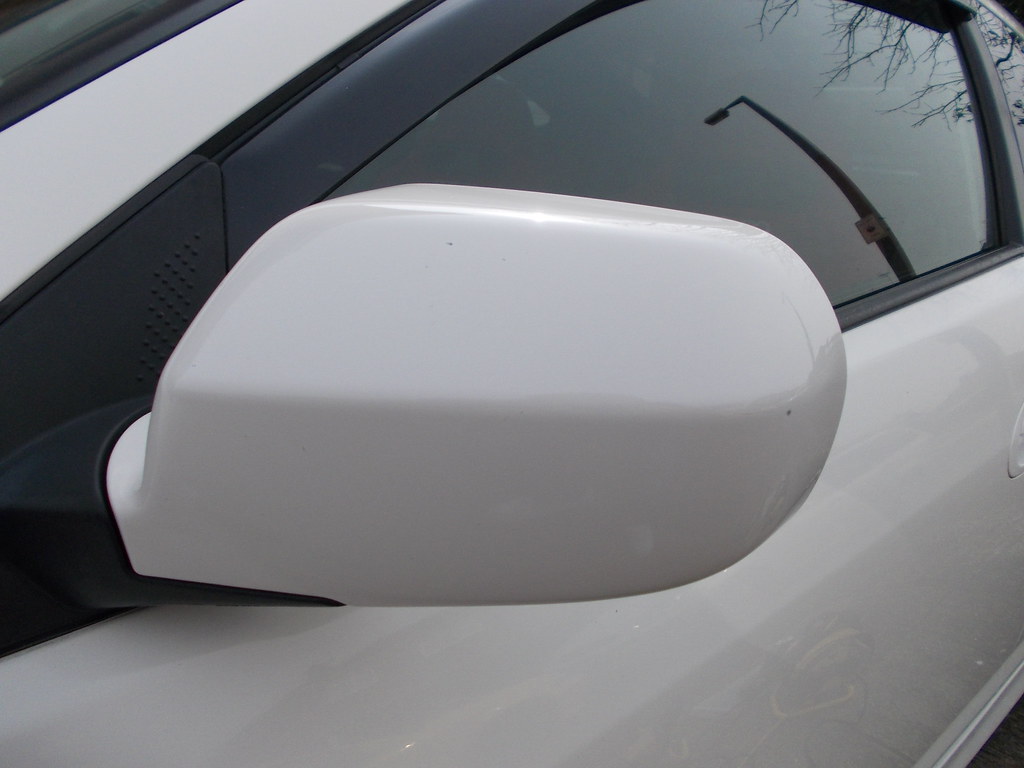
Finished:
DSCN0638
by harVTEC, on Flickr
DSCN0641
by harVTEC, on Flickr
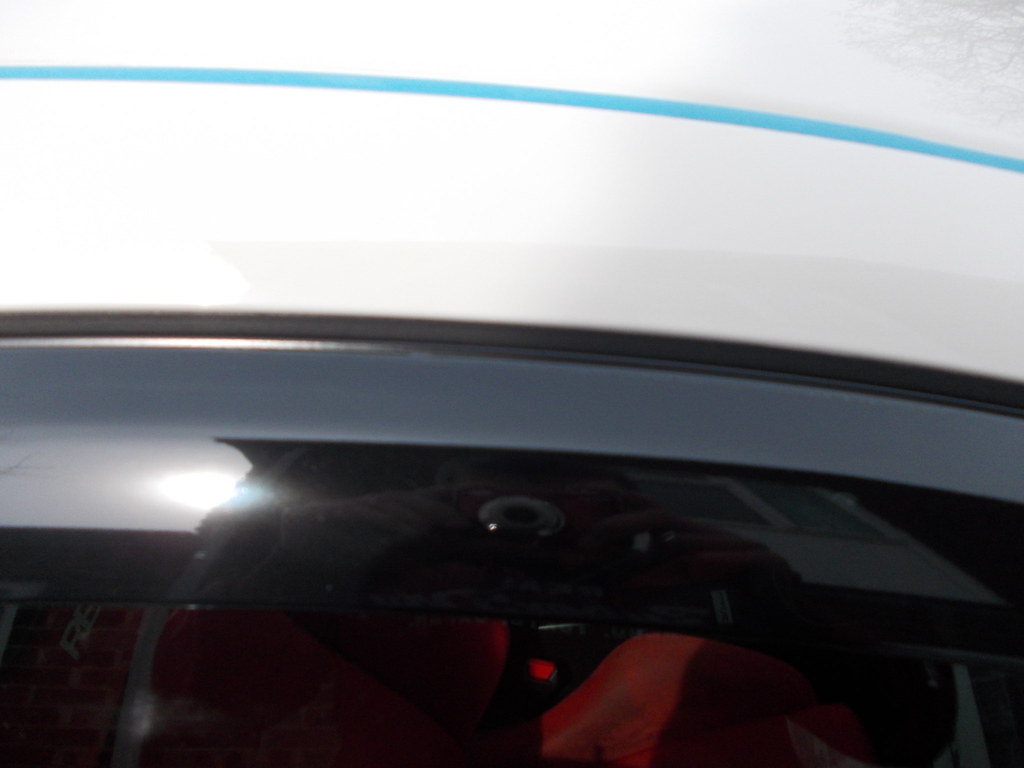
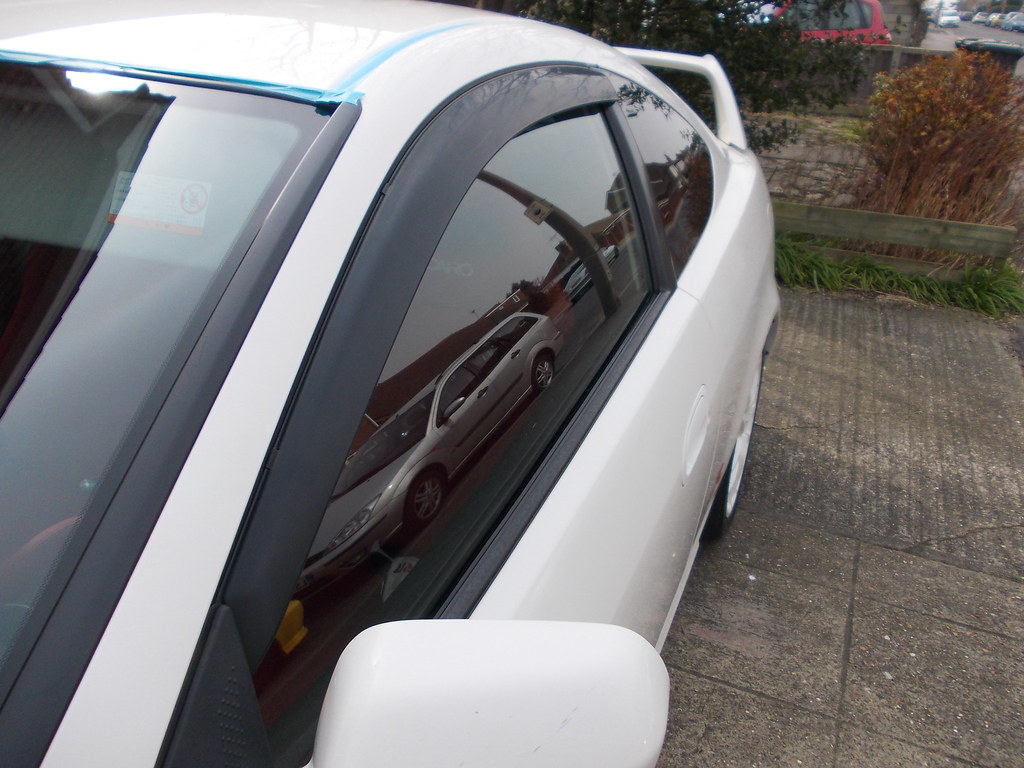
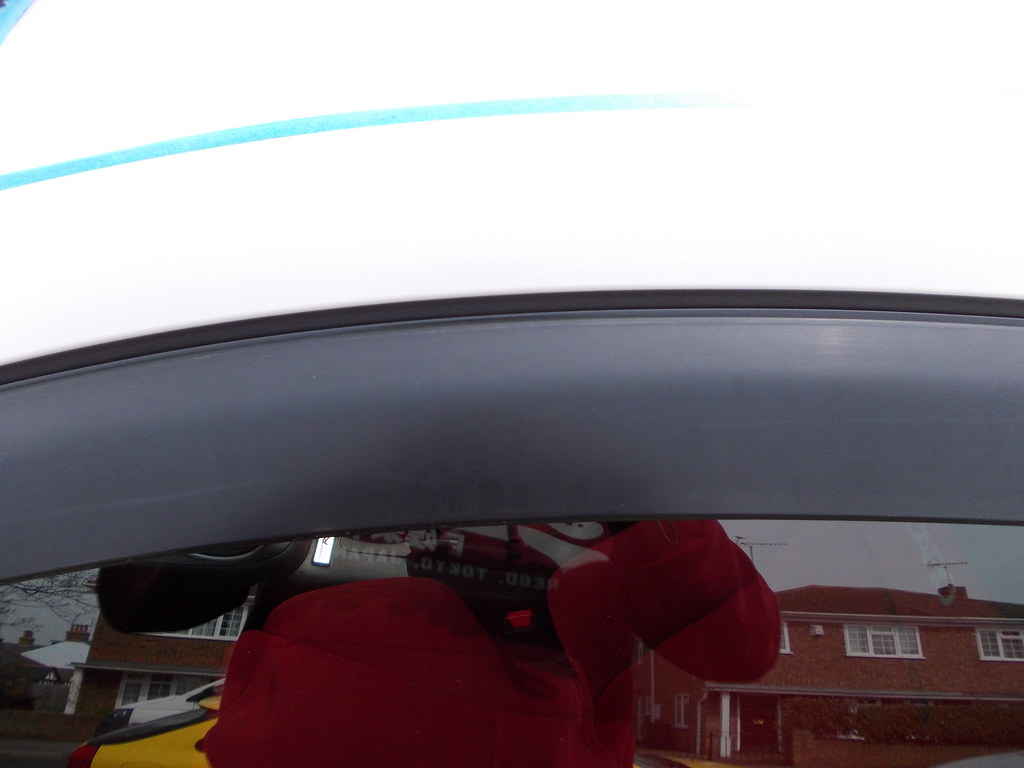
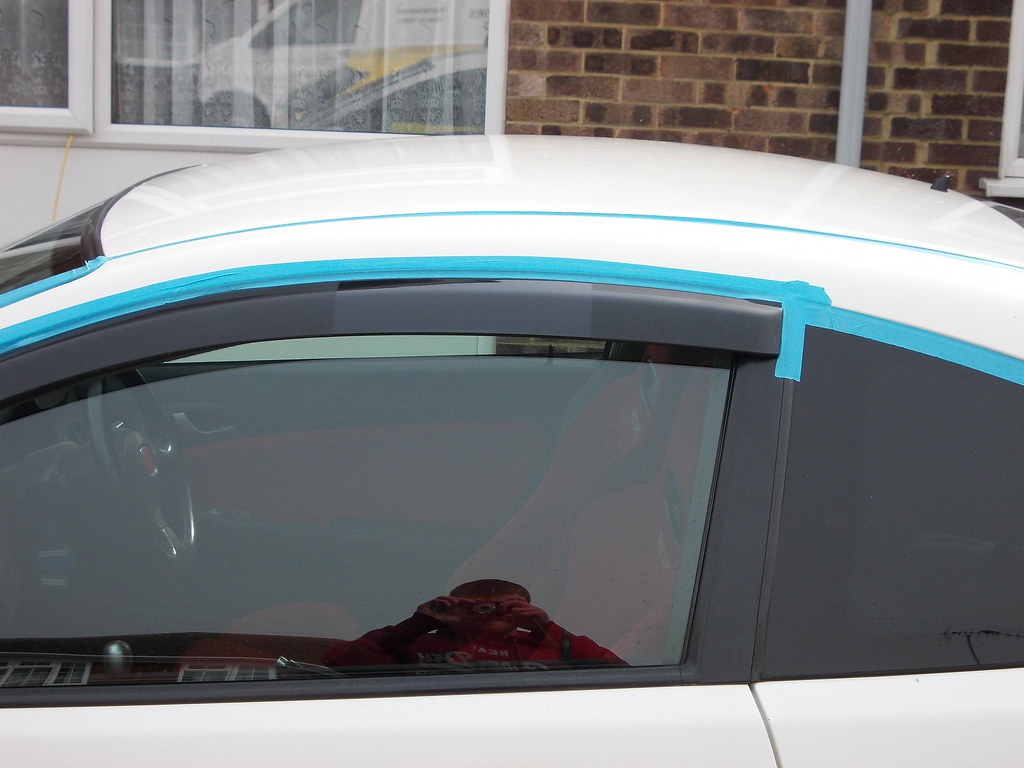
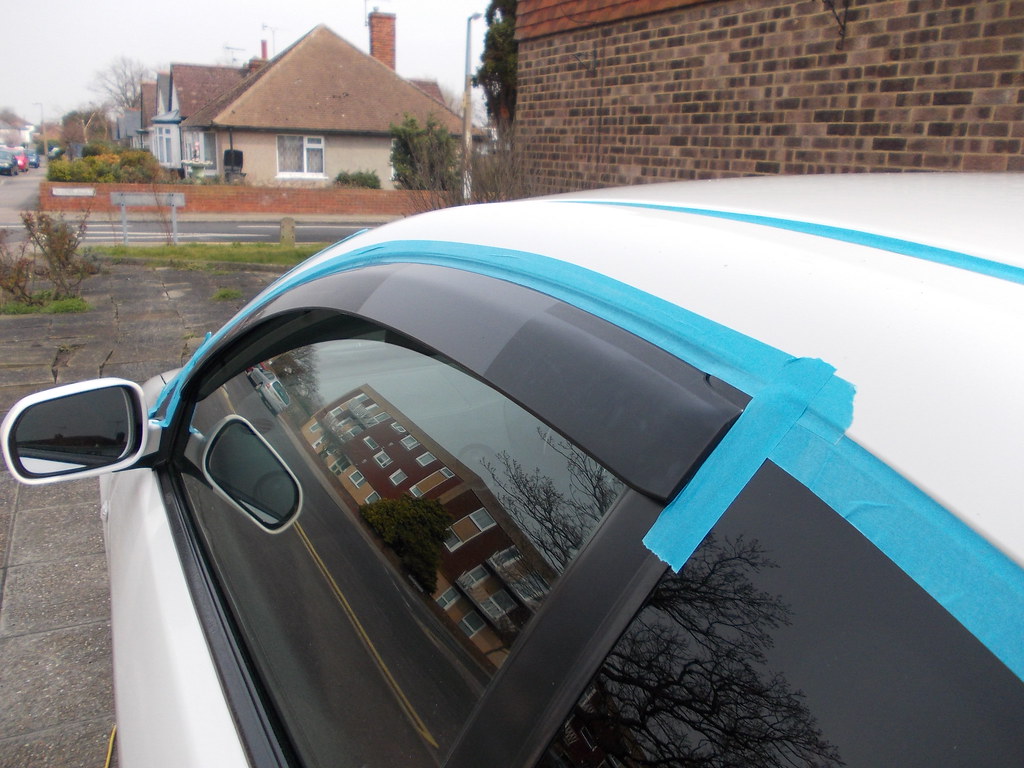
Wind deflectors were next, and probably one of the most significantly
changed parts of the detail. Anyone who owns a DC5 with the OEM wind deflectors
will probably agree!
Driver's before:
DSCN0642
by harVTEC, on Flickr
DSCN0643
by harVTEC, on Flickr
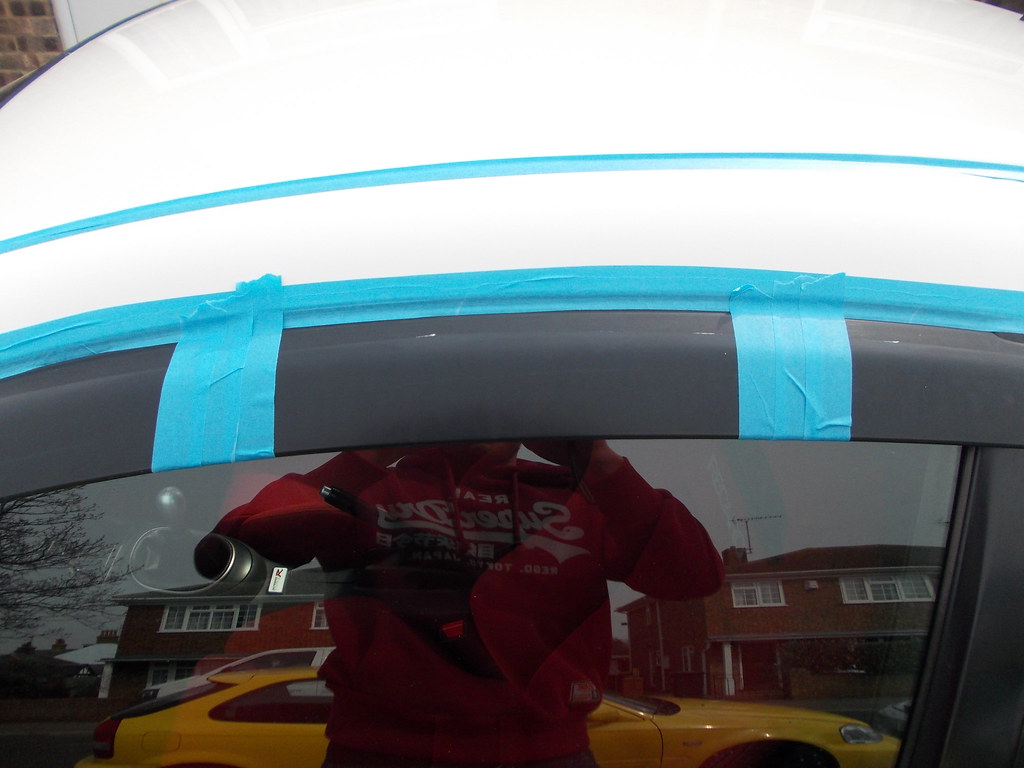
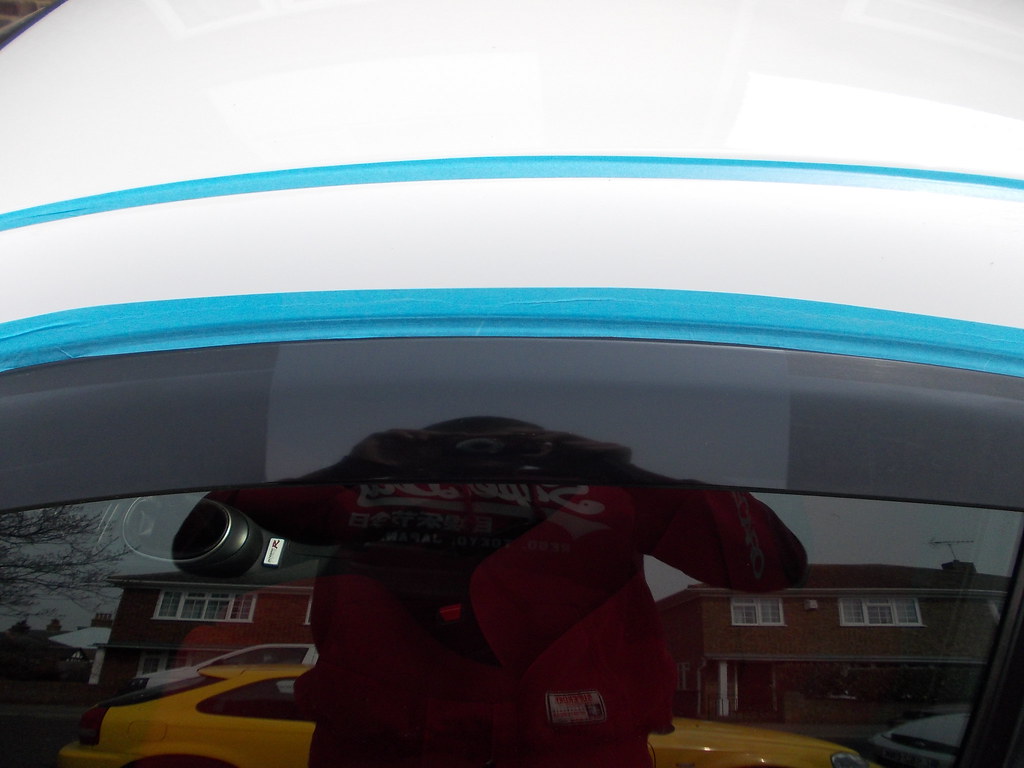
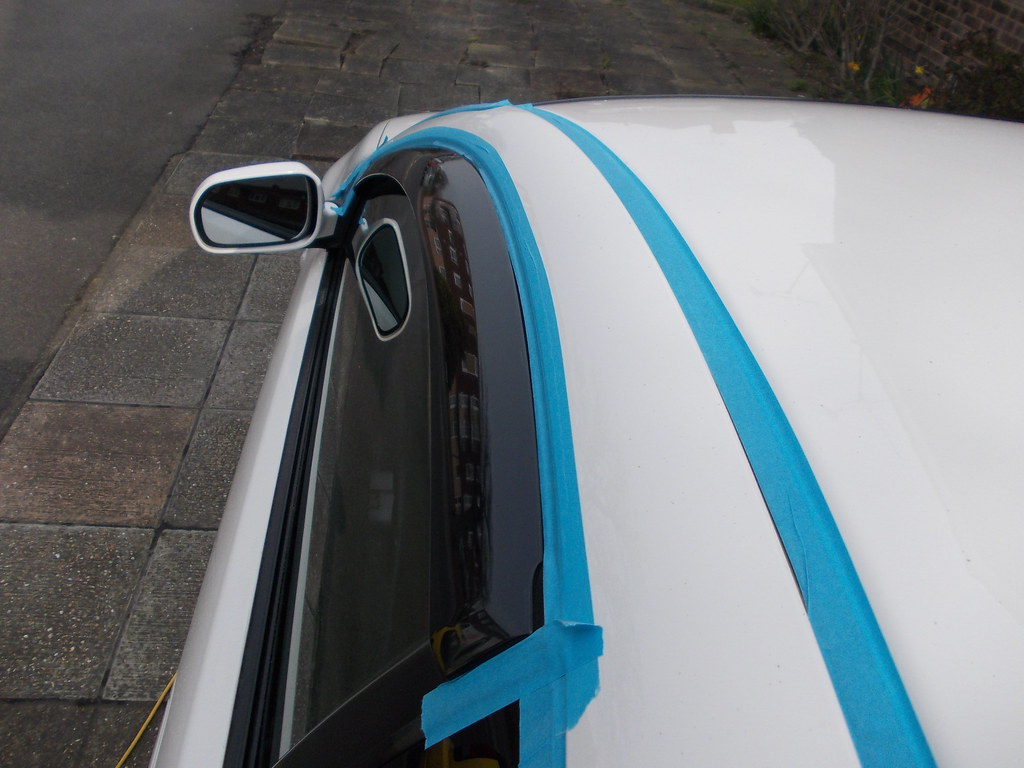
Driver's finished (passenger's includes some 50/50 pictures):

DSCN0644
by harVTEC, on Flickr
DSCN0648
by harVTEC, on Flickr
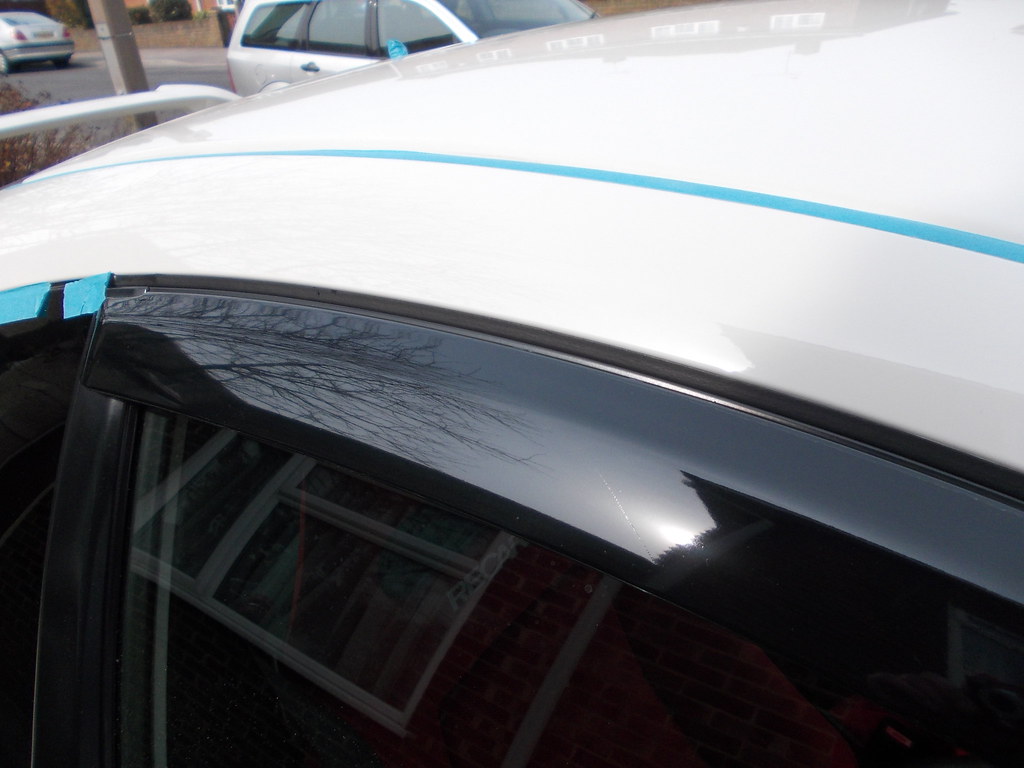
DSCN0649
by harVTEC, on Flickr
Next was to get the same bits done, but passenger side. Starting with
the pillar.
Before:
DSCN0655
by harVTEC, on Flickr
After:
DSCN0658
by harVTEC, on Flickr
DSCN0659
by harVTEC, on Flickr
Passenger wing mirror next up, this side also had some black paint
transfer:
DSCN0667
by harVTEC, on Flickr

DSCN0668
by harVTEC, on Flickr
Finito:
DSCN0673
by harVTEC, on Flickr
DSCN0671
by harVTEC, on Flickr
Now to get the passenger wind deflector matching the driver's one.
Before:
DSCN0645
by harVTEC, on Flickr
DSCN0646
by harVTEC, on Flickr
DSCN0660
by harVTEC, on Flickr
During, 50/50:
DSCN0661
by harVTEC, on Flickr
DSCN0662
by harVTEC, on Flickr
DSCN0663
by harVTEC, on Flickr
DSCN0664
by harVTEC, on Flickr
All done:

DSCN0665
by harVTEC, on Flickr
DSCN0666
by harVTEC, on Flickr
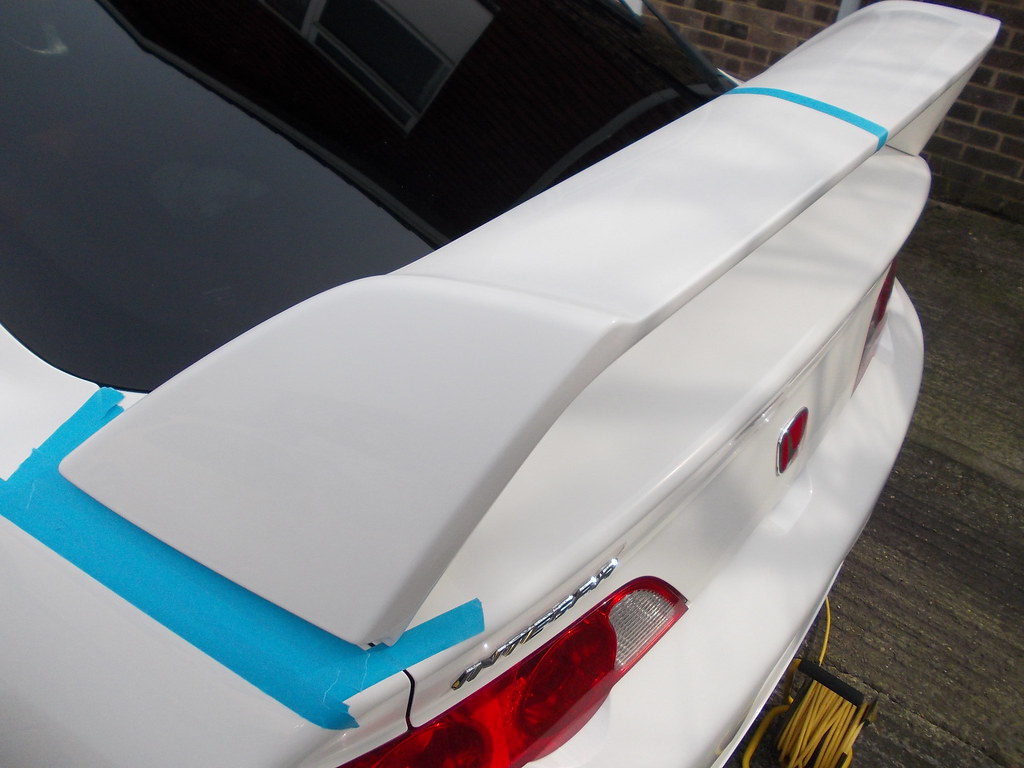
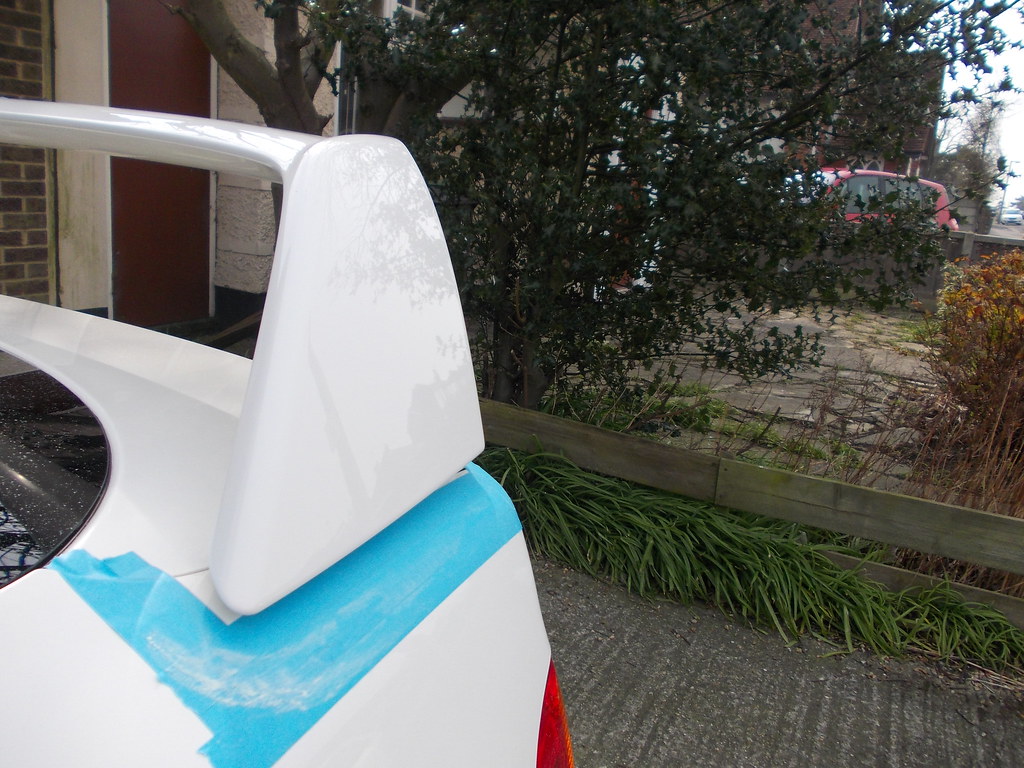
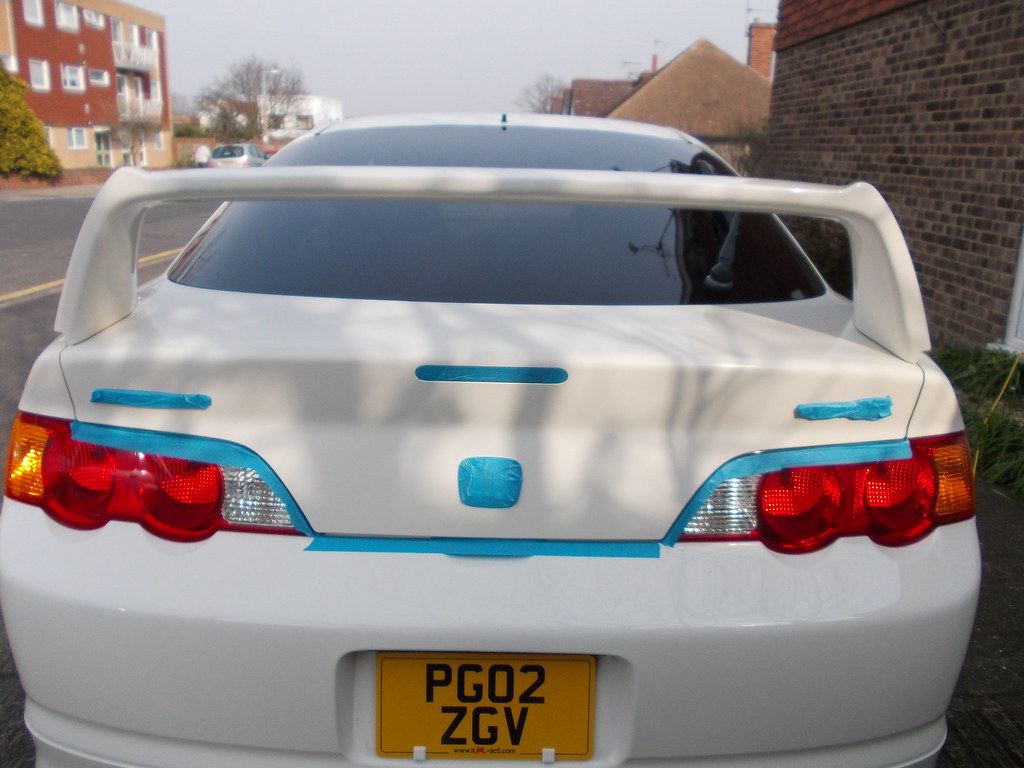
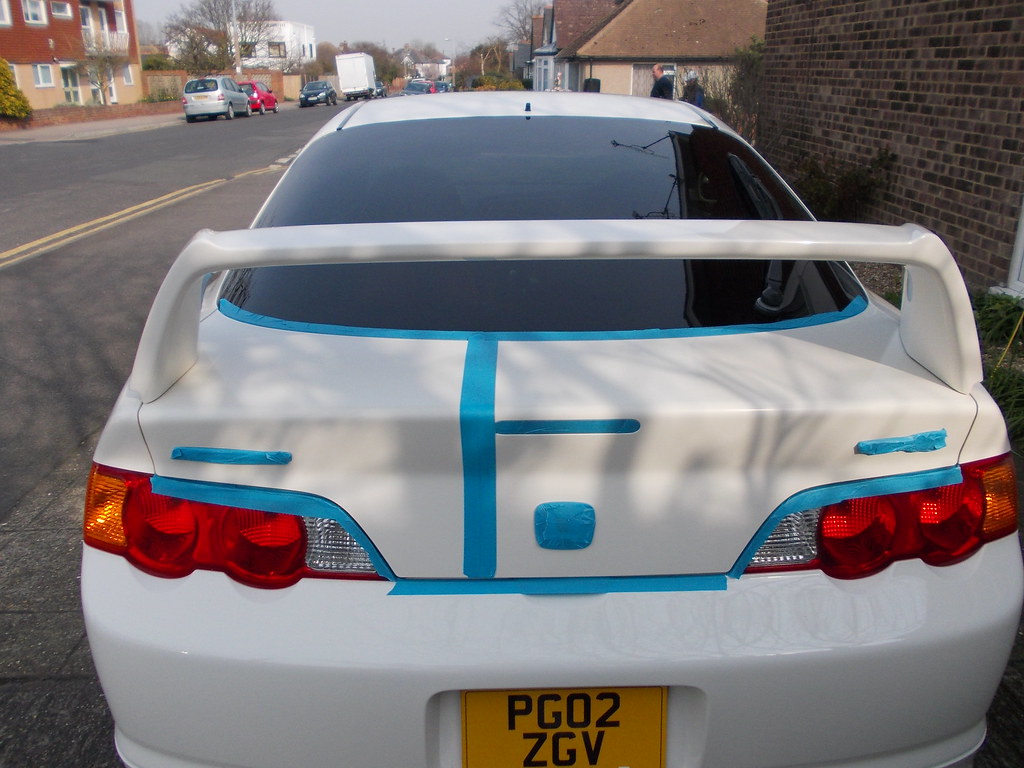
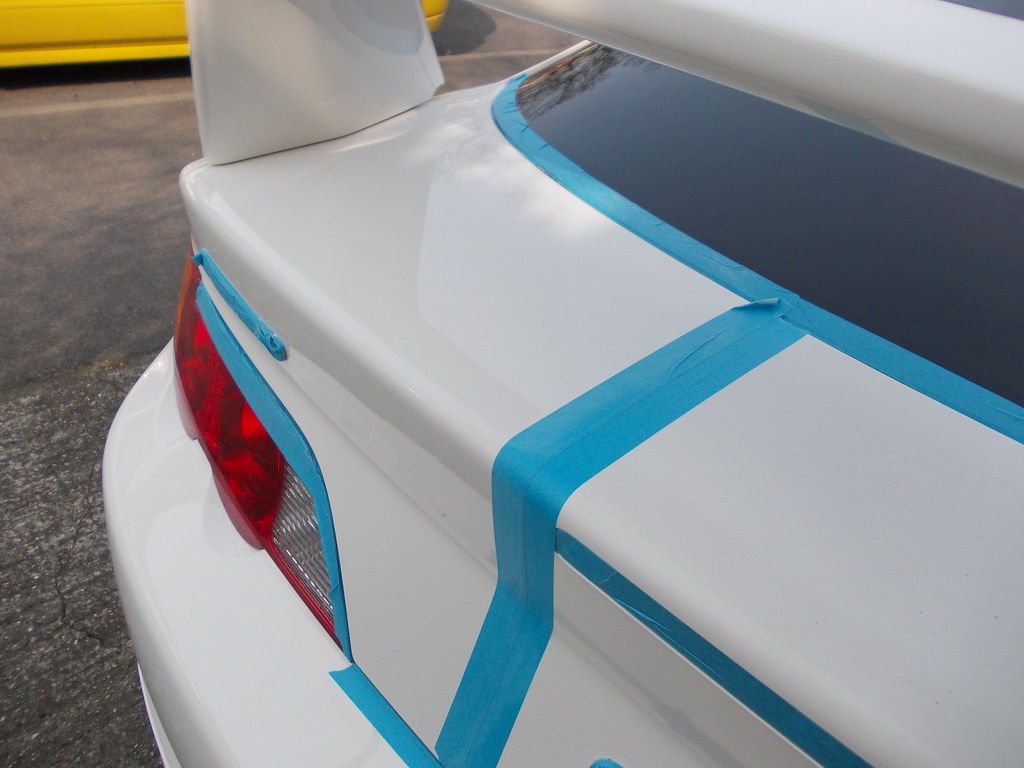
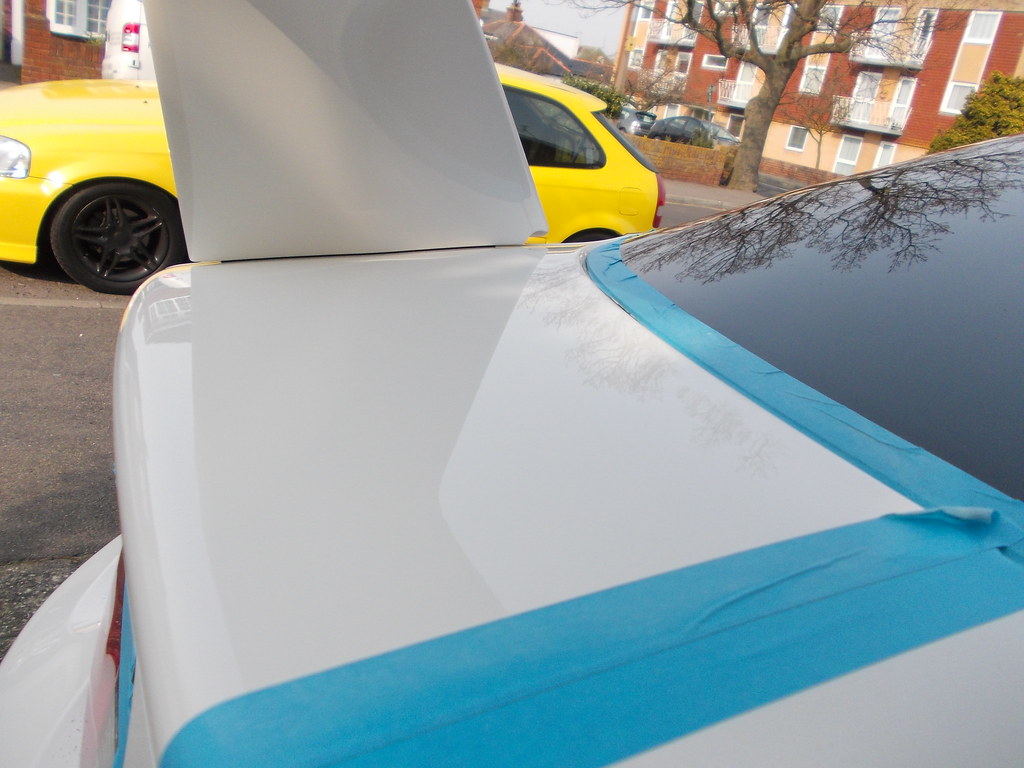
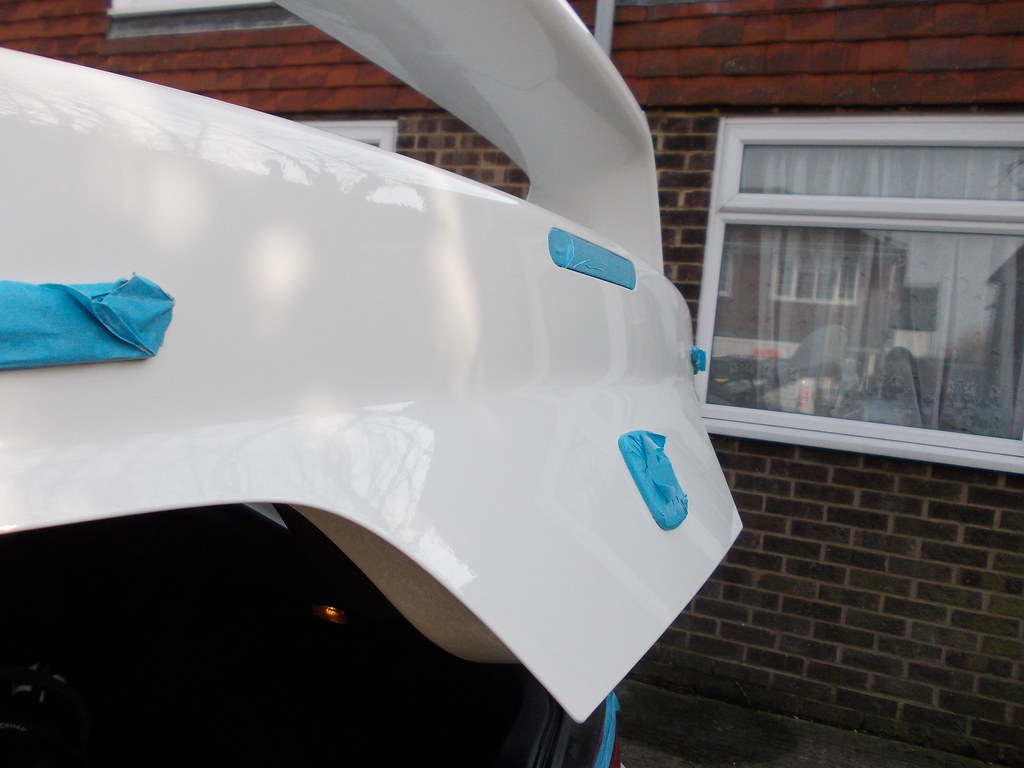
On to the spoiler and bootlid next, the arse end was even more cream
than the rest of the car, owing to the de-cat.
Before:
DSCN0675
by harVTEC, on Flickr
DSCN0677
by harVTEC, on Flickr
After, including the inner and upper sides:
DSCN0680
by harVTEC, on Flickr
DSCN0688
by harVTEC, on Flickr

DSCN0689
by harVTEC, on Flickr
DSCN0681
by harVTEC, on Flickr
Bootlid was next to be treated.
Before:
DSCN0692
by harVTEC, on Flickr
DSCN0693
by harVTEC, on Flickr
Left hand side done:
DSCN0694
by harVTEC, on Flickr
DSCN0695
by harVTEC, on Flickr
50/50:
DSCN0701
by harVTEC, on Flickr
DSCN0699
by harVTEC, on Flickr
Finished:
DSCN0705
by harVTEC, on Flickr
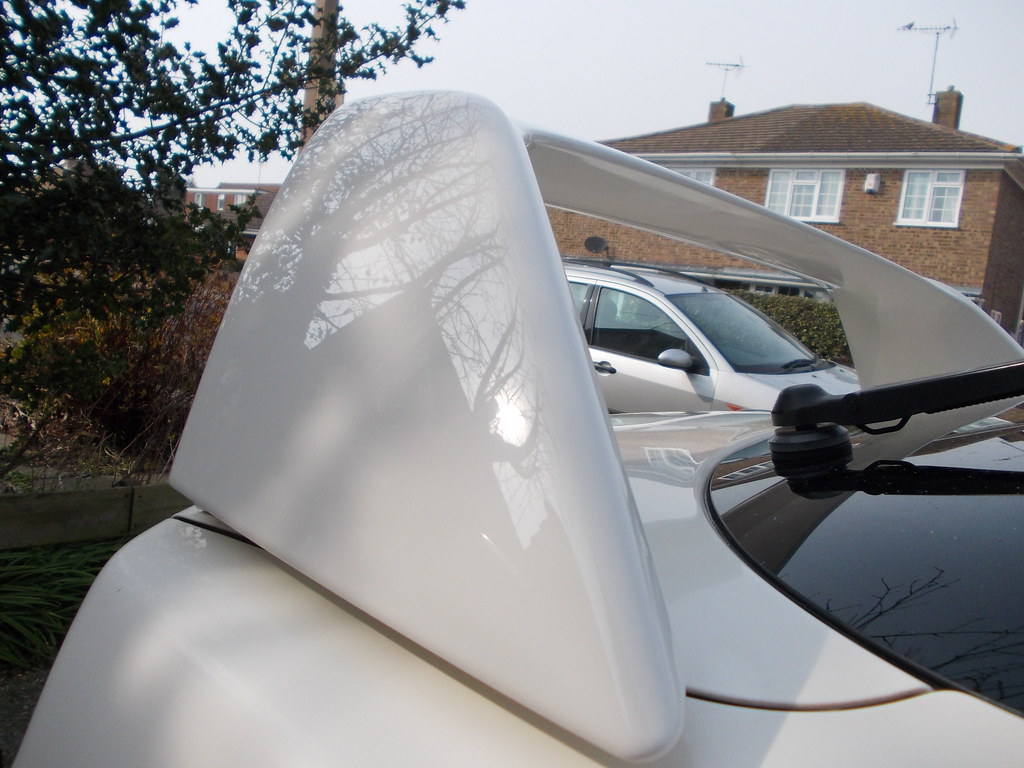
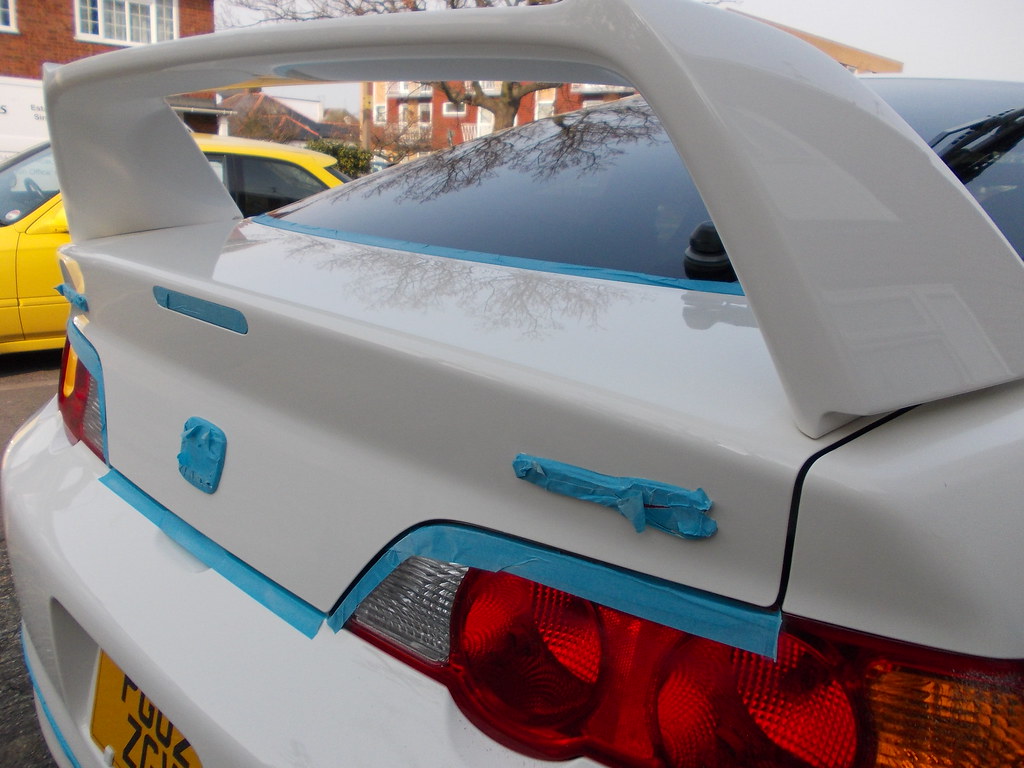
Nice picture of the completed bootlid and spoiler:
DSCN0706
by harVTEC, on Flickr
Few more general bootlid pictures:
DSCN0707
by harVTEC, on Flickr
DSCN0708
by harVTEC, on Flickr

DSCN0709
by harVTEC, on Flickr
DSCN0717
by harVTEC, on Flickr
Rear bumper and lip were also attended to at this point, no before or
during pictures but a couple of afters:
DSCN0721
by harVTEC, on Flickr
DSCN0723
by harVTEC, on Flickr
DSCN0724
by harVTEC, on Flickr
DSCN0725
by harVTEC, on Flickr
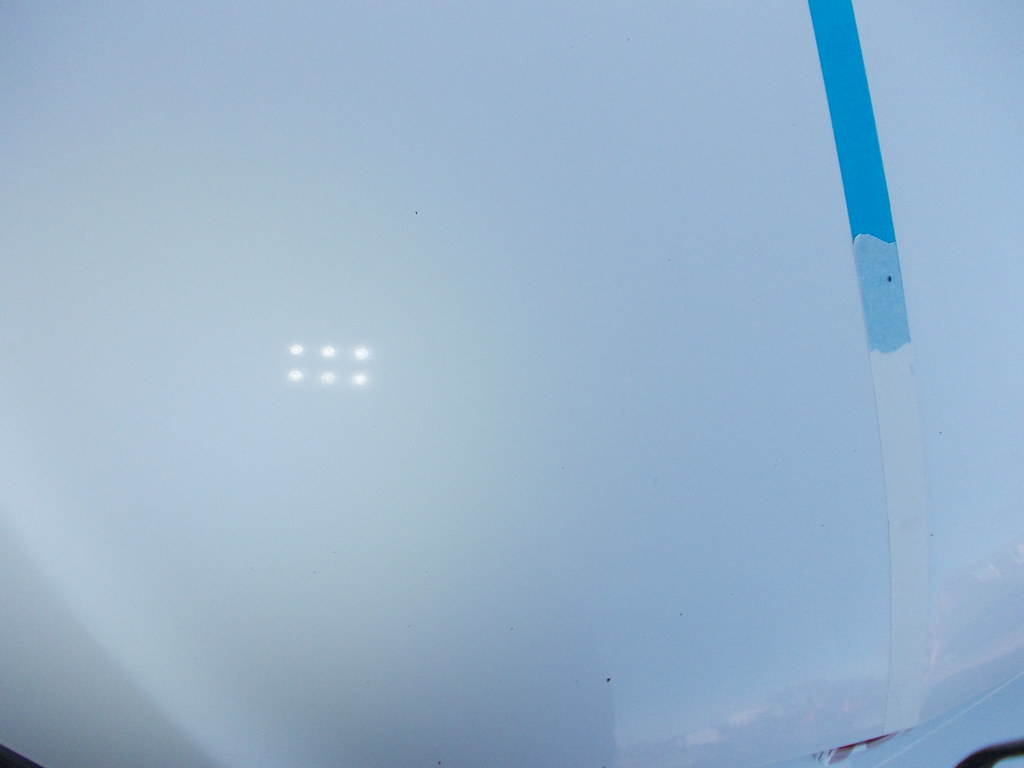
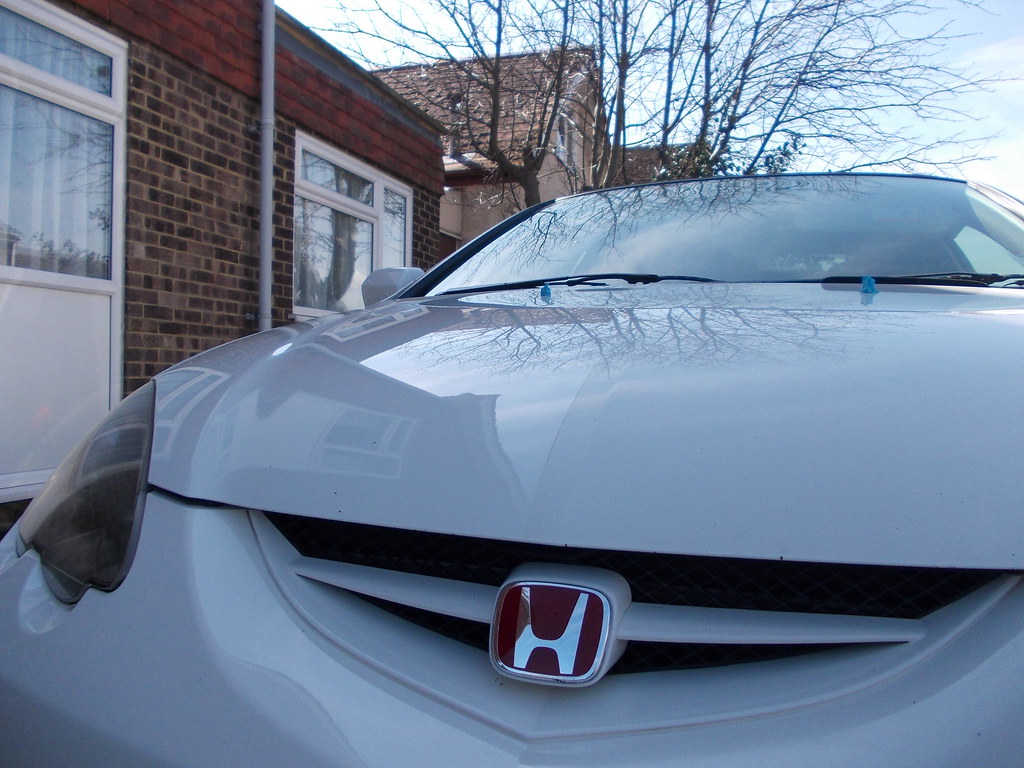
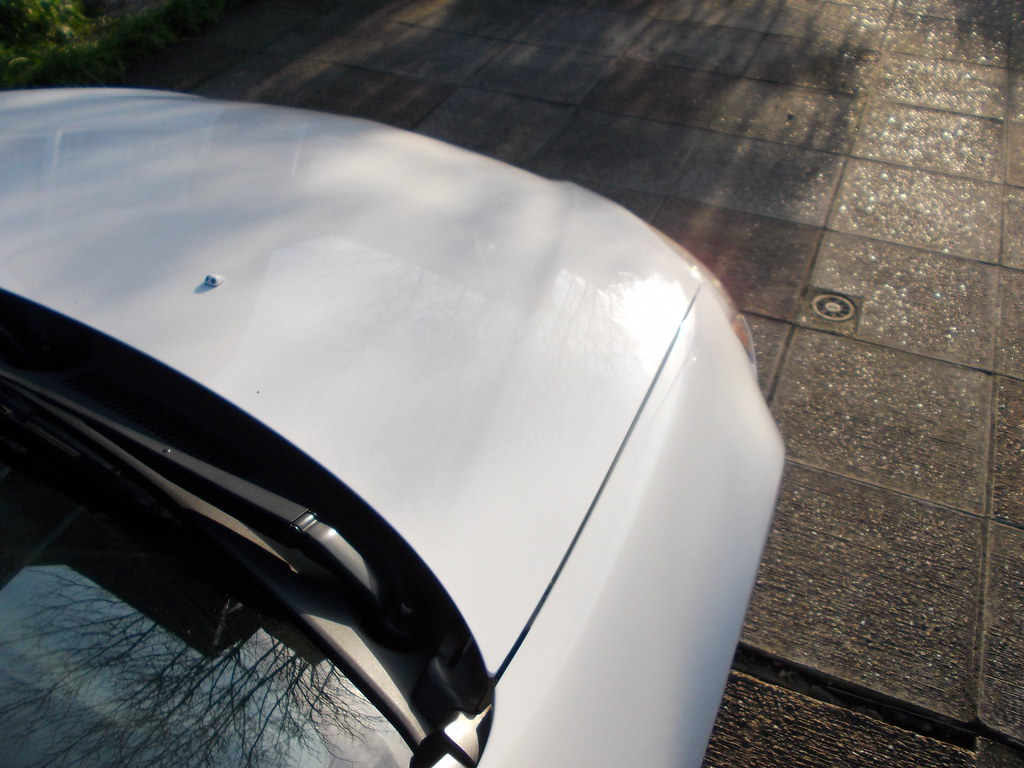
Bonnet next, there was literally no reflection or shine to the paint,
you could hold your hand a few inches away from the paint and not see anything
reflecting back.
Before:
DSCN0730
by harVTEC, on Flickr
Left hand side done:
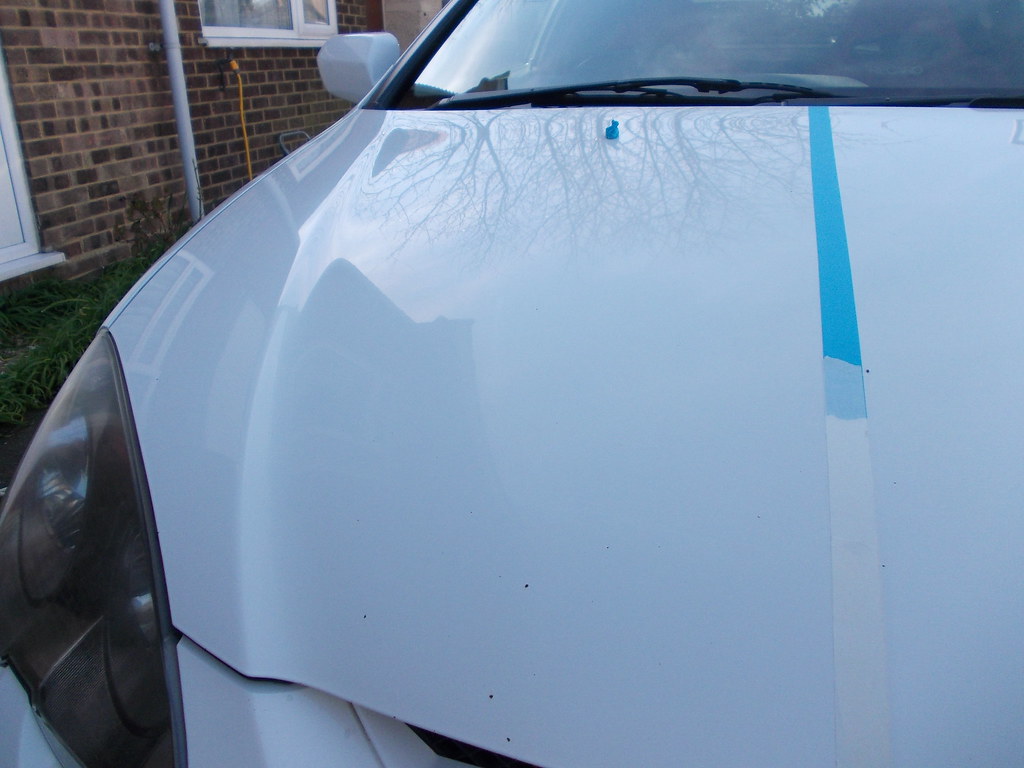
DSCN0731
by harVTEC, on Flickr
50/50 line down the middle, makes how dull it was before very
noticeable:
DSCN0733
by harVTEC, on Flickr
DSCN0734
by harVTEC, on Flickr
DSCN0740
by harVTEC, on Flickr

DSCN0741
by harVTEC, on Flickr
DSCN0742
by harVTEC, on Flickr
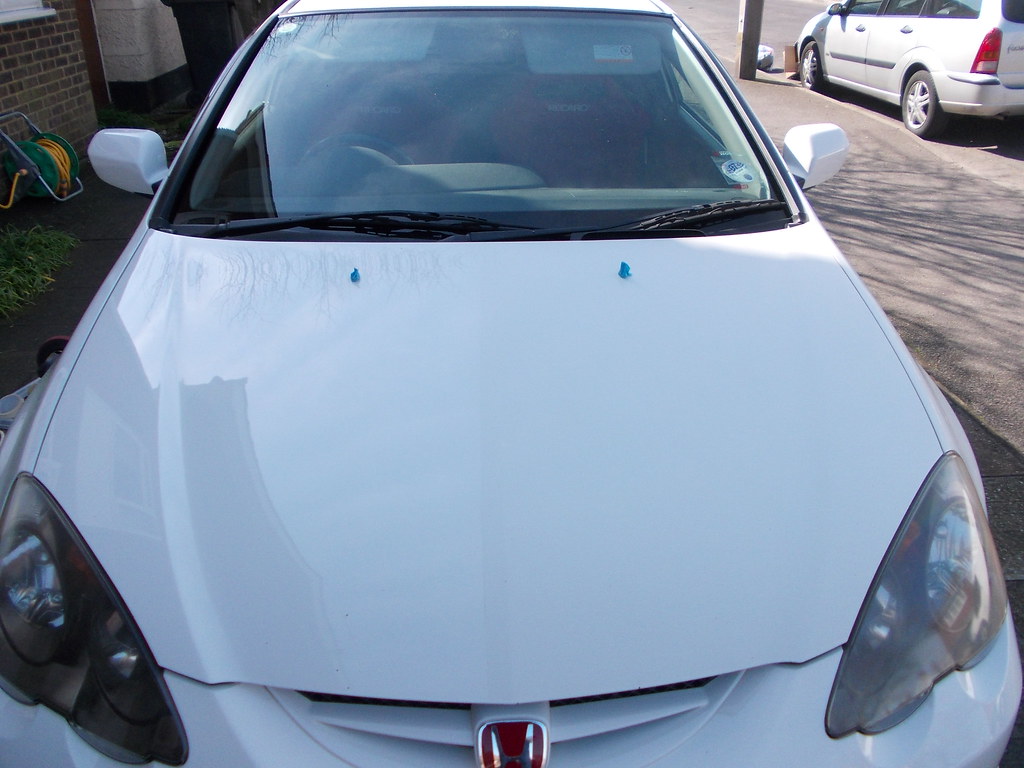
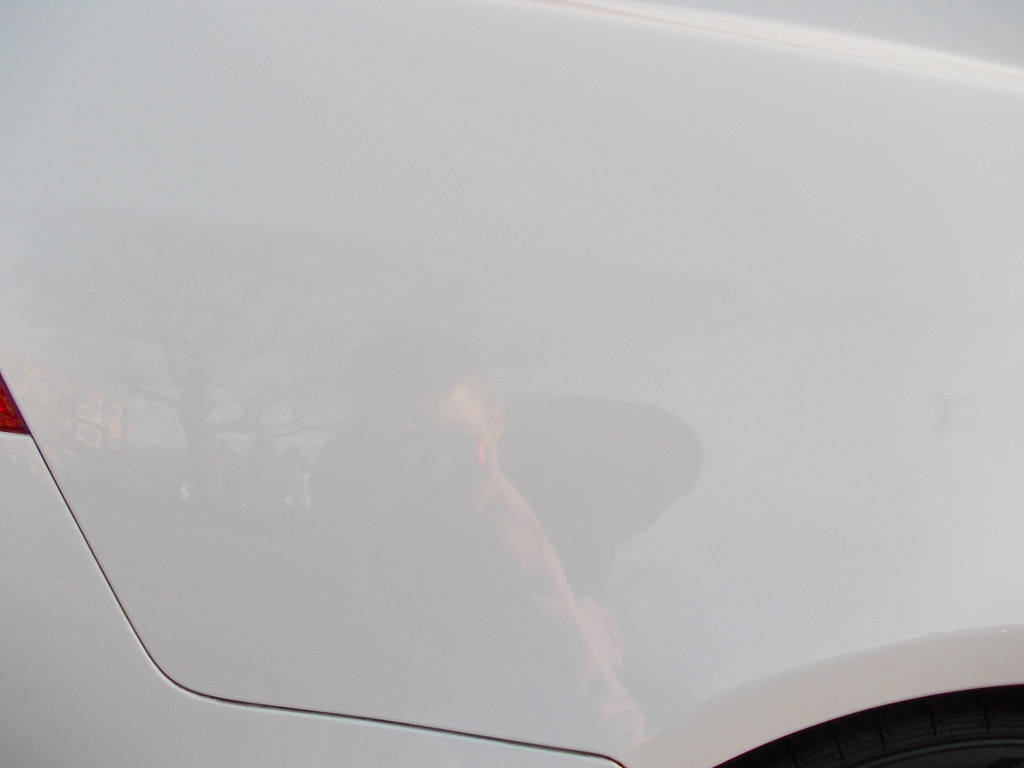
Finished reflection:
DSCN0735
by harVTEC, on Flickr
Both sides and the front bumper were done next but the camera ran out of
battery, but I'm sure you get the idea of what it would have looked like
before, then after.
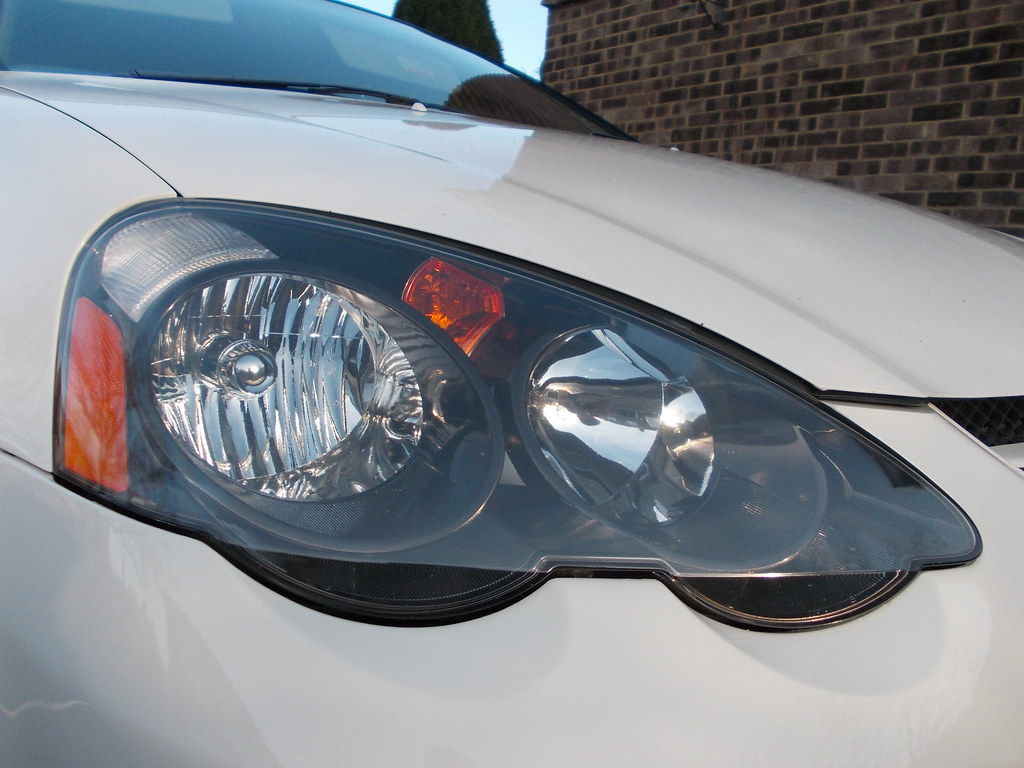
Day 2 consisted of getting the whole car refined, headlights polished
and get the paint sealed.
Passenger headlights before:
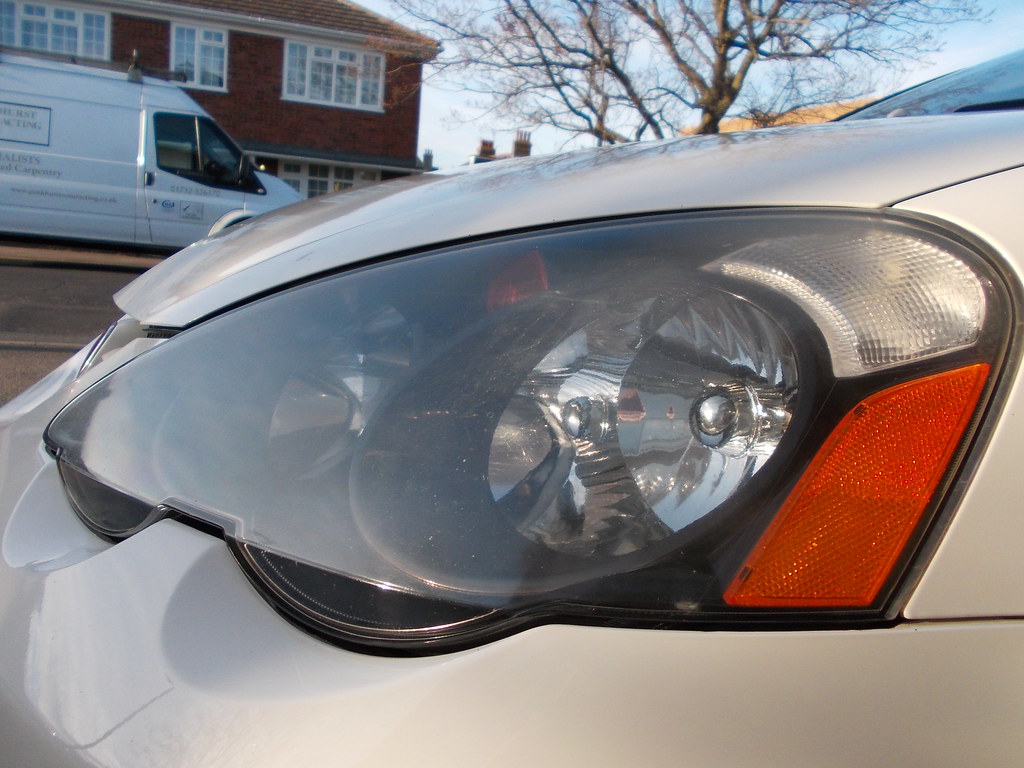
DSCN0751
by harVTEC, on Flickr

DSCN0752
by harVTEC, on Flickr
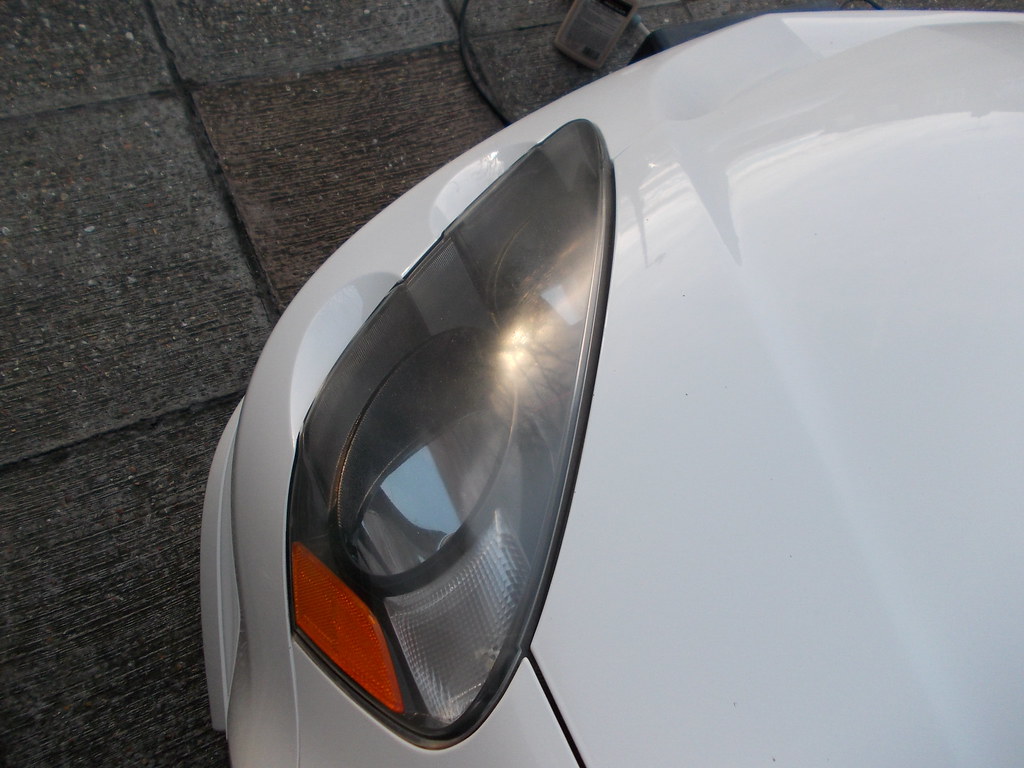
DSCN0757
by harVTEC, on Flickr
And done:

DSCN0758
by harVTEC, on Flickr
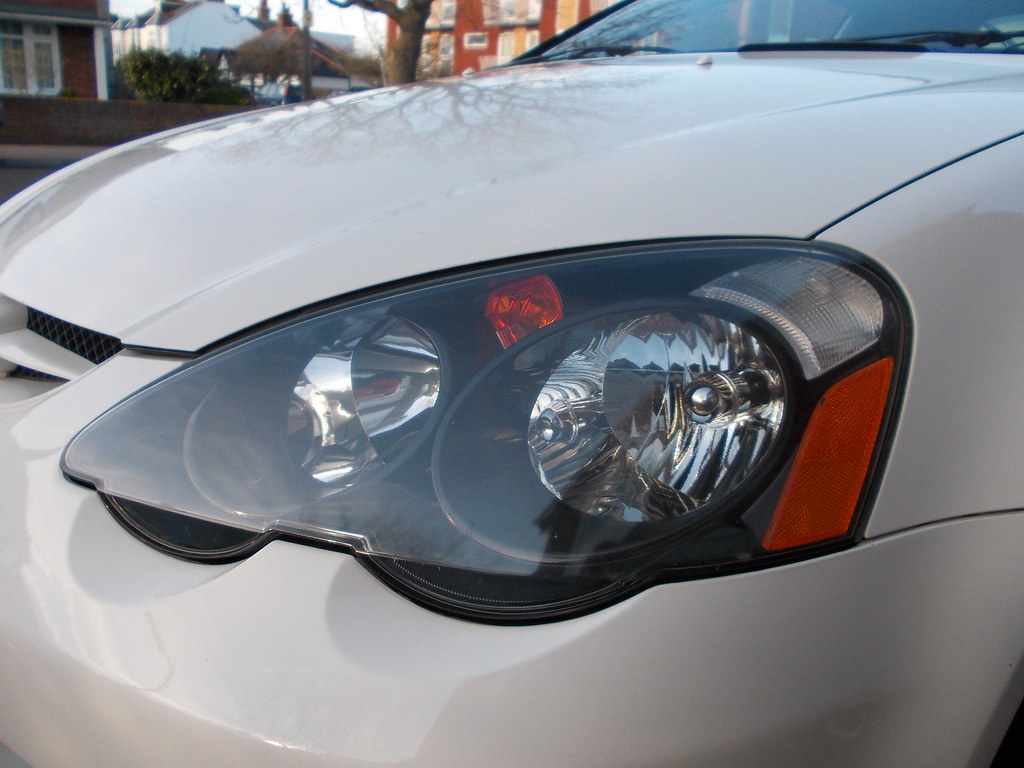
DSCN0759
by harVTEC, on Flickr
Driver's before:
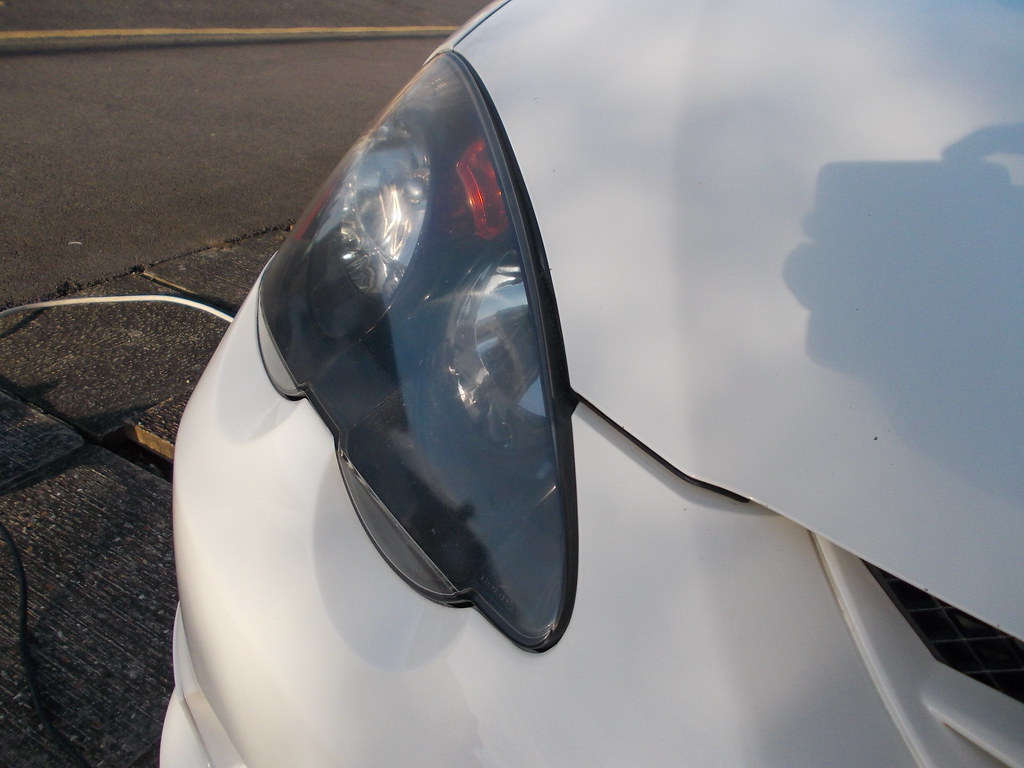
DSCN0753
by harVTEC, on Flickr
Driver's after:
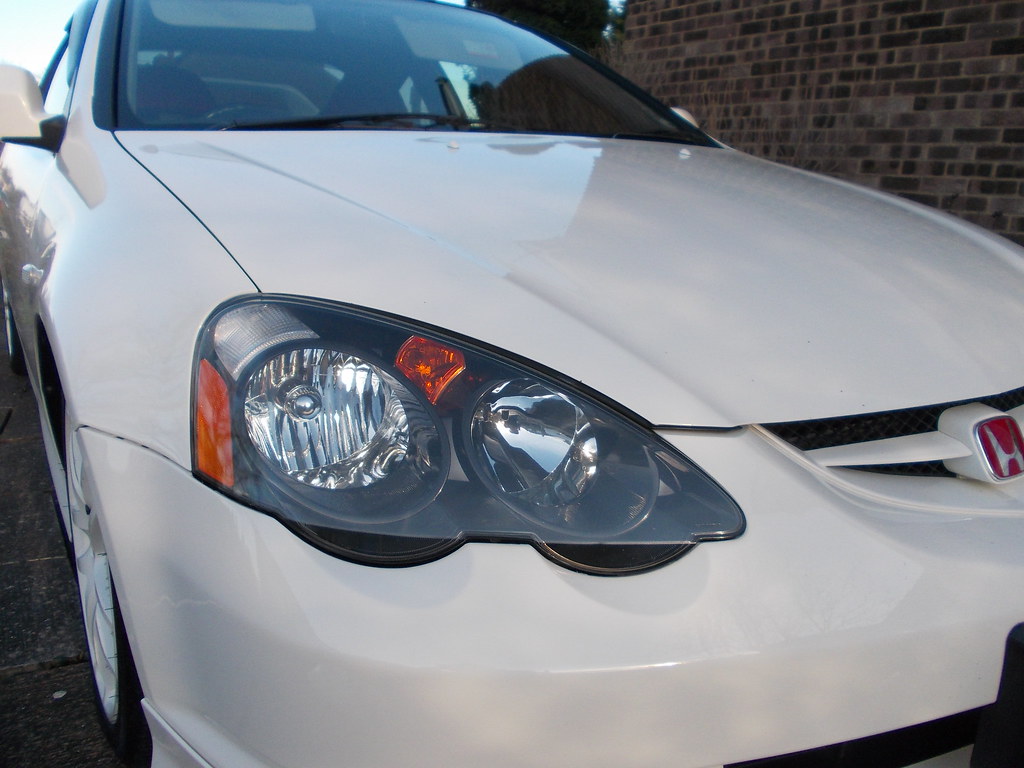
DSCN0754
by harVTEC, on Flickr
DSCN0755
by harVTEC, on Flickr
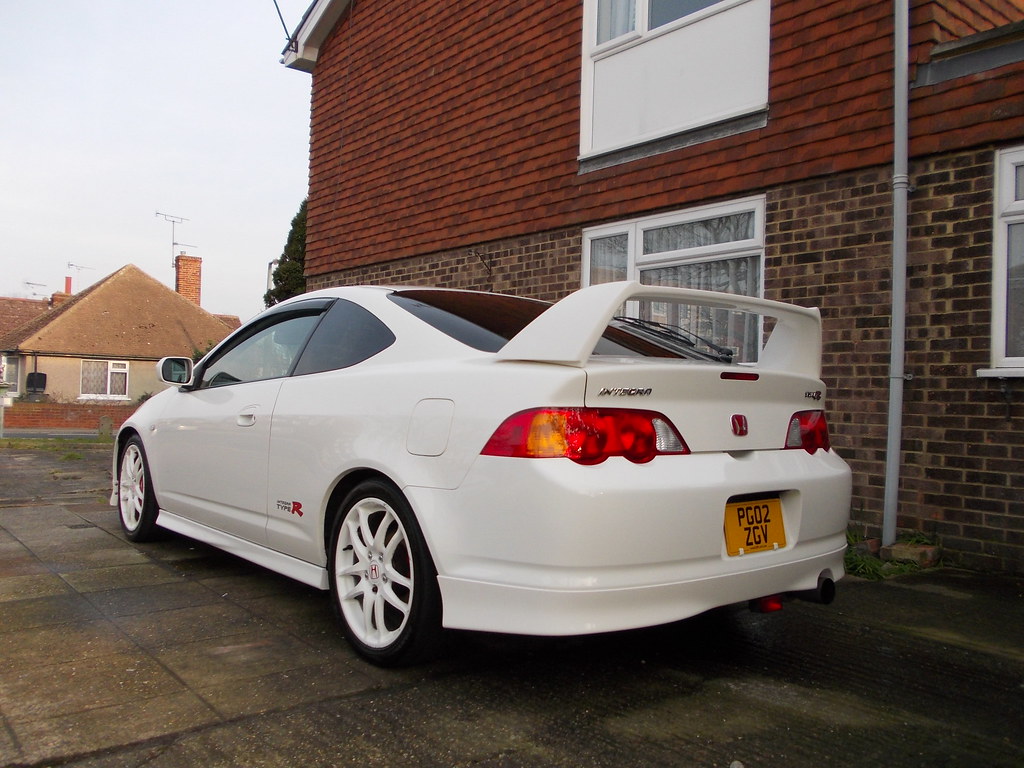
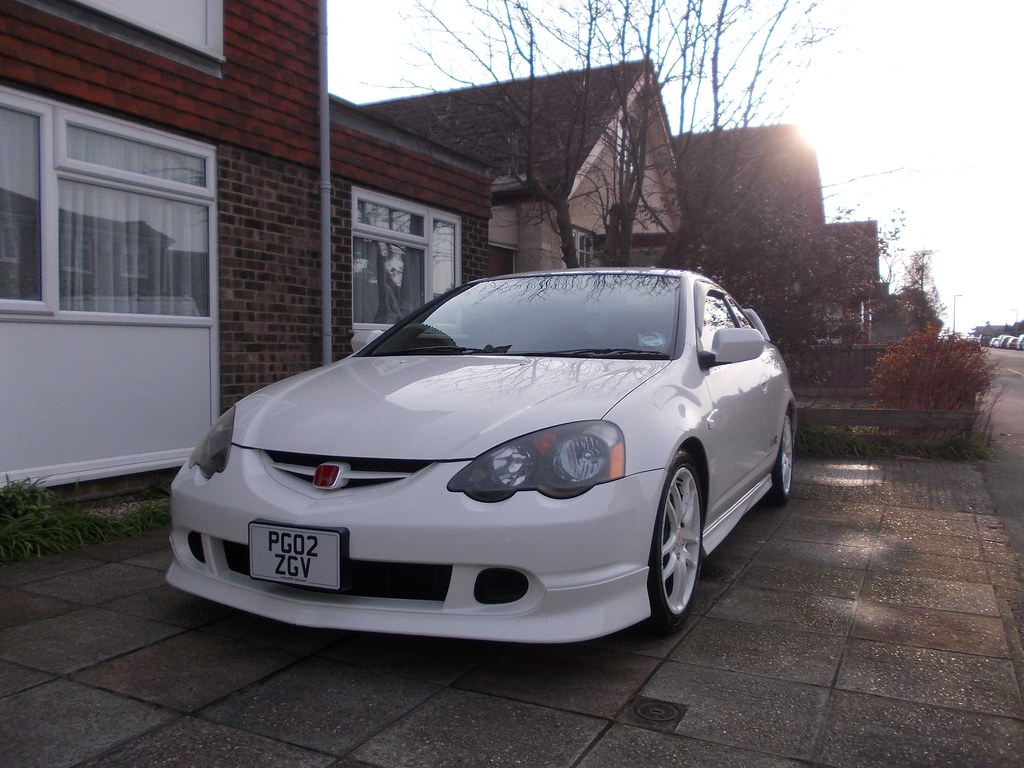
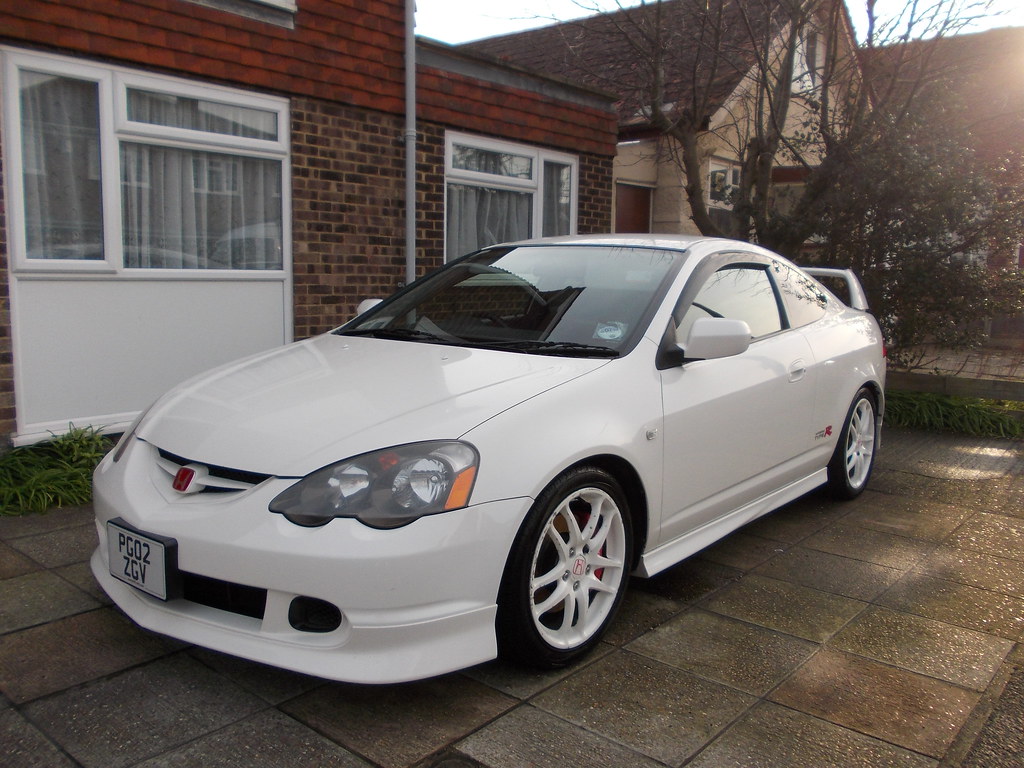
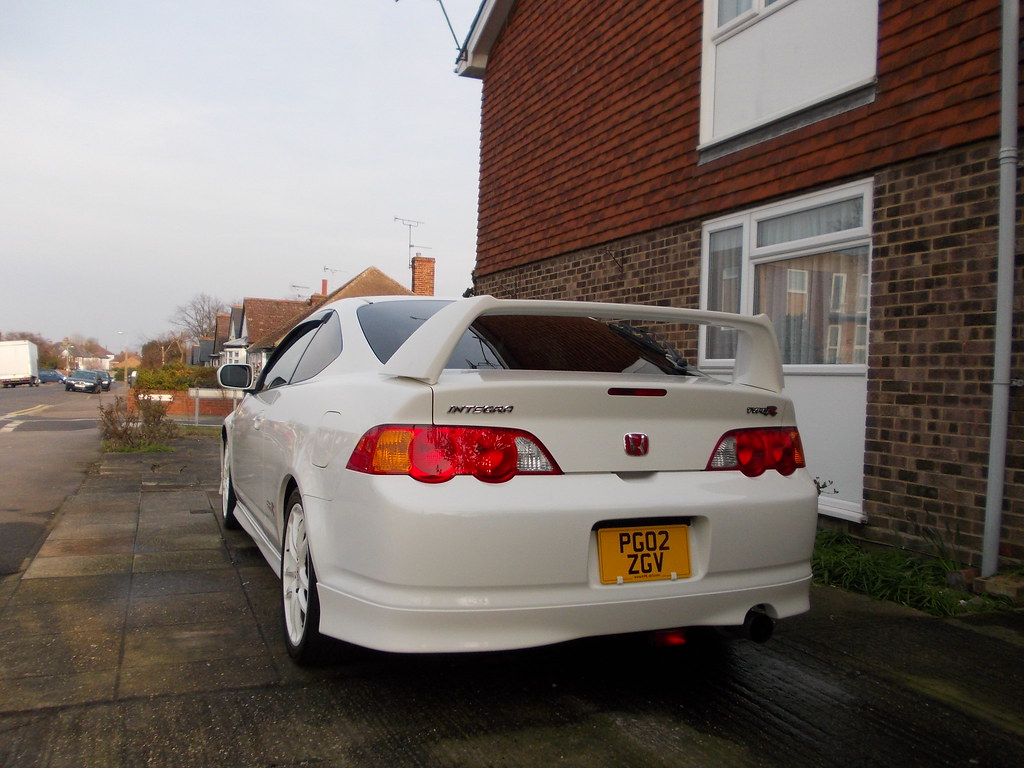
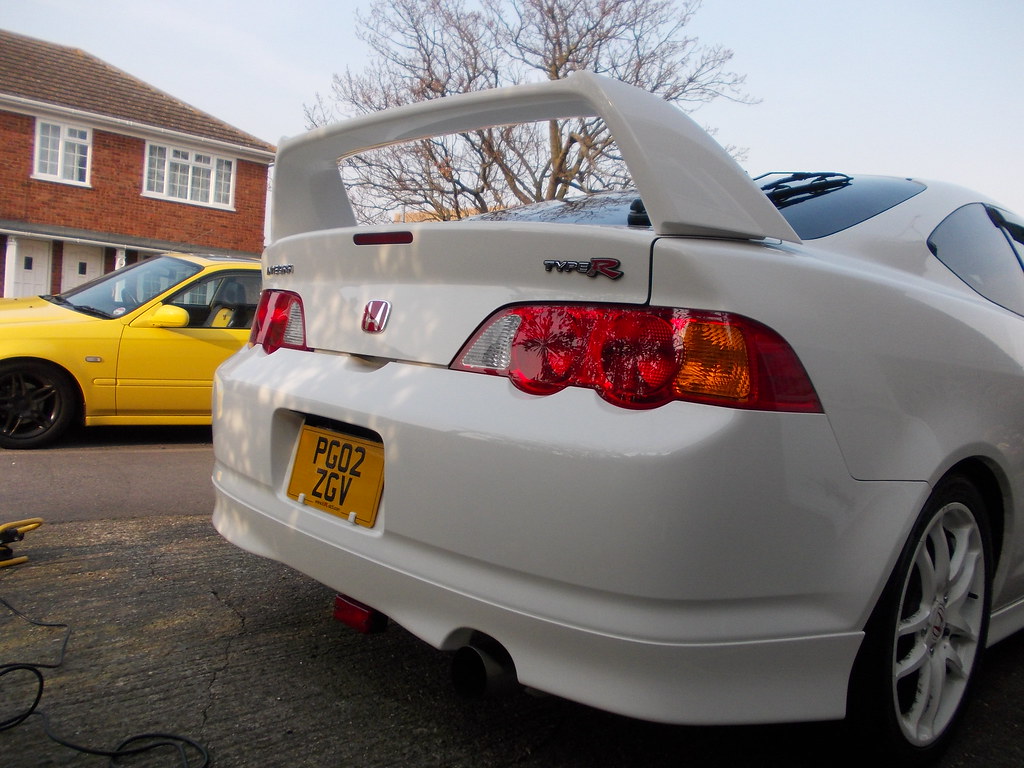
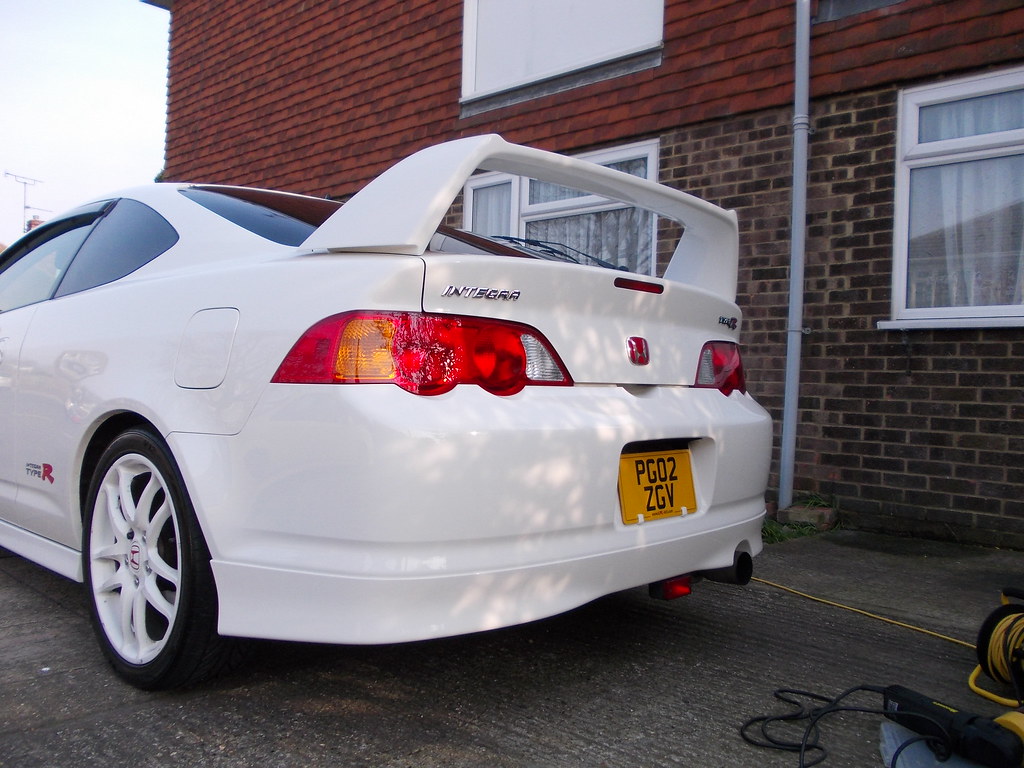
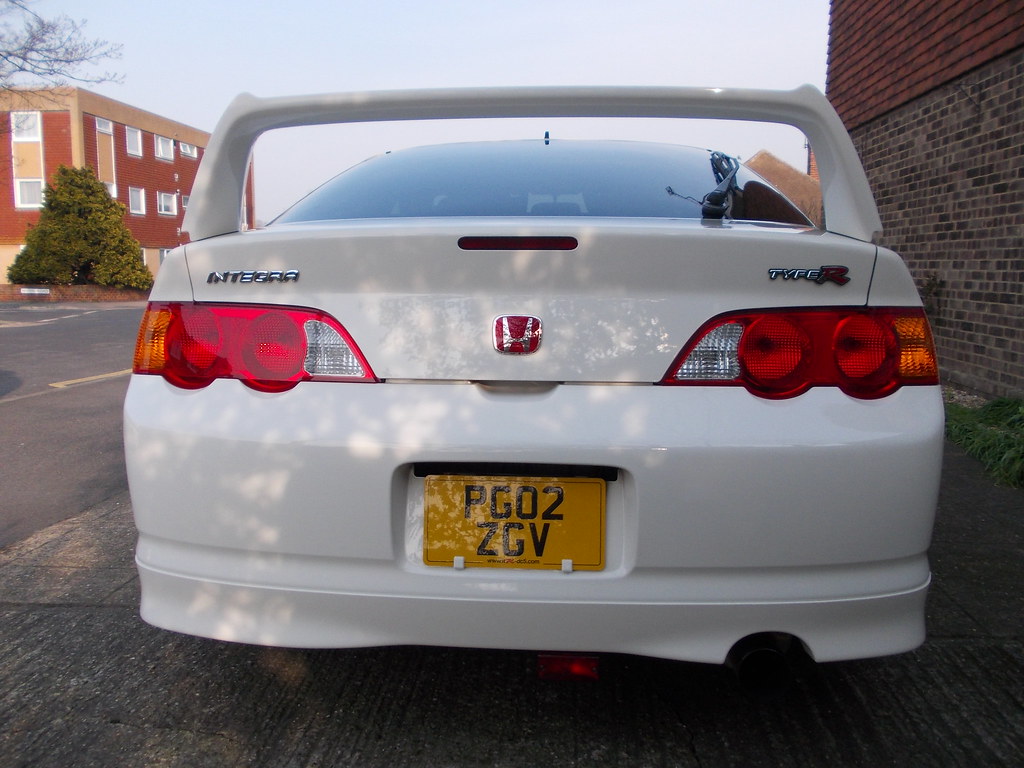
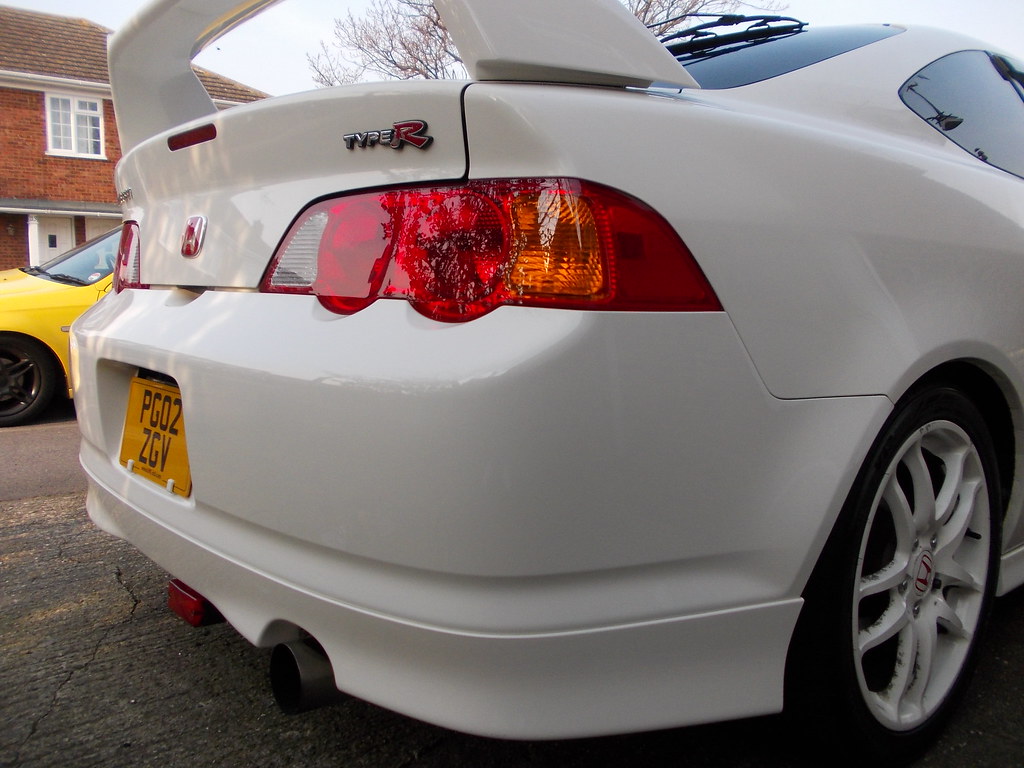
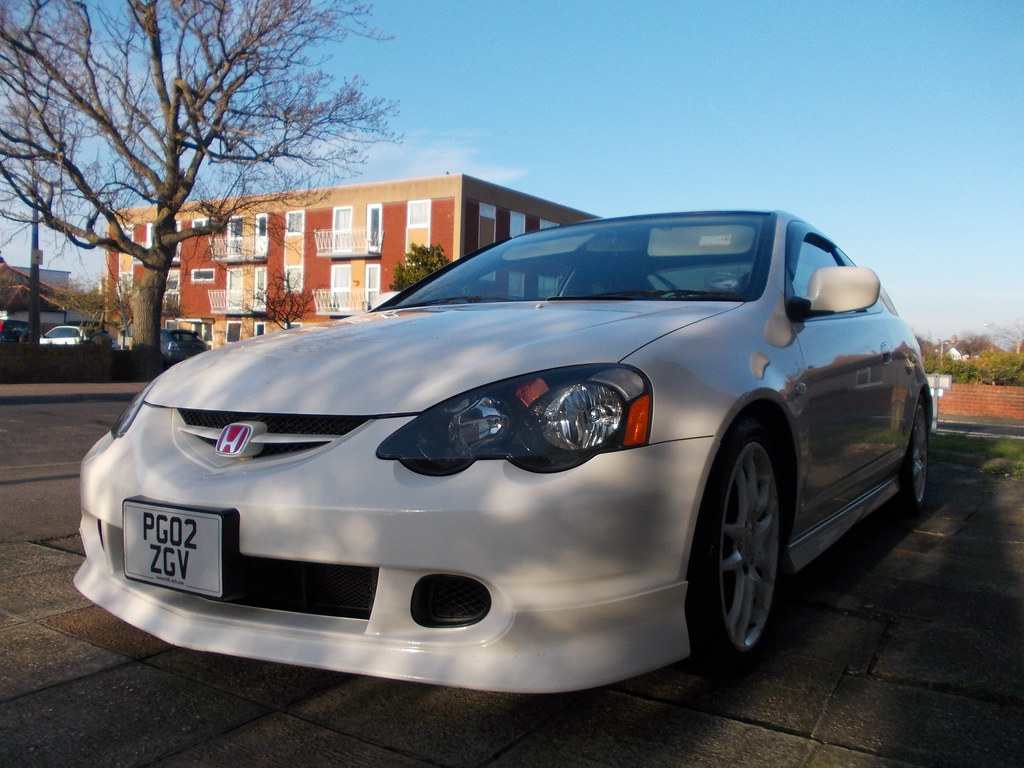
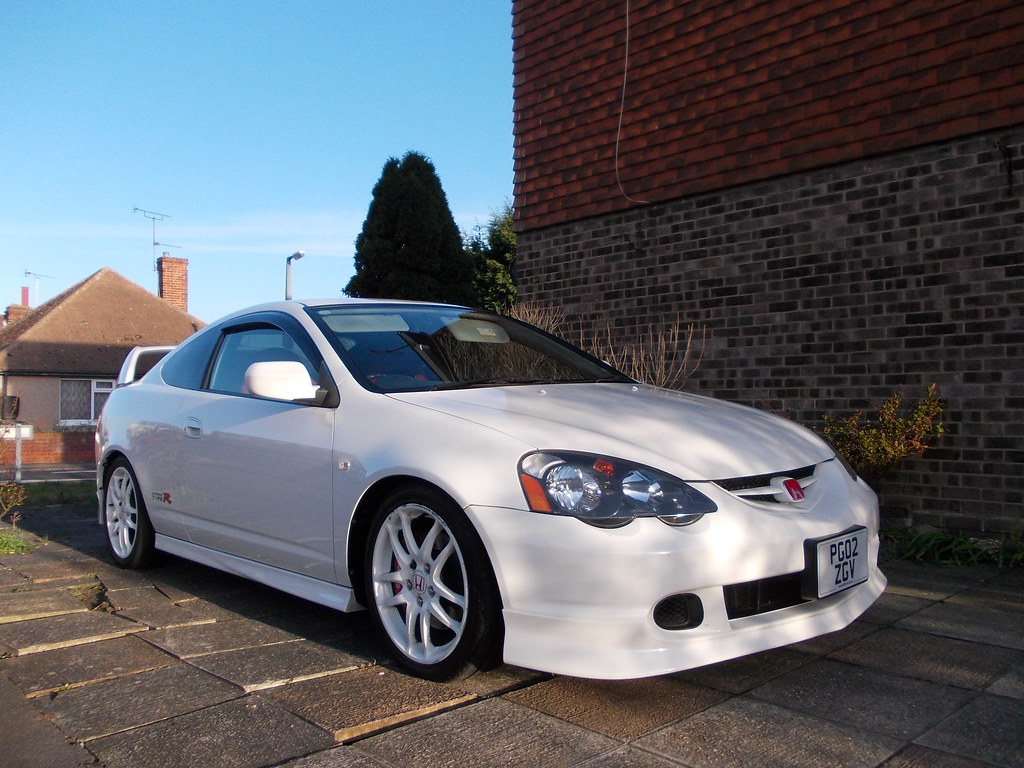
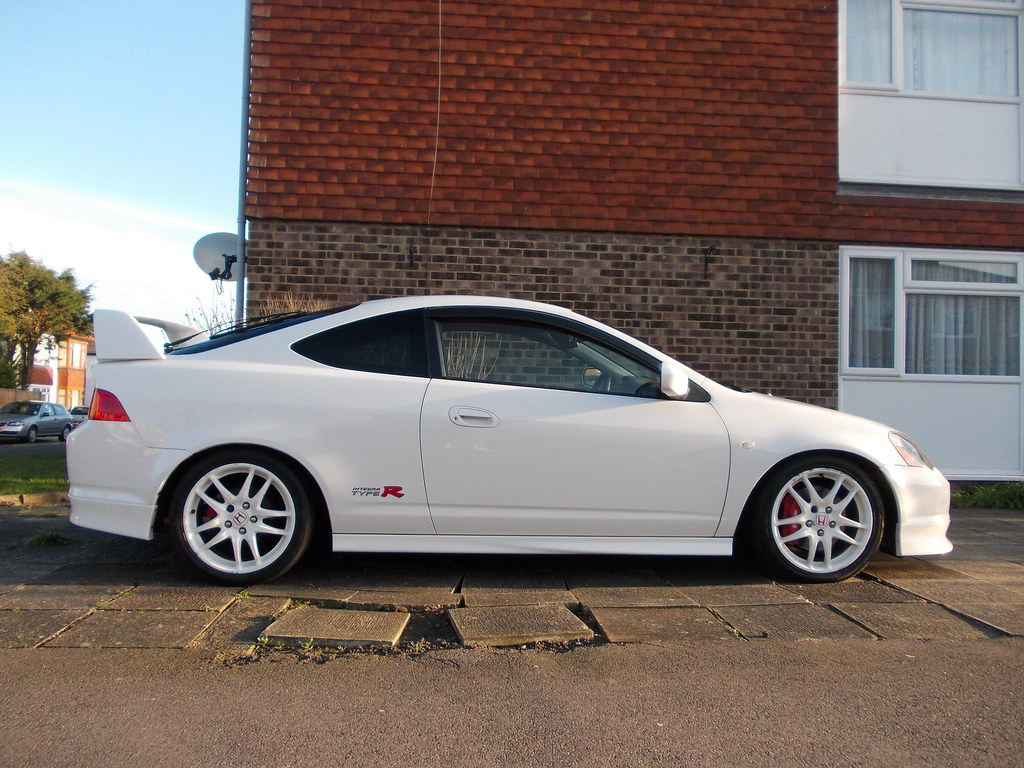
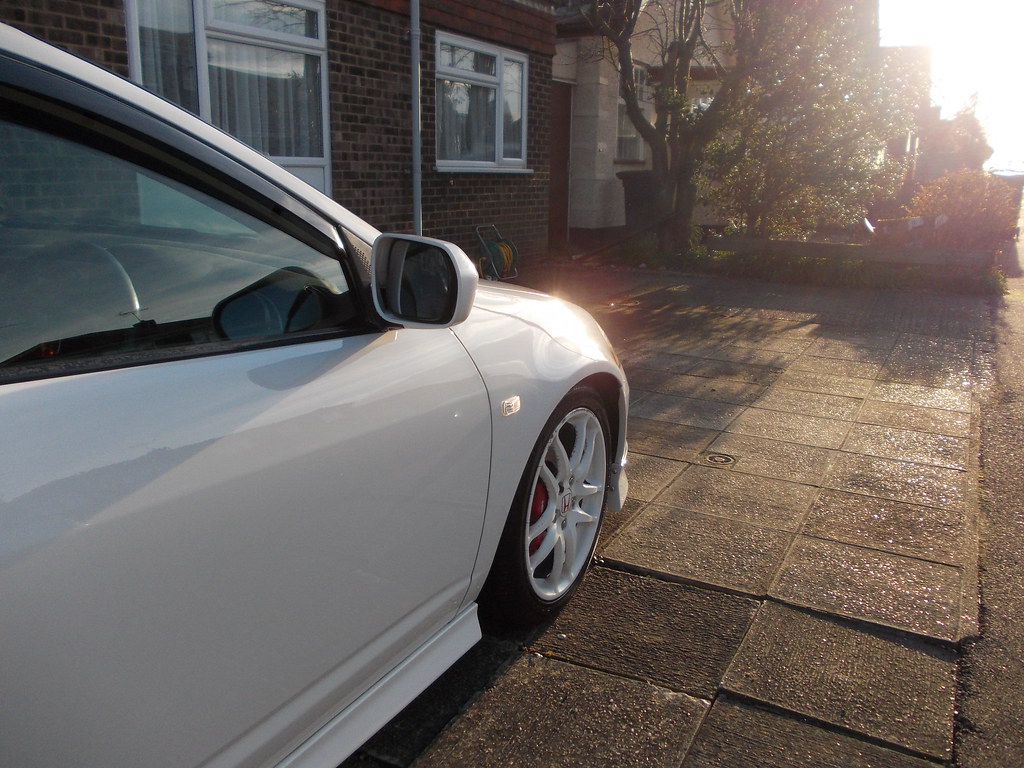
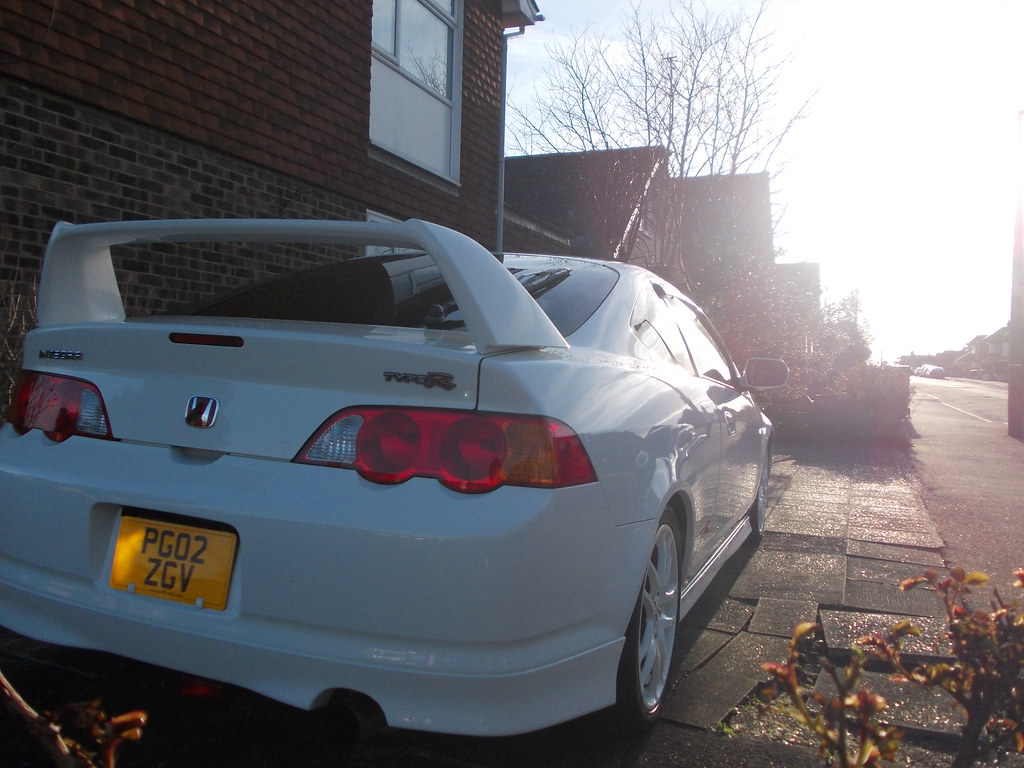
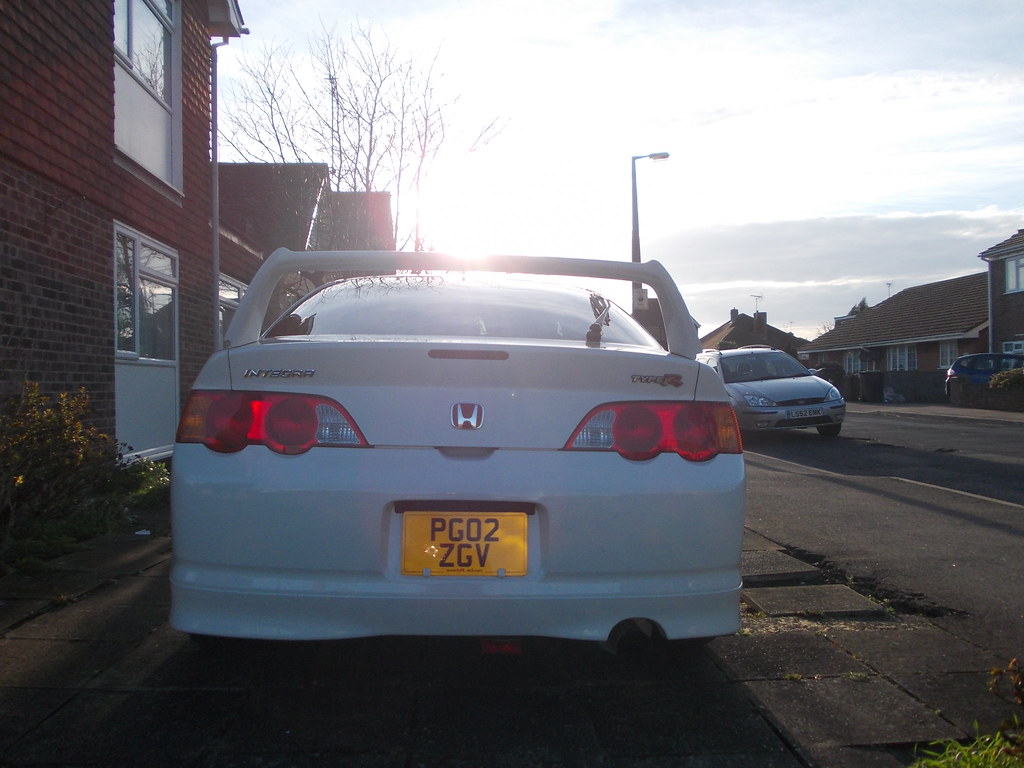
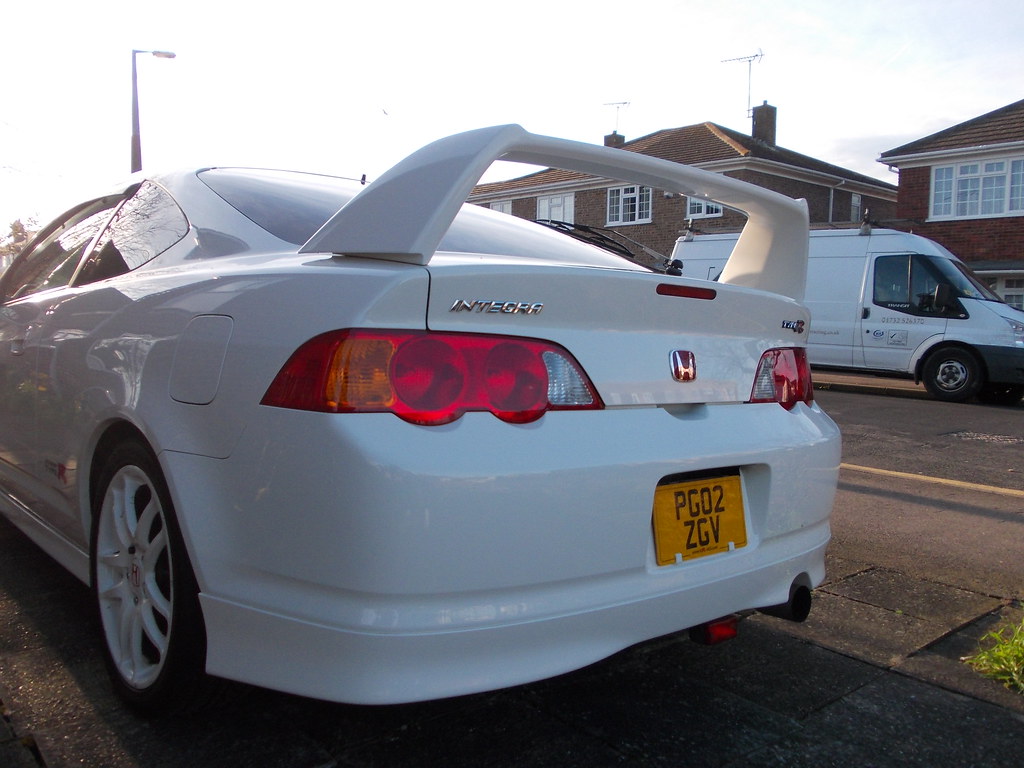
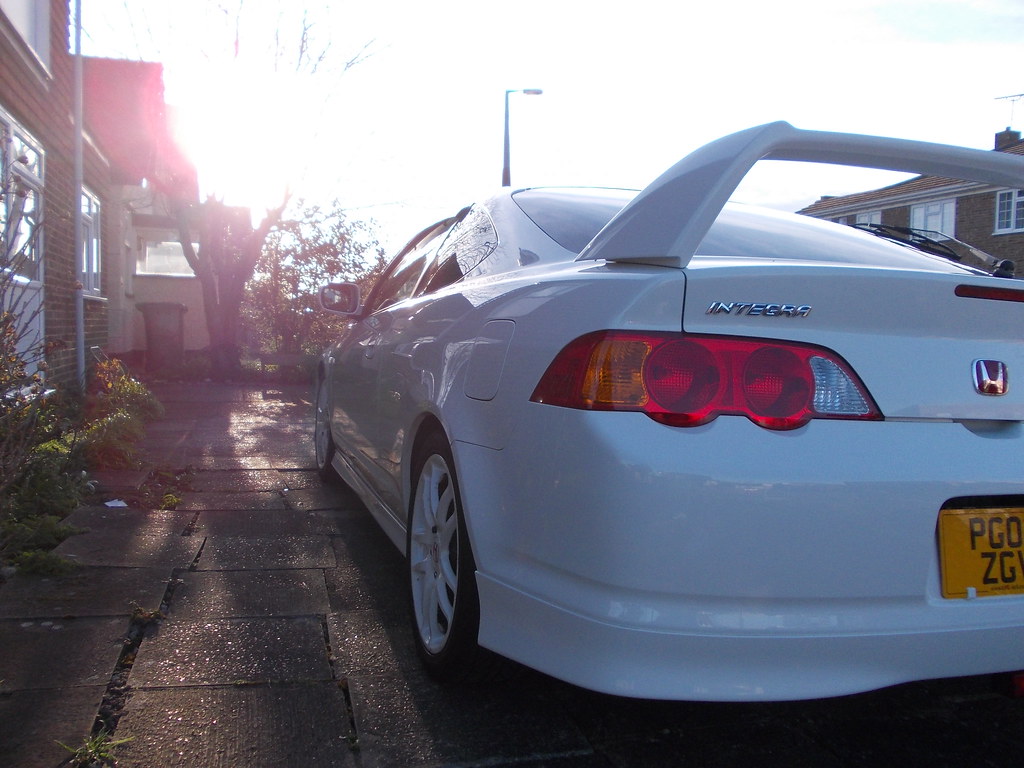
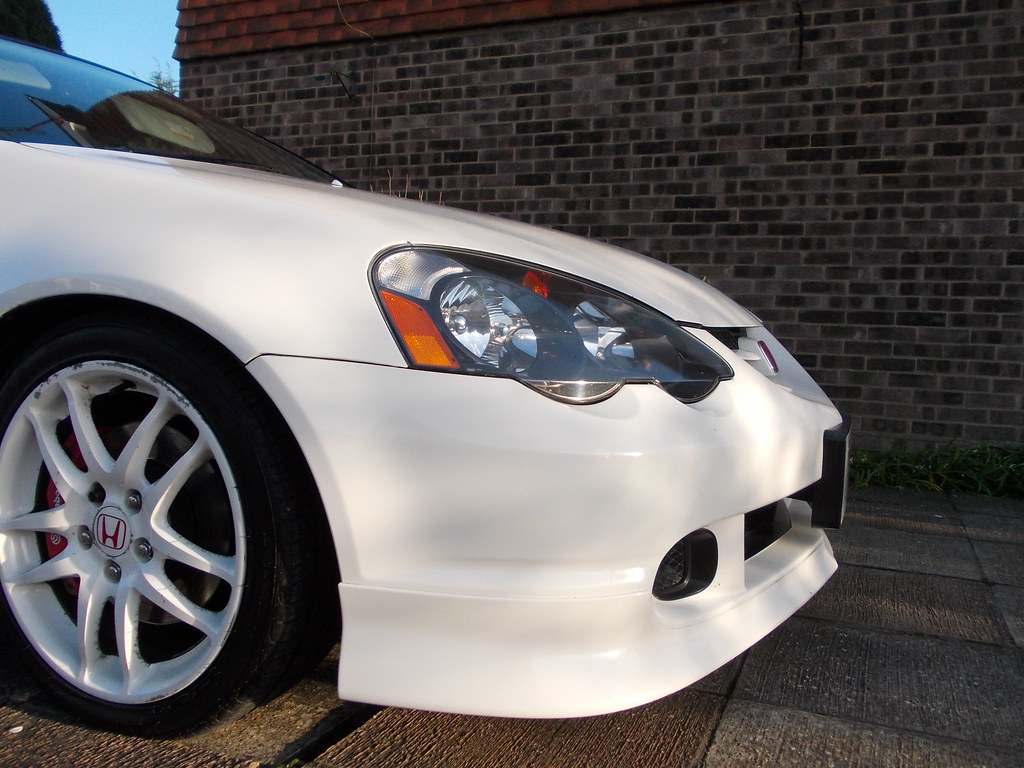
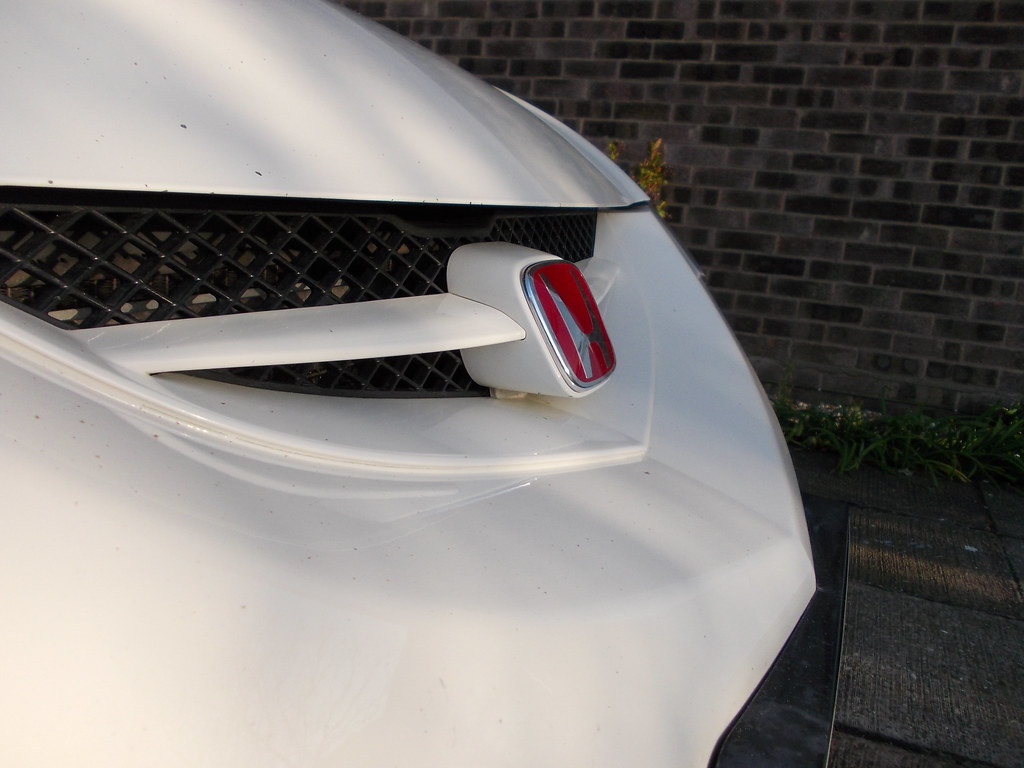
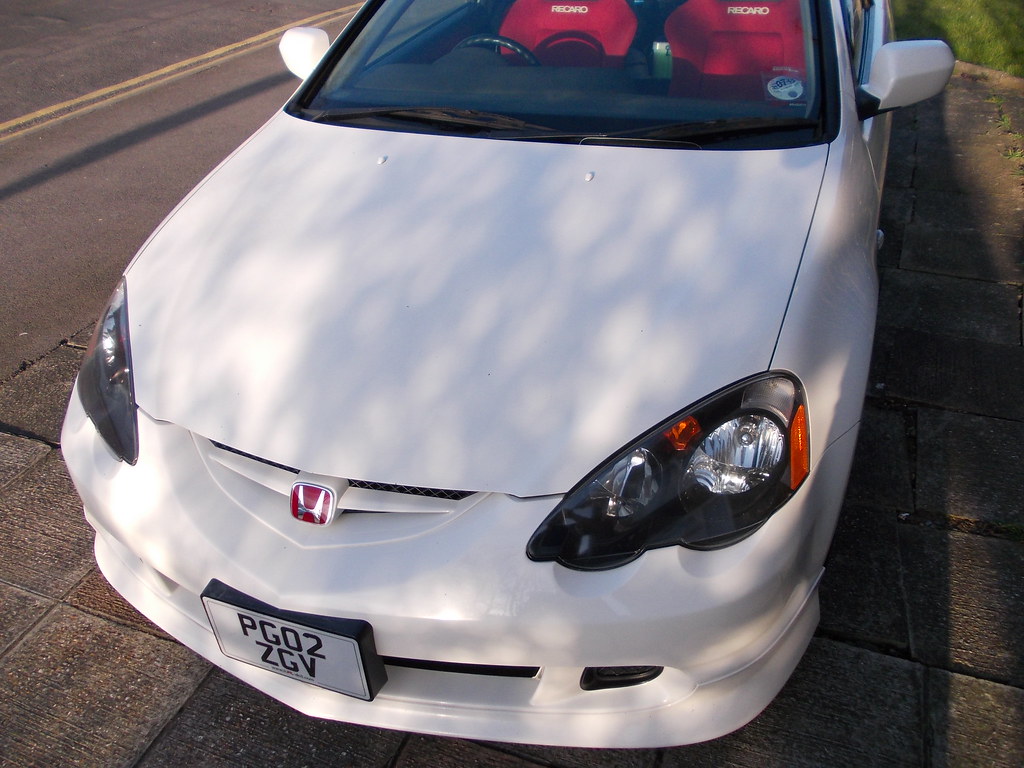
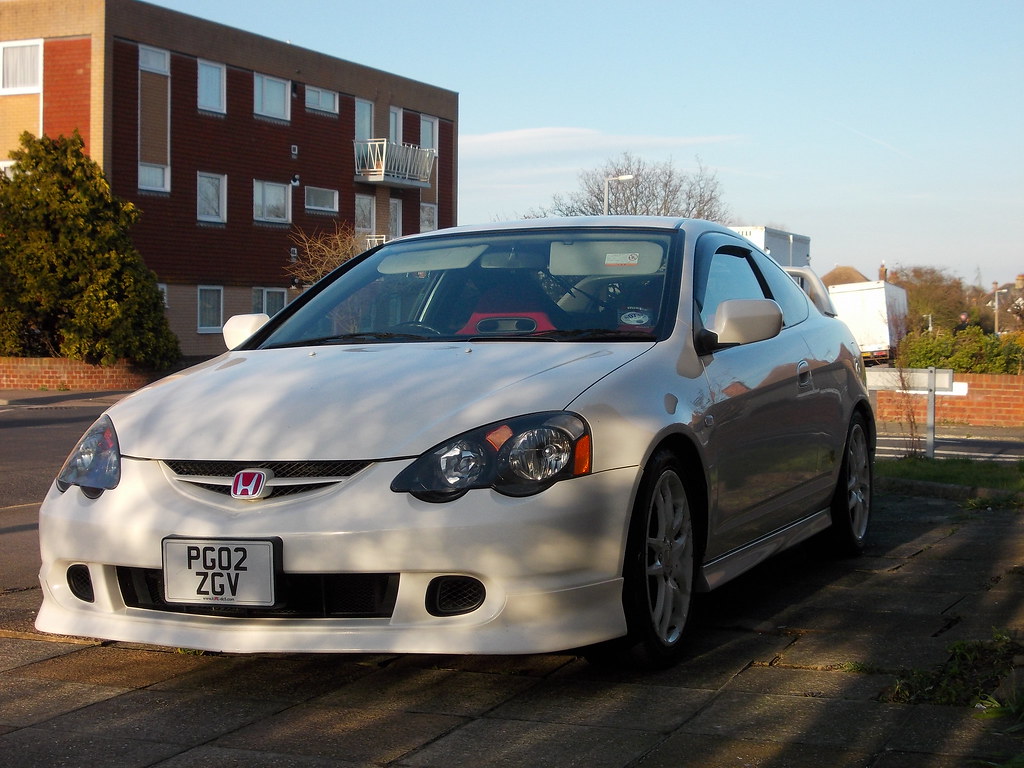
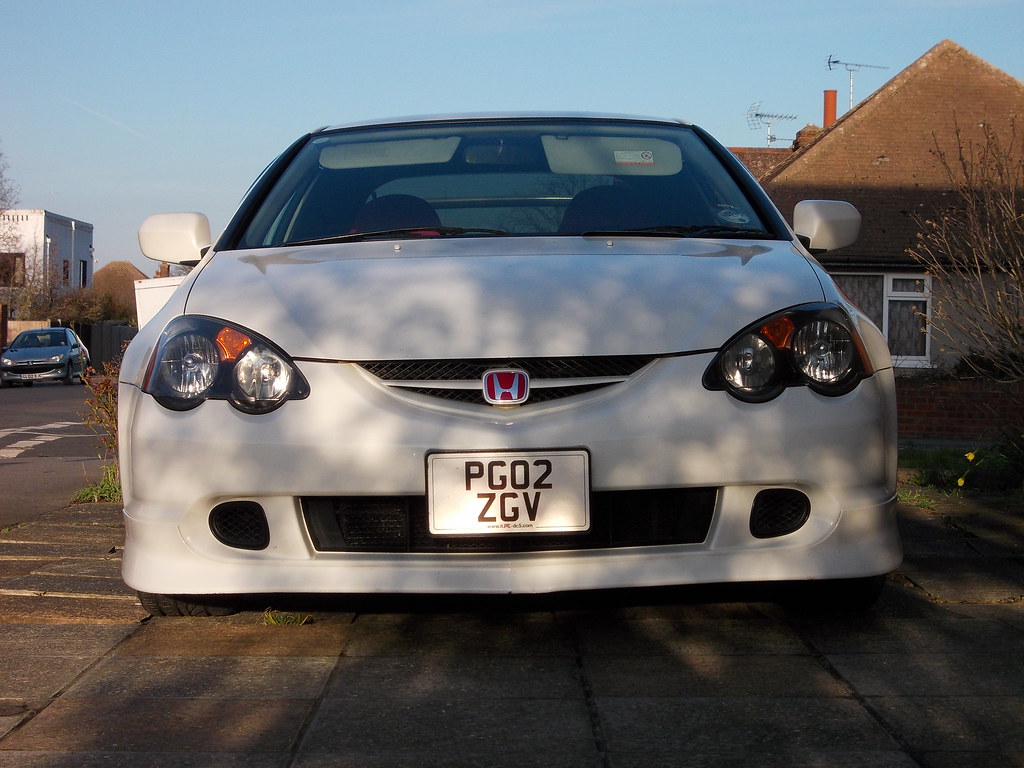
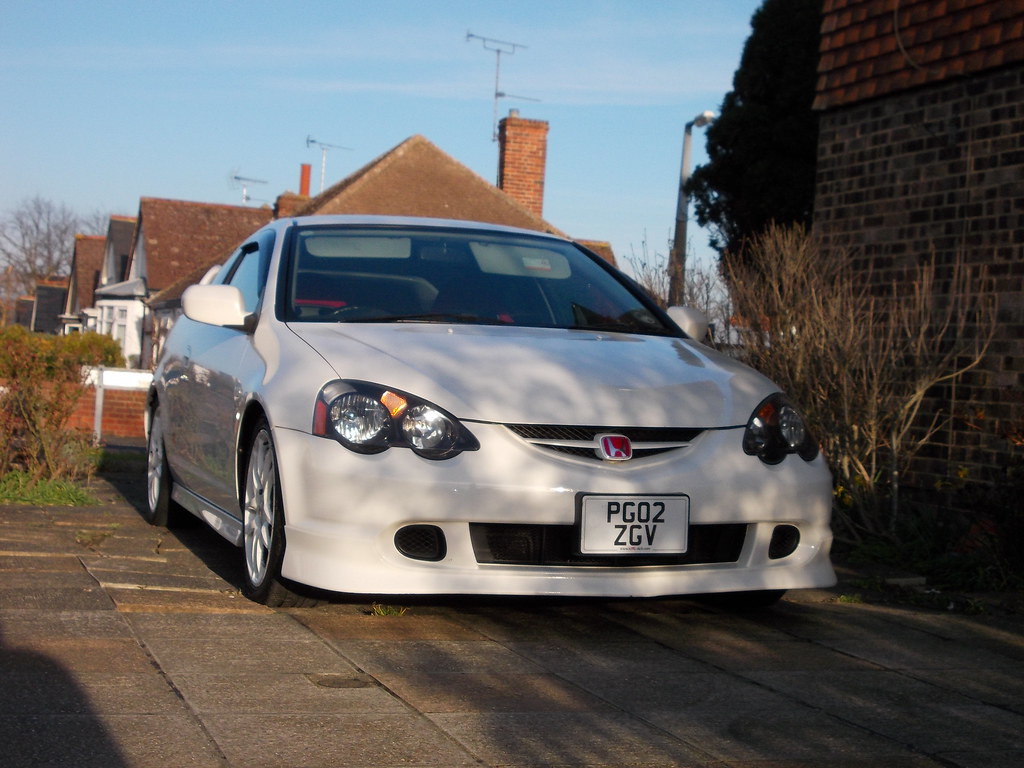
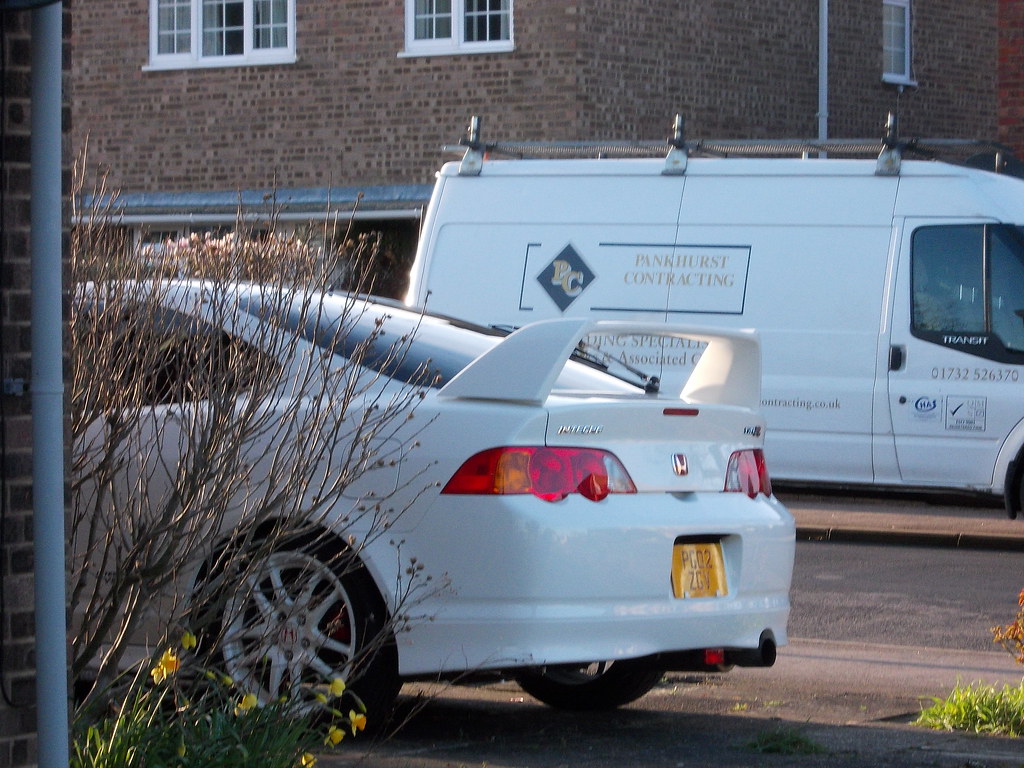
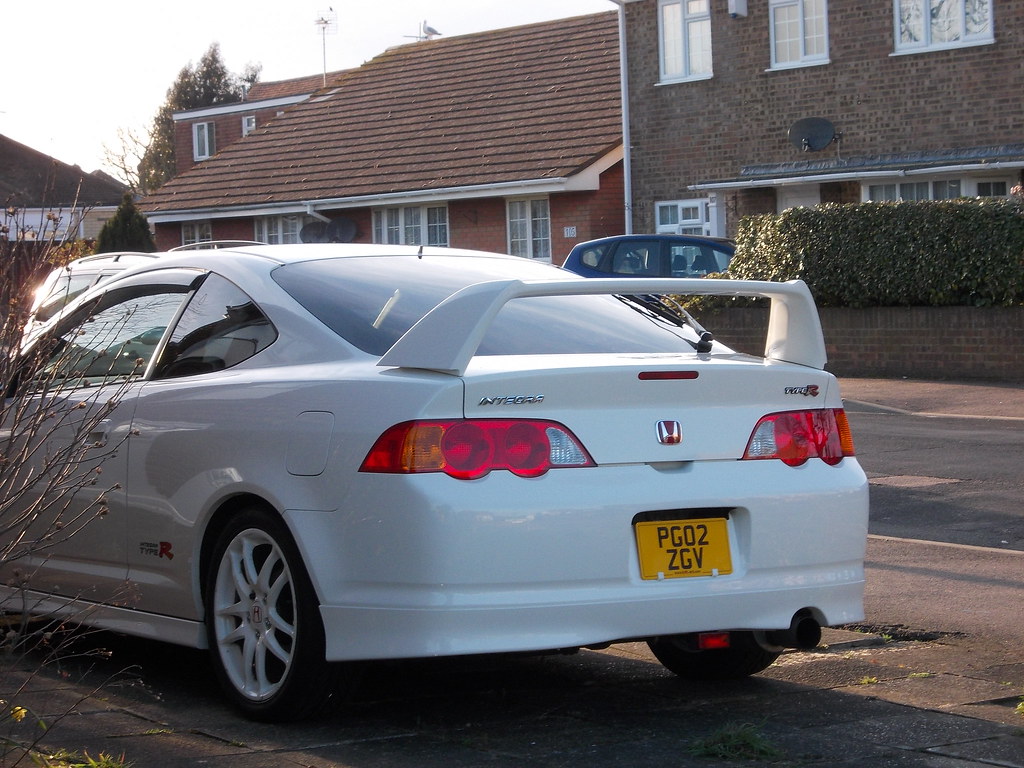
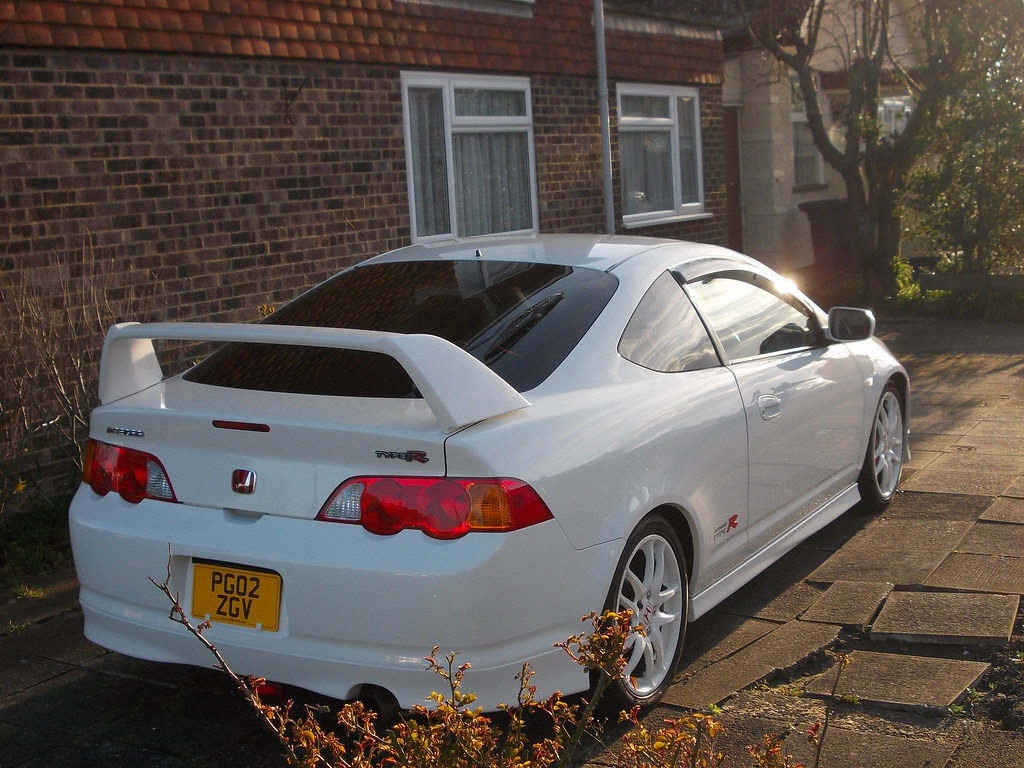
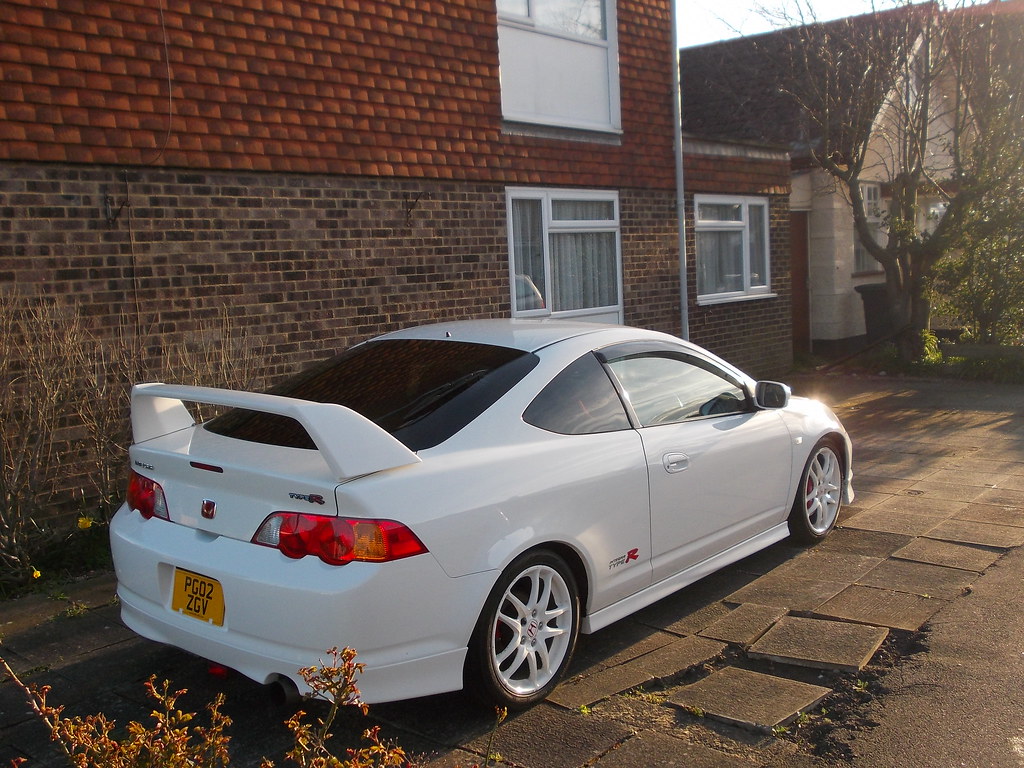
And finally, a load of the finished article, once every panel had been
refined and waxed.
DSCN0761
by harVTEC, on Flickr
DSCN0763
by harVTEC, on Flickr
DSCN0764
by harVTEC, on Flickr
DSCN0765
by harVTEC, on Flickr
DSCN0766
by harVTEC, on Flickr
DSCN0767
by harVTEC, on Flickr
DSCN0768
by harVTEC, on Flickr
DSCN0769
by harVTEC, on Flickr

DSCN0770
by harVTEC, on Flickr
DSCN0771
by harVTEC, on Flickr
DSCN0772
by harVTEC, on Flickr
DSCN0773
by harVTEC, on Flickr
DSCN0774
by harVTEC, on Flickr
DSCN0775
by harVTEC, on Flickr
DSCN0776
by harVTEC, on Flickr
DSCN0777
by harVTEC, on Flickr
DSCN0778
by harVTEC, on Flickr
DSCN0780
by harVTEC, on Flickr
DSCN0781
by harVTEC, on Flickr
DSCN0782
by harVTEC, on Flickr
DSCN0785
by harVTEC, on Flickr
DSCN0787
by harVTEC, on Flickr
DSCN0788
by harVTEC, on Flickr
DSCN0790
by harVTEC, on Flickr
DSCN0793
by harVTEC, on Flickr
DSCN0794
by harVTEC, on Flickr
Well, if you made it this far, thank you
Equipment & products used:
- Meguiars G220 V2 Dual Action Polisher
- Meguiars #83 and Ultimate Compound on a Meguiars 4" cutting pad
- Meguiars #80 on a Meguiars 4" polishing pad (for refining)
- Meguiars Last Touch quick detailer
- Meguiars Deep Crystal Carnauba Wax
- Meguiars Endurance Tyre Gel
- Maplin 9 LED Spotlight
- Various microfibres and buffing towels.
Comments and questions welcome
Harv
Been meaning to compile this write up and images for a while now, but
not had a chance, you'll see it was quite a biggy! Very picture heavy, so leave
now if you've got tortoise spec internet speed.
Well, I'd been planning to machine polish my Dad's C/W DC5 for quite
some time and finally got a couple of days to get it done. The paint had turned
Championship Cream, with plenty of surface imperfections, marring and dullness.
Approximately 20 hours worth of work later and she's finally looking factory
fresh.
I'll start with some before pictures, I won't bore you wish wash and
clay stages but will include a list of methods and products at the end.
DSCN0610
by harVTEC, on Flickr
DSCN0611
by harVTEC, on Flickr
DSCN0612
by harVTEC, on Flickr
DSCN0613
by harVTEC, on Flickr
Not looking too shabby, until the correction started :-
Roof 50/50:
DSCN0614
by harVTEC, on Flickr
Light reflection before:
DSCN0618
by harVTEC, on Flickr
Light reflection after:
DSCN0617
by harVTEC, on Flickr
Roof completed:
DSCN0624
by harVTEC, on Flickr
DSCN0625
by harVTEC, on Flickr
Next were the pillars, below shows the now polished roof, compared to the
pillar:
DSCN0627
by harVTEC, on Flickr
Pillar 50/50:
DSCN0631
by harVTEC, on Flickr
DSCN0634
by harVTEC, on Flickr
Pillar finished:
DSCN0636
by harVTEC, on Flickr
While I was there I attended to the wing mirror, suffering from the same
yellowing and dullness, with some light scratches thrown in for good measure:
DSCN0637
by harVTEC, on Flickr
Finished:
DSCN0638
by harVTEC, on Flickr
DSCN0641
by harVTEC, on Flickr
Wind deflectors were next, and probably one of the most significantly
changed parts of the detail. Anyone who owns a DC5 with the OEM wind deflectors
will probably agree!
Driver's before:
DSCN0642
by harVTEC, on Flickr
DSCN0643
by harVTEC, on Flickr
Driver's finished (passenger's includes some 50/50 pictures):
DSCN0644
by harVTEC, on Flickr
DSCN0648
by harVTEC, on Flickr
DSCN0649
by harVTEC, on Flickr
Next was to get the same bits done, but passenger side. Starting with
the pillar.
Before:
DSCN0655
by harVTEC, on Flickr
After:
DSCN0658
by harVTEC, on Flickr
DSCN0659
by harVTEC, on Flickr
Passenger wing mirror next up, this side also had some black paint
transfer:
DSCN0667
by harVTEC, on Flickr
DSCN0668
by harVTEC, on Flickr
Finito:
DSCN0673
by harVTEC, on Flickr
DSCN0671
by harVTEC, on Flickr
Now to get the passenger wind deflector matching the driver's one.
Before:
DSCN0645
by harVTEC, on Flickr
DSCN0646
by harVTEC, on Flickr
DSCN0660
by harVTEC, on Flickr
During, 50/50:
DSCN0661
by harVTEC, on Flickr
DSCN0662
by harVTEC, on Flickr
DSCN0663
by harVTEC, on Flickr
DSCN0664
by harVTEC, on Flickr
All done:
DSCN0665
by harVTEC, on Flickr
DSCN0666
by harVTEC, on Flickr
On to the spoiler and bootlid next, the arse end was even more cream
than the rest of the car, owing to the de-cat.
Before:
DSCN0675
by harVTEC, on Flickr
DSCN0677
by harVTEC, on Flickr
After, including the inner and upper sides:
DSCN0680
by harVTEC, on Flickr
DSCN0688
by harVTEC, on Flickr
DSCN0689
by harVTEC, on Flickr
DSCN0681
by harVTEC, on Flickr
Bootlid was next to be treated.
Before:
DSCN0692
by harVTEC, on Flickr
DSCN0693
by harVTEC, on Flickr
Left hand side done:
DSCN0694
by harVTEC, on Flickr
DSCN0695
by harVTEC, on Flickr
50/50:
DSCN0701
by harVTEC, on Flickr
DSCN0699
by harVTEC, on Flickr
Finished:
DSCN0705
by harVTEC, on Flickr
Nice picture of the completed bootlid and spoiler:
DSCN0706
by harVTEC, on Flickr
Few more general bootlid pictures:
DSCN0707
by harVTEC, on Flickr
DSCN0708
by harVTEC, on Flickr
DSCN0709
by harVTEC, on Flickr
DSCN0717
by harVTEC, on Flickr
Rear bumper and lip were also attended to at this point, no before or
during pictures but a couple of afters:
DSCN0721
by harVTEC, on Flickr
DSCN0723
by harVTEC, on Flickr
DSCN0724
by harVTEC, on Flickr
DSCN0725
by harVTEC, on Flickr
Bonnet next, there was literally no reflection or shine to the paint,
you could hold your hand a few inches away from the paint and not see anything
reflecting back.
Before:
DSCN0730
by harVTEC, on Flickr
Left hand side done:
DSCN0731
by harVTEC, on Flickr
50/50 line down the middle, makes how dull it was before very
noticeable:
DSCN0733
by harVTEC, on Flickr
DSCN0734
by harVTEC, on Flickr
DSCN0740
by harVTEC, on Flickr
DSCN0741
by harVTEC, on Flickr
DSCN0742
by harVTEC, on Flickr
Finished reflection:
DSCN0735
by harVTEC, on Flickr
Both sides and the front bumper were done next but the camera ran out of
battery, but I'm sure you get the idea of what it would have looked like
before, then after.
Day 2 consisted of getting the whole car refined, headlights polished
and get the paint sealed.
Passenger headlights before:
DSCN0751
by harVTEC, on Flickr
DSCN0752
by harVTEC, on Flickr
DSCN0757
by harVTEC, on Flickr
And done:
DSCN0758
by harVTEC, on Flickr
DSCN0759
by harVTEC, on Flickr
Driver's before:
DSCN0753
by harVTEC, on Flickr
Driver's after:
DSCN0754
by harVTEC, on Flickr
DSCN0755
by harVTEC, on Flickr
And finally, a load of the finished article, once every panel had been
refined and waxed.
DSCN0761
by harVTEC, on Flickr
DSCN0763
by harVTEC, on Flickr
DSCN0764
by harVTEC, on Flickr
DSCN0765
by harVTEC, on Flickr
DSCN0766
by harVTEC, on Flickr
DSCN0767
by harVTEC, on Flickr
DSCN0768
by harVTEC, on Flickr
DSCN0769
by harVTEC, on Flickr
DSCN0770
by harVTEC, on Flickr
DSCN0771
by harVTEC, on Flickr
DSCN0772
by harVTEC, on Flickr
DSCN0773
by harVTEC, on Flickr
DSCN0774
by harVTEC, on Flickr
DSCN0775
by harVTEC, on Flickr
DSCN0776
by harVTEC, on Flickr
DSCN0777
by harVTEC, on Flickr
DSCN0778
by harVTEC, on Flickr
DSCN0780
by harVTEC, on Flickr
DSCN0781
by harVTEC, on Flickr
DSCN0782
by harVTEC, on Flickr
DSCN0785
by harVTEC, on Flickr
DSCN0787
by harVTEC, on Flickr
DSCN0788
by harVTEC, on Flickr
DSCN0790
by harVTEC, on Flickr
DSCN0793
by harVTEC, on Flickr
DSCN0794
by harVTEC, on Flickr
Well, if you made it this far, thank you
Equipment & products used:
- Meguiars G220 V2 Dual Action Polisher
- Meguiars #83 and Ultimate Compound on a Meguiars 4" cutting pad
- Meguiars #80 on a Meguiars 4" polishing pad (for refining)
- Meguiars Last Touch quick detailer
- Meguiars Deep Crystal Carnauba Wax
- Meguiars Endurance Tyre Gel
- Maplin 9 LED Spotlight
- Various microfibres and buffing towels.
Comments and questions welcome
Harv
")