
Hi,
So after hours of looking for a how 2 guide and not finding one for the JDM Aluminium arms I have now done one for you all 8)
This How 2 will show how to Install a SuperPro front caster lower polyurethane bush kit, I take no responsibility for any damages that may occur by following this guide, the instructions provided with the kit are to be followed!.
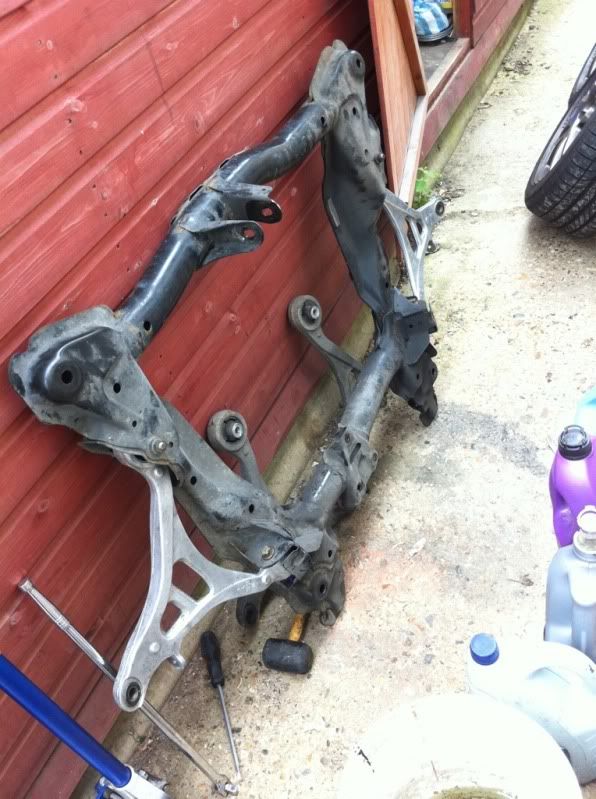
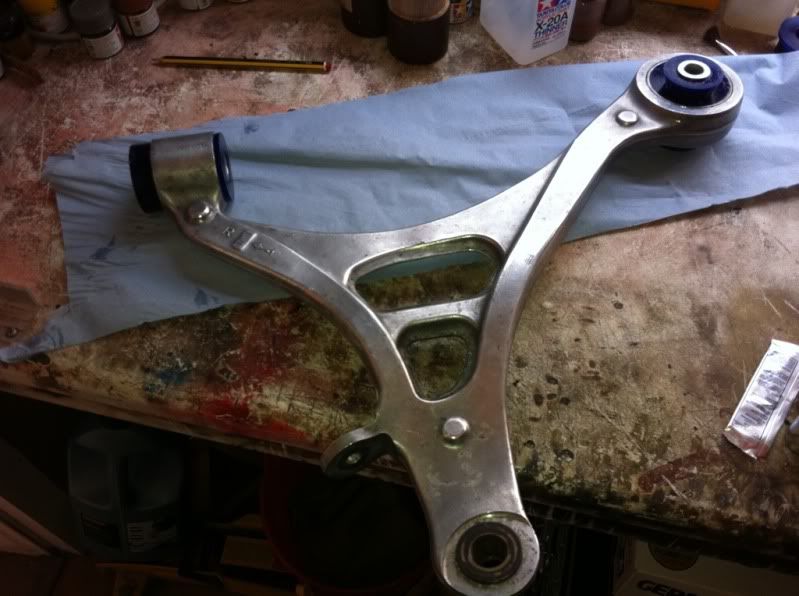
So first off remove the lower arms. I am not going to tell you how, because if you cant work that out for yourself then don't do the following job as its much harder.
I wont lie to you, you will need some sort of hydraulic press to remove the OEM bushes.
The bushes are SuperPro bushes manufactured by Fulcrum Suspensions in Brisbane Australia, they only have the base RSX-S model. SuperPro have not designed the template they supply in the kit for use with the aluminium arms but for the steel one, but it still works however.
Front Bush
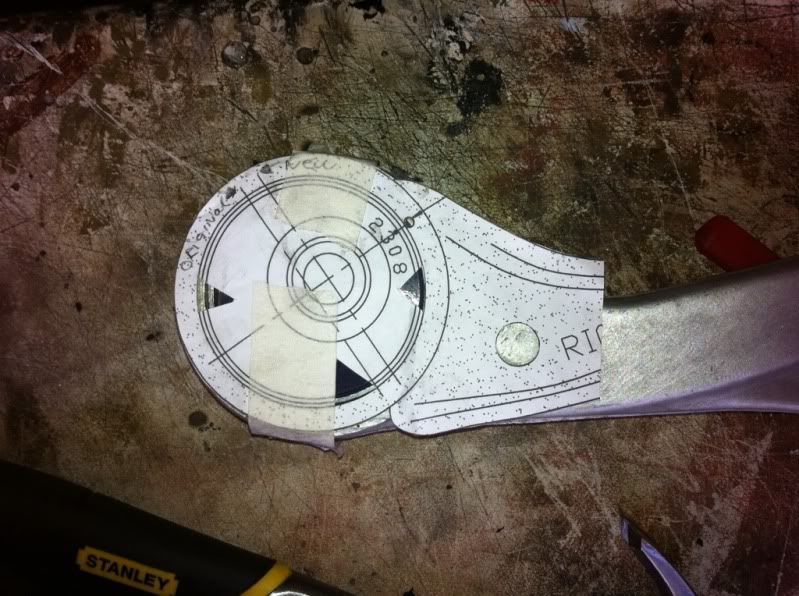
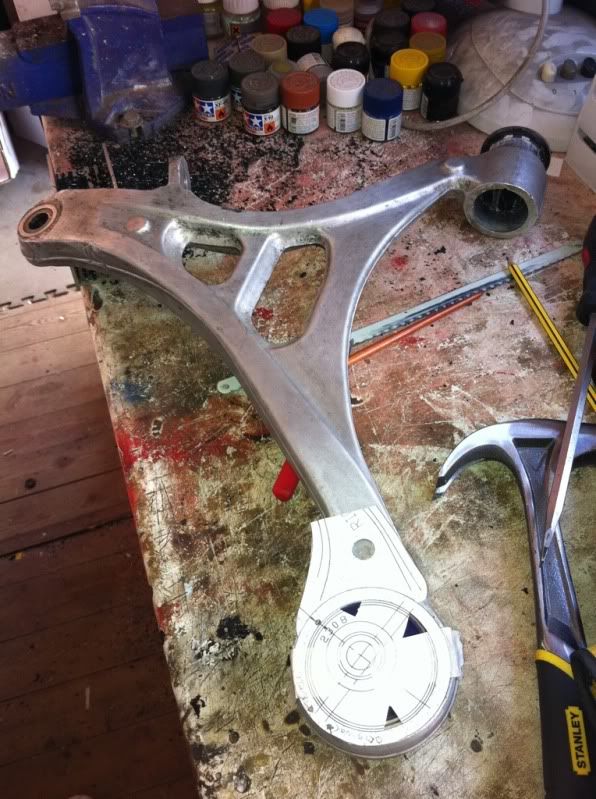
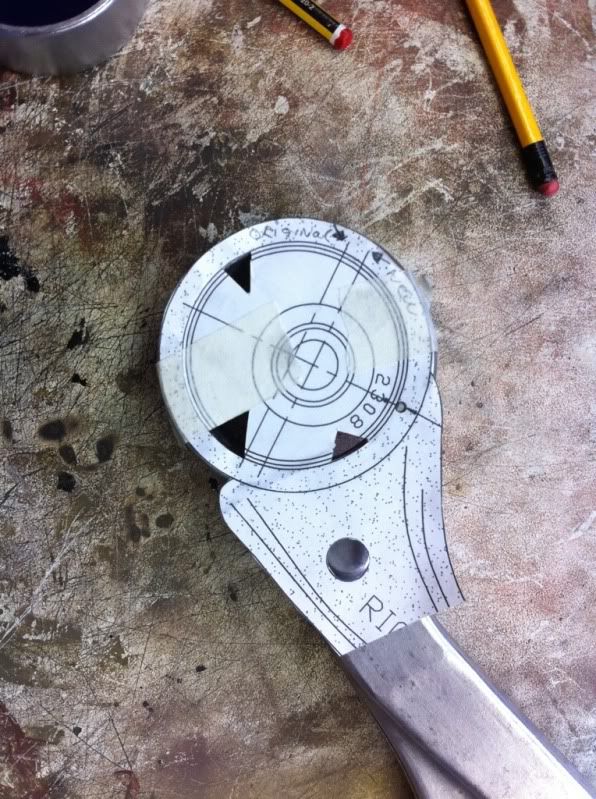
The template supplied in the picture bellow has been cut out and positioned on top of the arm, I have cut out the round location mark which you line up with the round casting knob on the arm to get the correct position. Once this is correct you use a centre punch on the arm to mark the position of the bush. (Please not that I found the supplied template too small and had to enlarge it 4%
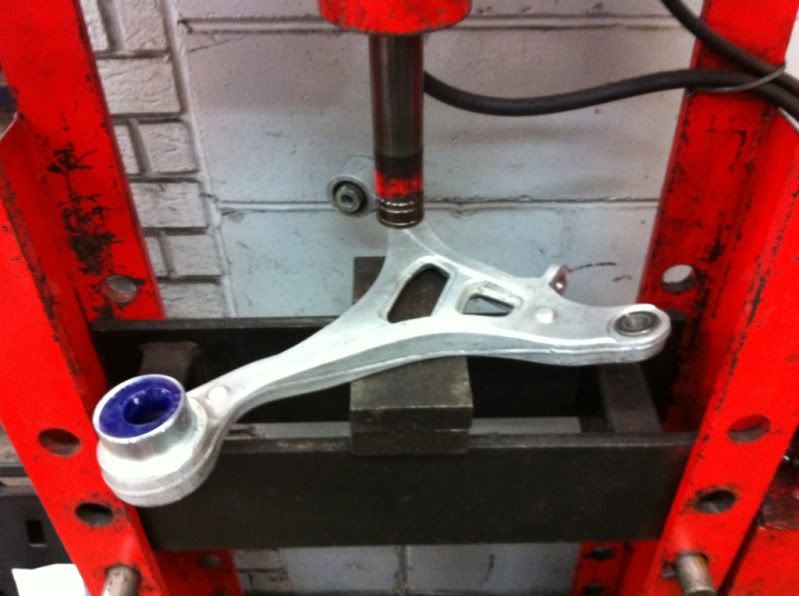
Once happy, proceed to the Hydraulic press and remove the old bush from the arm.
The new one can now be pressed into position making sure the bush lines up with the marks made earlier. ( Please note than the bush must be level and square at all times when pressing it into the arm or it will crack the casting! )
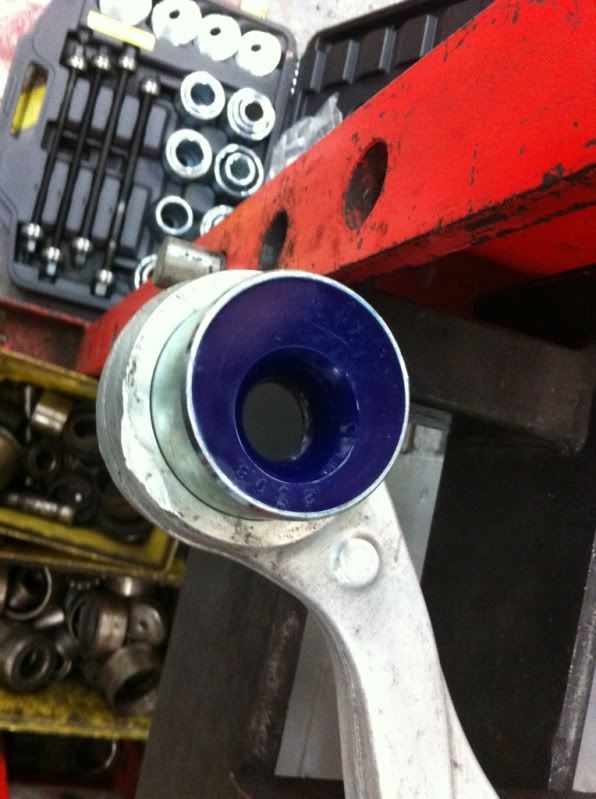
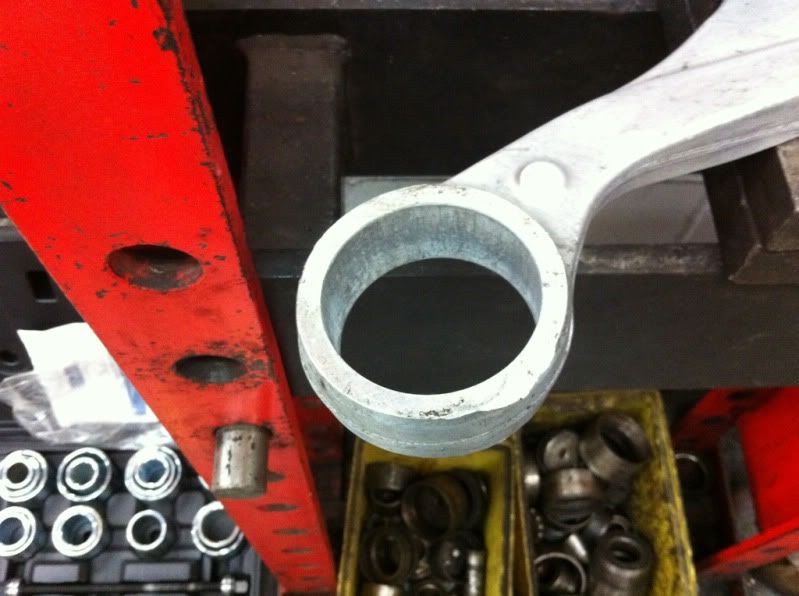
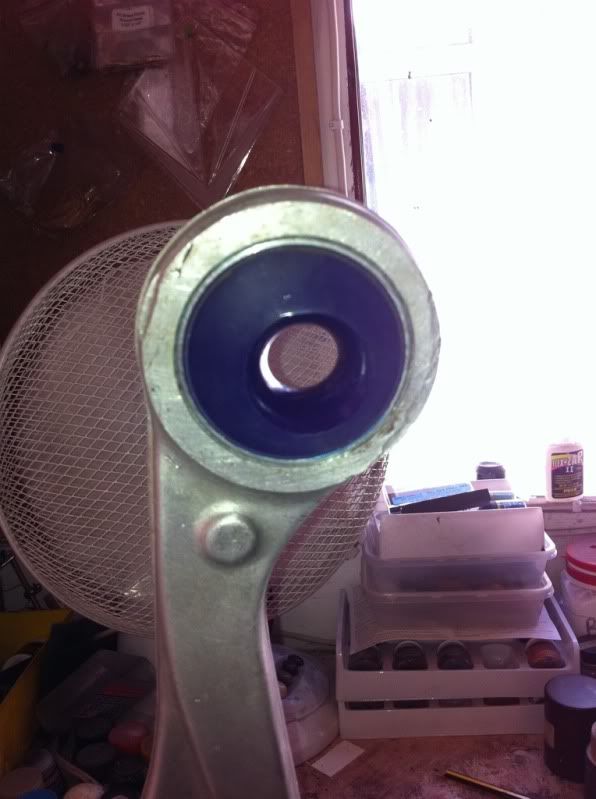
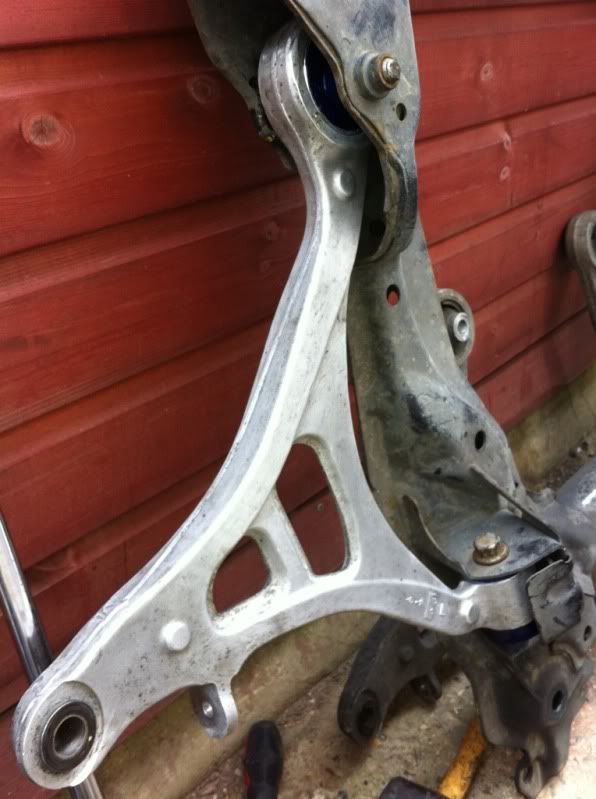
once in it should look like this, notice the offset hole for the new caster setting.
install the metal centre tube and cone bushes supplied making sure to lubricate the metal parts and the polyurethane that is in contact with it to stop them from wearing out.

Rear Bushes
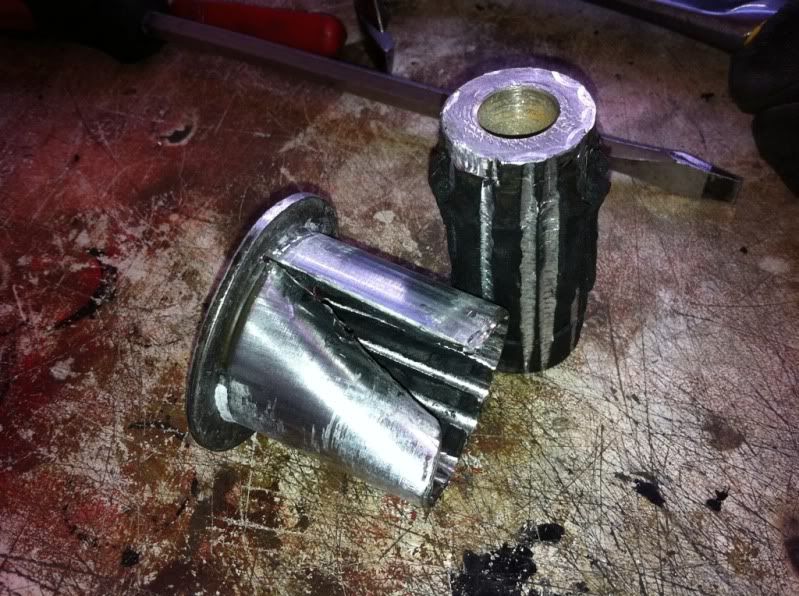
The Rear bushes I could not fit under the Press, So I had to drill out the centre rubber part of the bush. I used a 8mm drill bit and went around the central hub. Once you have made it weak swist it out with some grips until it looks like bellow.
Lots of rubber!!! LOL
Now the core is out, The outer metal ring has to be removed. the Easy way to do this is to use a hacksaw blade to cut through the metal.
Once it has been cut use a flat screw driver to swist the metal inwards and the piece will become loose to pull out of the arm.
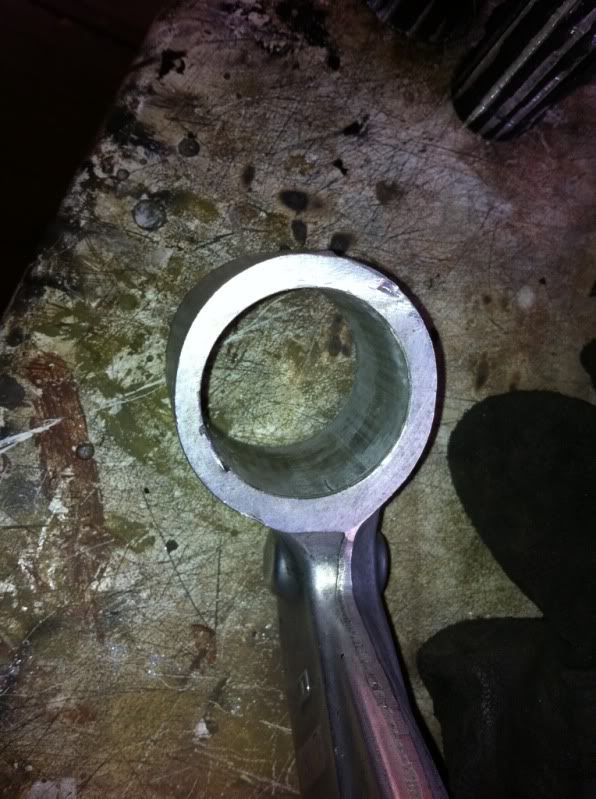
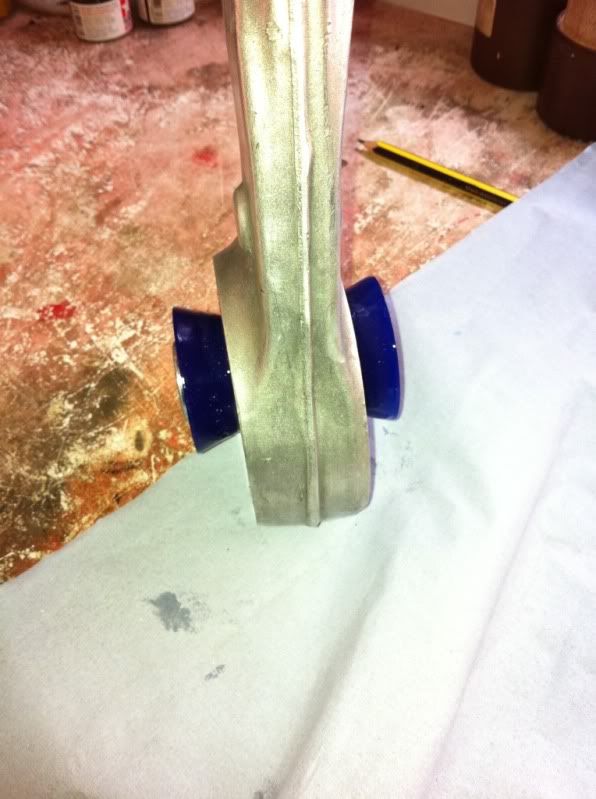
Once the rear hole is cleaned and ready for the polyurethane, coat the internal metal and the outside of the bushes with lubricant supplied and insert the 2 half's of the rear bush, they slide in very easy by hand. again once this is done, lubricate the metal bolt tube and the internal hole of the bushes and insert the tube with the aid of a press or a bench vice.
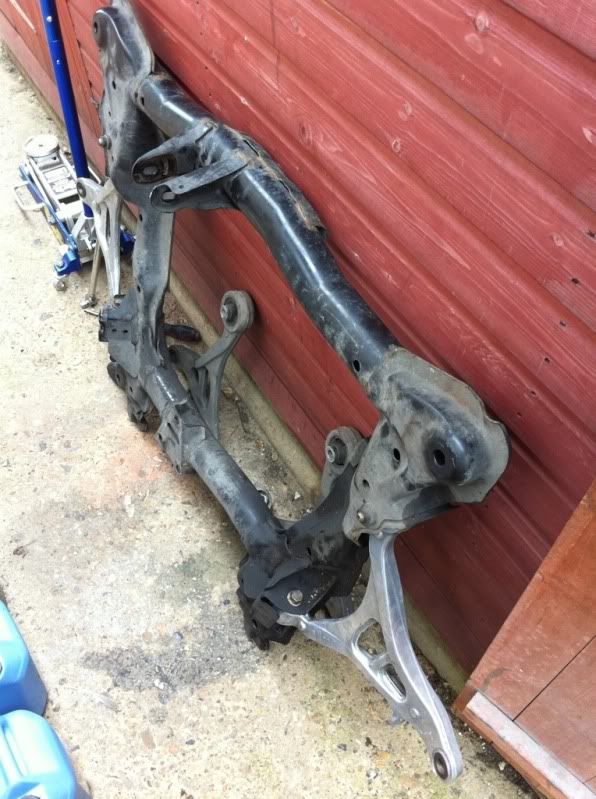
I removed my subframe but you dont have to,
And your done!
I Hope this has helped some people, I have also sent a link to superPro in Austrlia so to help them out. They have never seen a DC5 aluminium arm before so this should help them out.
James.
So after hours of looking for a how 2 guide and not finding one for the JDM Aluminium arms I have now done one for you all 8)
This How 2 will show how to Install a SuperPro front caster lower polyurethane bush kit, I take no responsibility for any damages that may occur by following this guide, the instructions provided with the kit are to be followed!.
So first off remove the lower arms. I am not going to tell you how, because if you cant work that out for yourself then don't do the following job as its much harder.
I wont lie to you, you will need some sort of hydraulic press to remove the OEM bushes.
The bushes are SuperPro bushes manufactured by Fulcrum Suspensions in Brisbane Australia, they only have the base RSX-S model. SuperPro have not designed the template they supply in the kit for use with the aluminium arms but for the steel one, but it still works however.
Front Bush
The template supplied in the picture bellow has been cut out and positioned on top of the arm, I have cut out the round location mark which you line up with the round casting knob on the arm to get the correct position. Once this is correct you use a centre punch on the arm to mark the position of the bush. (Please not that I found the supplied template too small and had to enlarge it 4%
Once happy, proceed to the Hydraulic press and remove the old bush from the arm.
The new one can now be pressed into position making sure the bush lines up with the marks made earlier. ( Please note than the bush must be level and square at all times when pressing it into the arm or it will crack the casting! )
once in it should look like this, notice the offset hole for the new caster setting.
install the metal centre tube and cone bushes supplied making sure to lubricate the metal parts and the polyurethane that is in contact with it to stop them from wearing out.
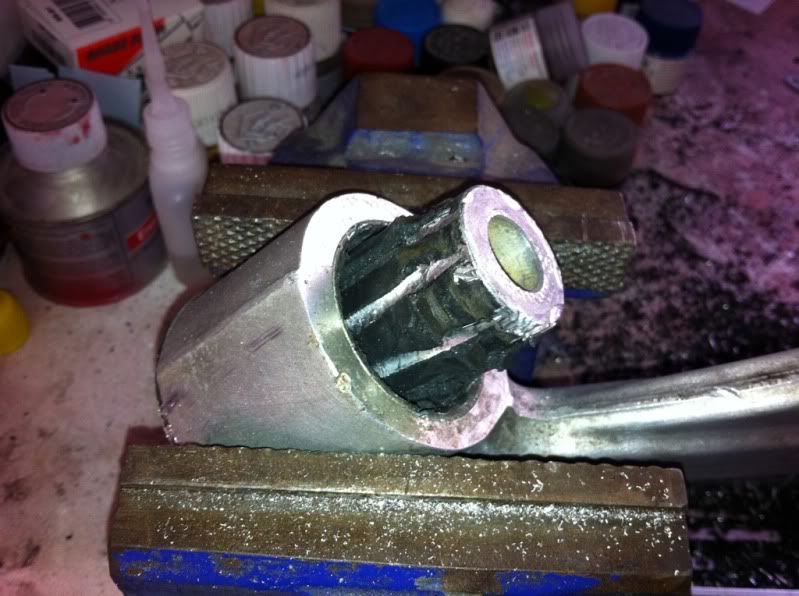
Rear Bushes
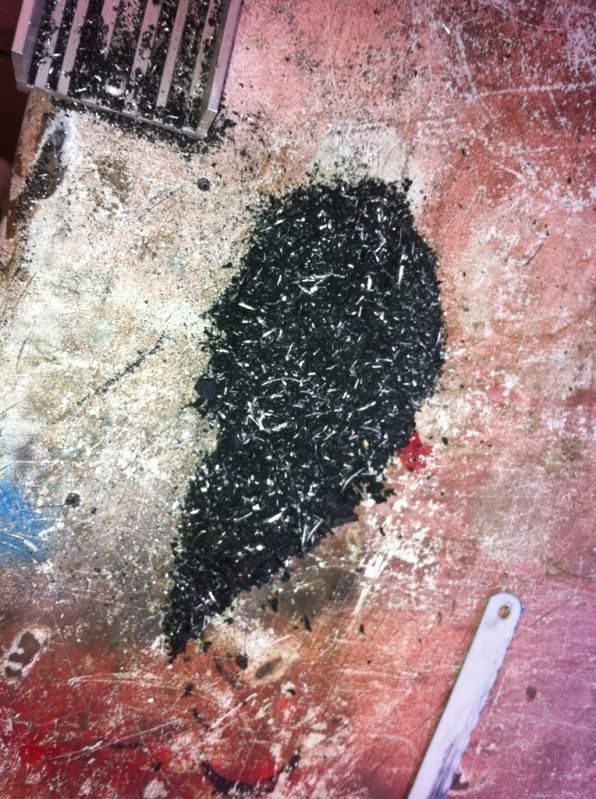
The Rear bushes I could not fit under the Press, So I had to drill out the centre rubber part of the bush. I used a 8mm drill bit and went around the central hub. Once you have made it weak swist it out with some grips until it looks like bellow.
Lots of rubber!!! LOL
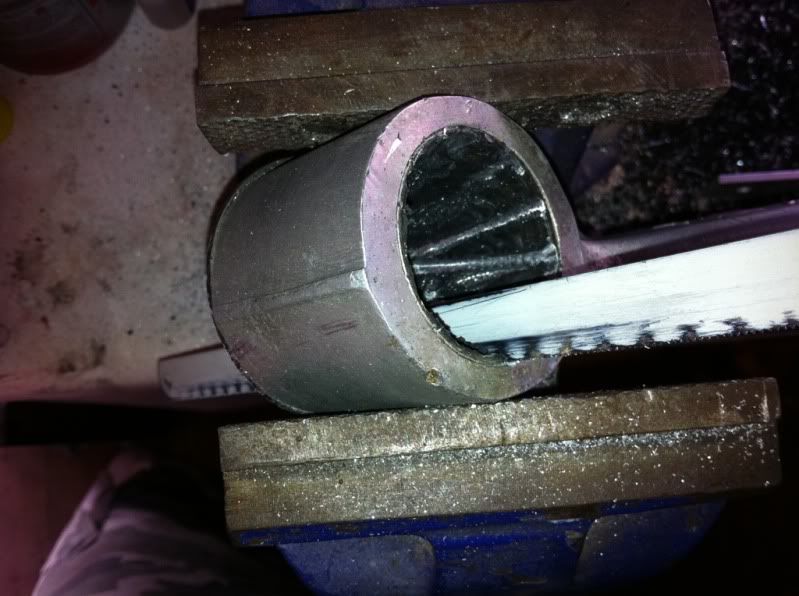
Now the core is out, The outer metal ring has to be removed. the Easy way to do this is to use a hacksaw blade to cut through the metal.
Once it has been cut use a flat screw driver to swist the metal inwards and the piece will become loose to pull out of the arm.
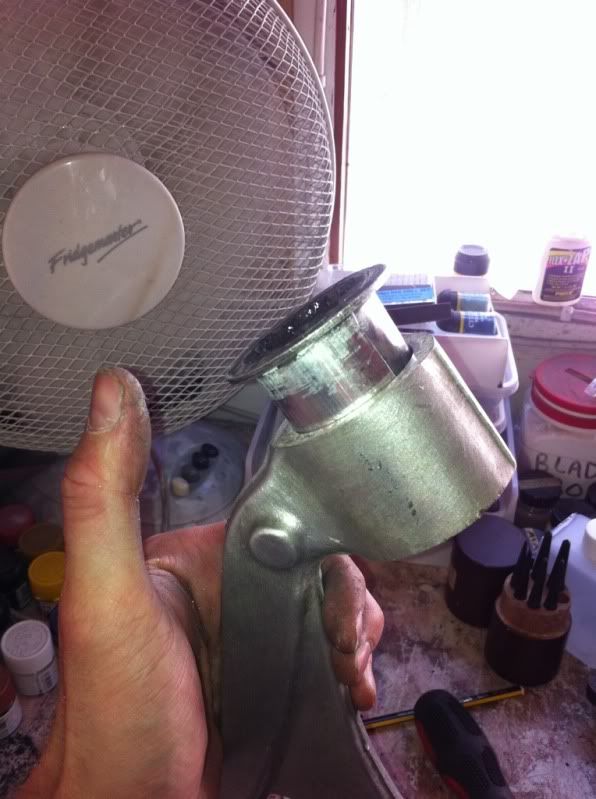
Once the rear hole is cleaned and ready for the polyurethane, coat the internal metal and the outside of the bushes with lubricant supplied and insert the 2 half's of the rear bush, they slide in very easy by hand. again once this is done, lubricate the metal bolt tube and the internal hole of the bushes and insert the tube with the aid of a press or a bench vice.
I removed my subframe but you dont have to,
And your done!
I Hope this has helped some people, I have also sent a link to superPro in Austrlia so to help them out. They have never seen a DC5 aluminium arm before so this should help them out.
James.