
firthy22
Advanced Member
- Messages
- 1,132
As requested from my post on the gallery section I am posting this to show how to, quickly and easily fit mudflaps.
Firstly, you need to go to Ebay and spend £20 on 2 pairs of these:
<!-- m -->http://cgi.ebay.co.uk/HONDA-MUDFLAPS-SC ... 3ca8fcd224<!-- m -->
Next you need to mark the mudflaps to utilise the existing screws that hold the wheel arch liner in place. I did this by using some white cream (tube of E45 cream in my case). I put some cream in the centre of the screws and held the mudflaps in the position I wanted them and pressed against the screws. I then drilled the mudflaps where the white cream had marked them.
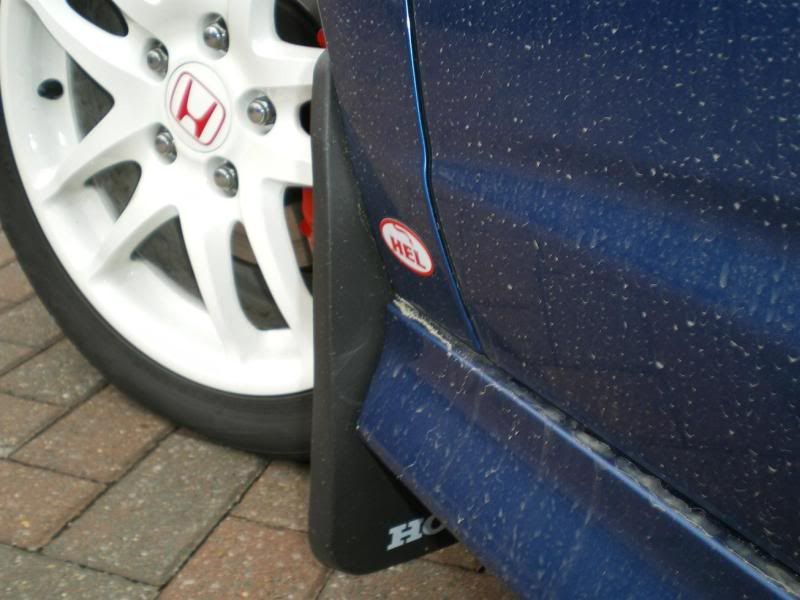
As you can see from the next 2 pictures this is the position I chose.
Front:
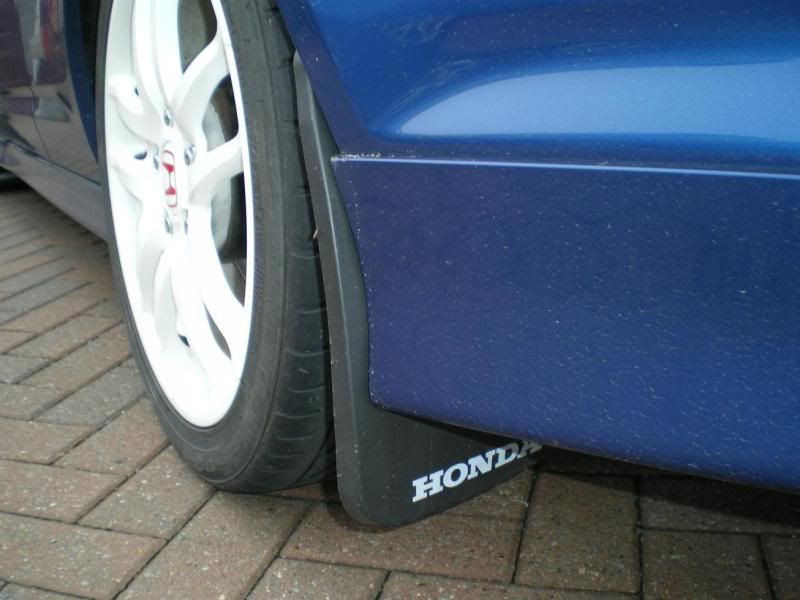
Rear:
If you look at the following picture, the 3 yellow circles are the existing arch liner screws and the pink circle is an extra screw that is just screwed into the arch liner itself. You will also need to cut a piece of the mudflap away to go around the arch liner that sticks out, this is shown by the orange line above the inner screw.
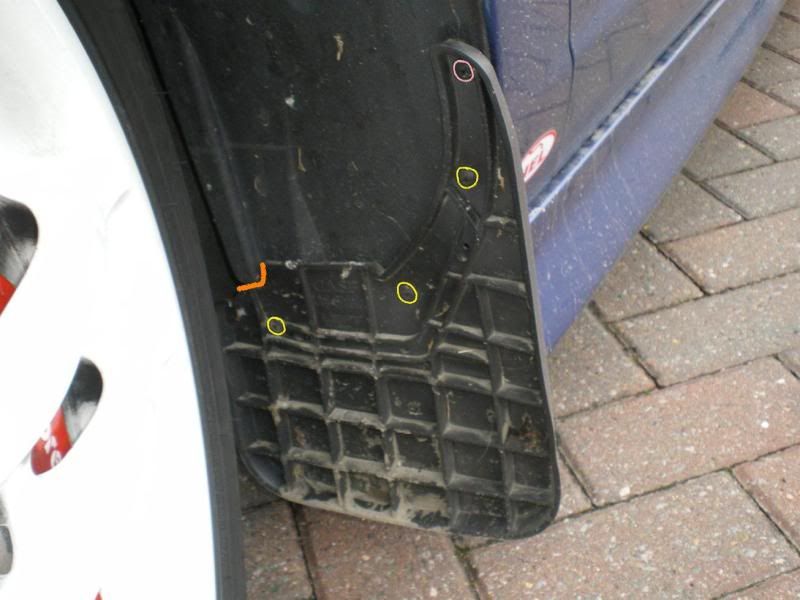
If you look at the next picture of the rear mudflap, you can see where the 3 arch liner screws are used, denoted by the 3 yellow circles.
I then had to screw the mudflap on the innermost part with an extra screw, screwed into the arch liner as shown in the following picture, deoted by the pink circle.

You made need to cut some of the ribs away with a stanley knife if they get in the way of the screws but this will be fairly obvious once the holes are drilled in the mudflaps. All you have to do then, is screw them in place and these mudflaps are quite flexible so will mould to the shape of the arch.
As you can see from the pics there is quite a bit of crap on them and this was just after 1 day driving to work and back so a mod definitely worth doing if your car is a daily driver.
Firstly, you need to go to Ebay and spend £20 on 2 pairs of these:
<!-- m -->http://cgi.ebay.co.uk/HONDA-MUDFLAPS-SC ... 3ca8fcd224<!-- m -->
Next you need to mark the mudflaps to utilise the existing screws that hold the wheel arch liner in place. I did this by using some white cream (tube of E45 cream in my case). I put some cream in the centre of the screws and held the mudflaps in the position I wanted them and pressed against the screws. I then drilled the mudflaps where the white cream had marked them.
As you can see from the next 2 pictures this is the position I chose.
Front:
Rear:
If you look at the following picture, the 3 yellow circles are the existing arch liner screws and the pink circle is an extra screw that is just screwed into the arch liner itself. You will also need to cut a piece of the mudflap away to go around the arch liner that sticks out, this is shown by the orange line above the inner screw.
If you look at the next picture of the rear mudflap, you can see where the 3 arch liner screws are used, denoted by the 3 yellow circles.
I then had to screw the mudflap on the innermost part with an extra screw, screwed into the arch liner as shown in the following picture, deoted by the pink circle.
You made need to cut some of the ribs away with a stanley knife if they get in the way of the screws but this will be fairly obvious once the holes are drilled in the mudflaps. All you have to do then, is screw them in place and these mudflaps are quite flexible so will mould to the shape of the arch.
As you can see from the pics there is quite a bit of crap on them and this was just after 1 day driving to work and back so a mod definitely worth doing if your car is a daily driver.


