
maxvr6
Advanced Member
- Messages
- 1,907
So recently someone made a comment on here that nobody seems to modify their own scuttle panel anymore, and that got me thinking how would i modify it if i were to do it myself?
I picked up a new Tegiwa intake a while ago and finally found the time to fit it thanks to the holidays, then it was on to modifying the scuttle panel. Now bearing in mind i have never attempted anything like this before i think it came out quite good")
Most people seems to do it like this which seems the most popular way and involves some fabricating...
http://www.itr-dc5.com/forum/index.php?/topic/11420-gruppe-m-scuttle-mod-no2/
Or like here shown by Wedge which only involves cutting the holes either side...
http://www.itr-dc5.com/forum/index.php?/topic/28040-tegiwa-intake-fitment-pics/?hl=scuttle
Both have their merits and in my mind i thought a combination of the two was the most ideal, so my OCD kicked in and it went something like this...
First i fitted the intake and measured everything up to the scuttle panel, i found the spacing of the holes on the supplied scoop are too close together meaning you cant use all the washers and they dont sit in quite the right position, so out came the dremel to extend the holes into the right position and on it went so i could work the rest out.

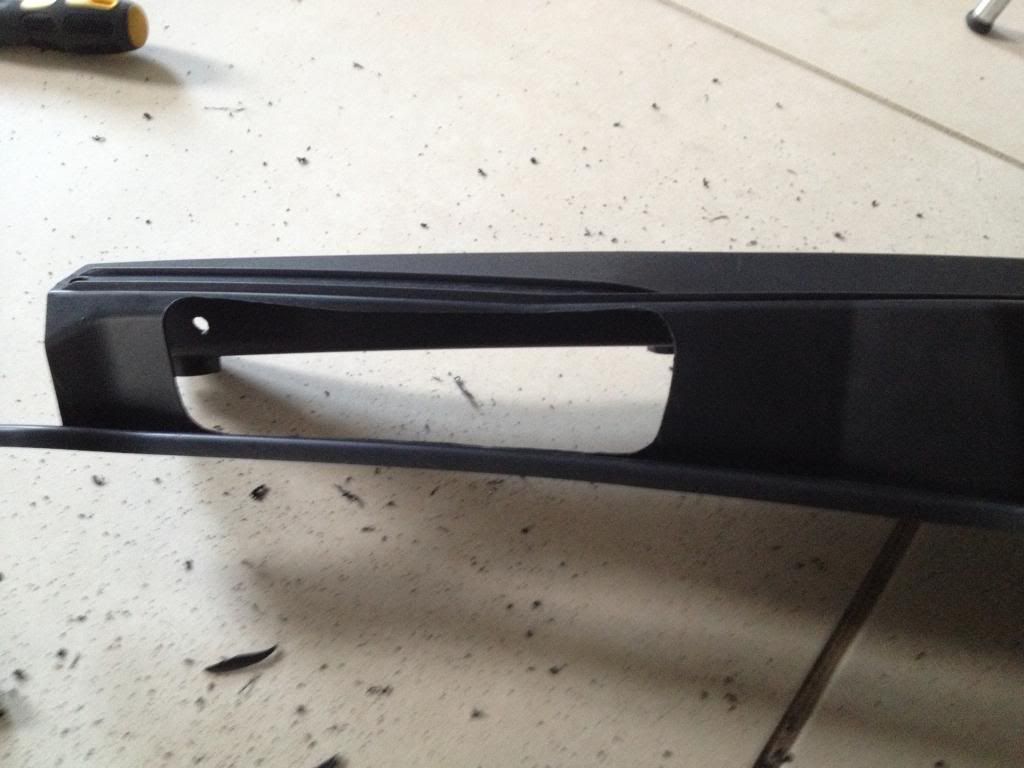
Then came cutting the hole for the mouth of the intake.
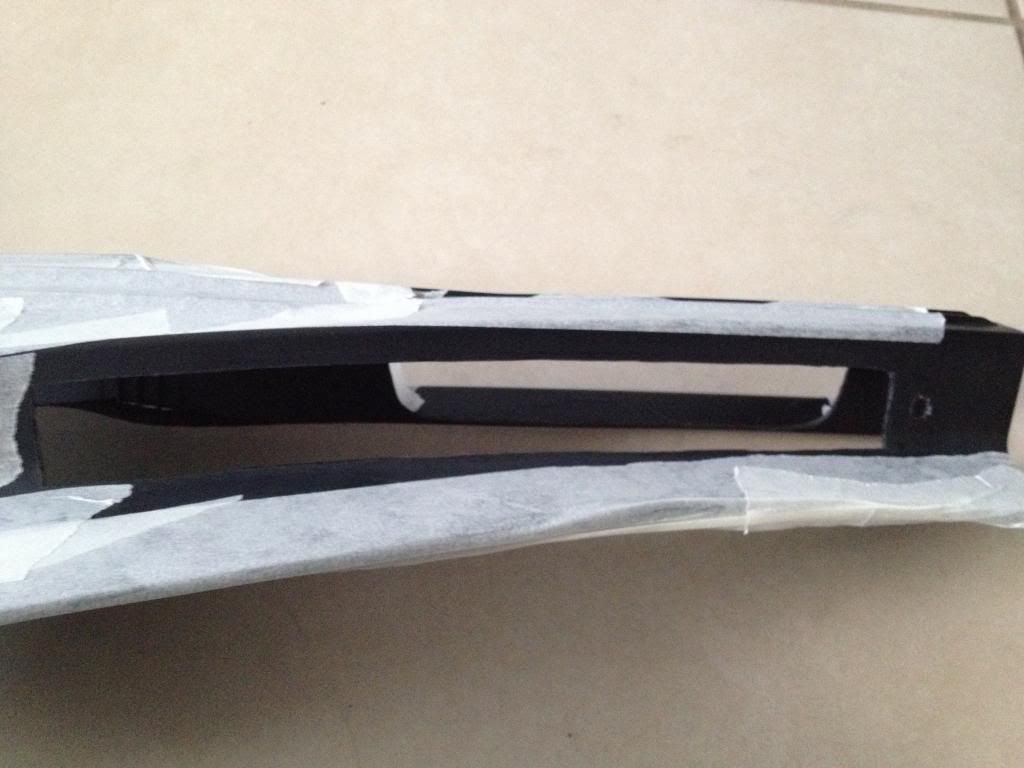
Then cut the other side and started to mask it all up.
Used some P40 to create the bulk of the roof of the intake, followed by some P38 to smooth it off but forgot to take a pic of it.

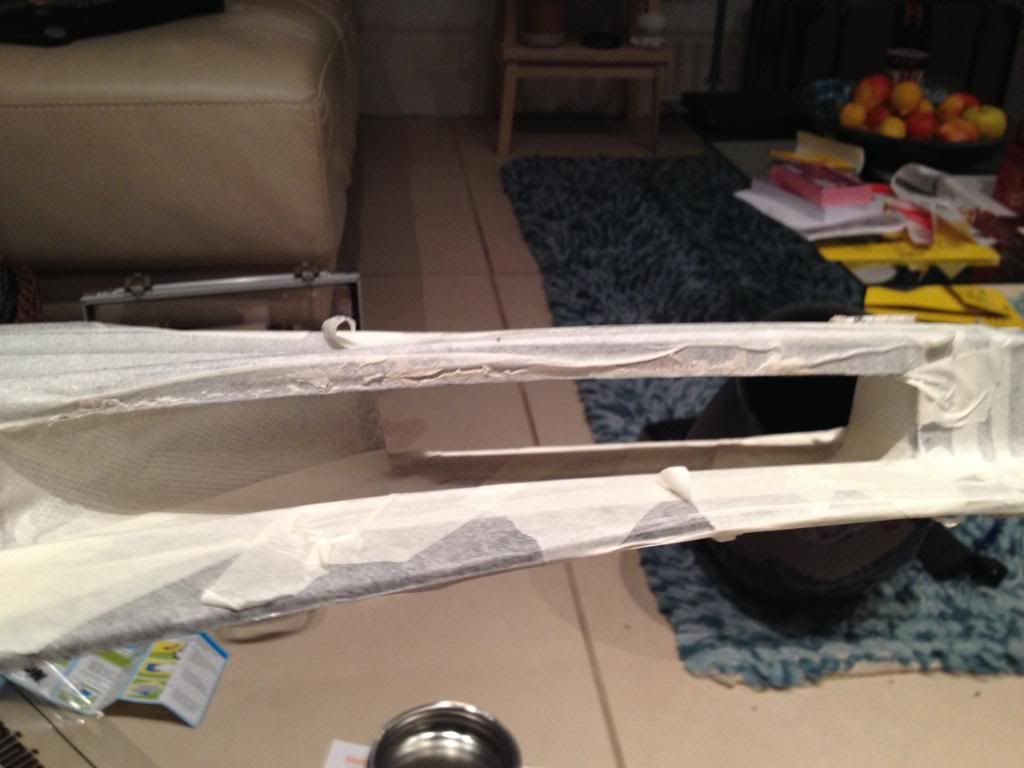
Then using masking tape i created the shape of the bridge between the intake holes, and applied some Isopon aluminium mesh to it, you can see some of the P38 used earlier to smooth the roof.
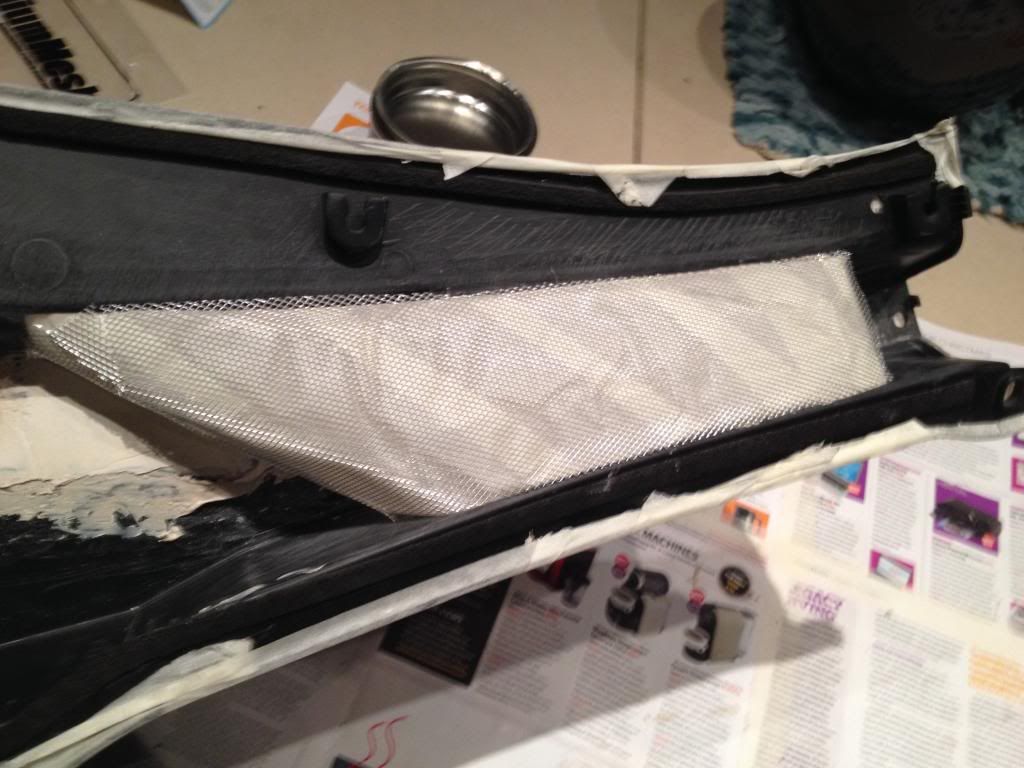
Here you can see the shape of the hole coming together.
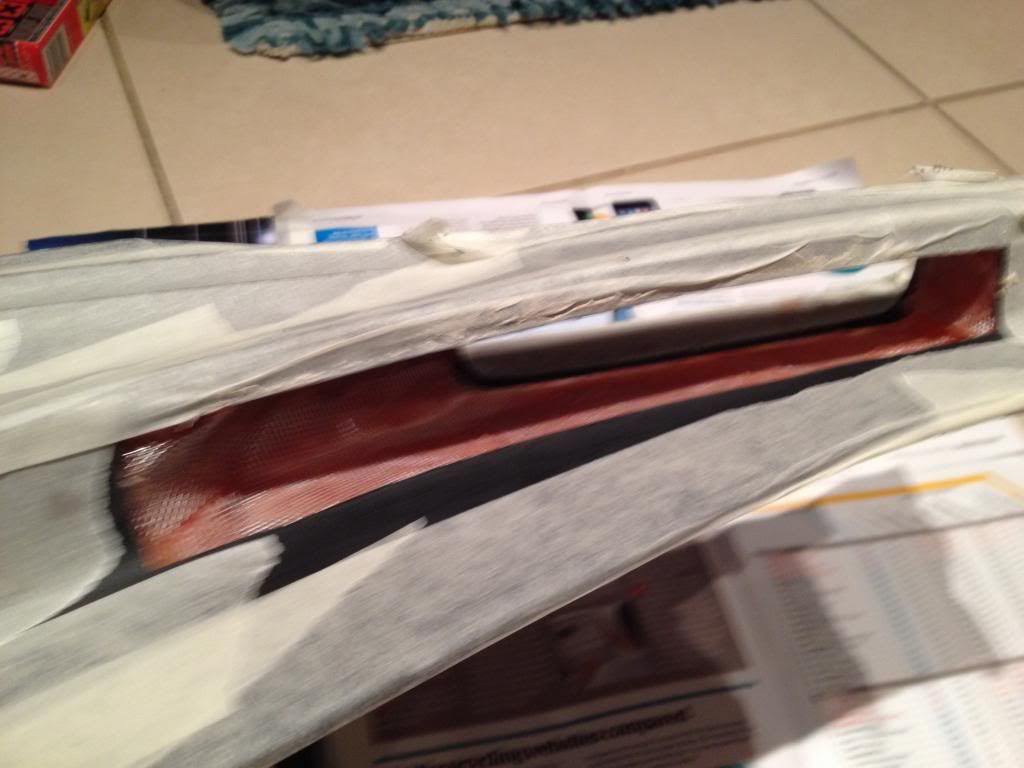
Then came the first scary bit, applying the fibreglass to the mesh!
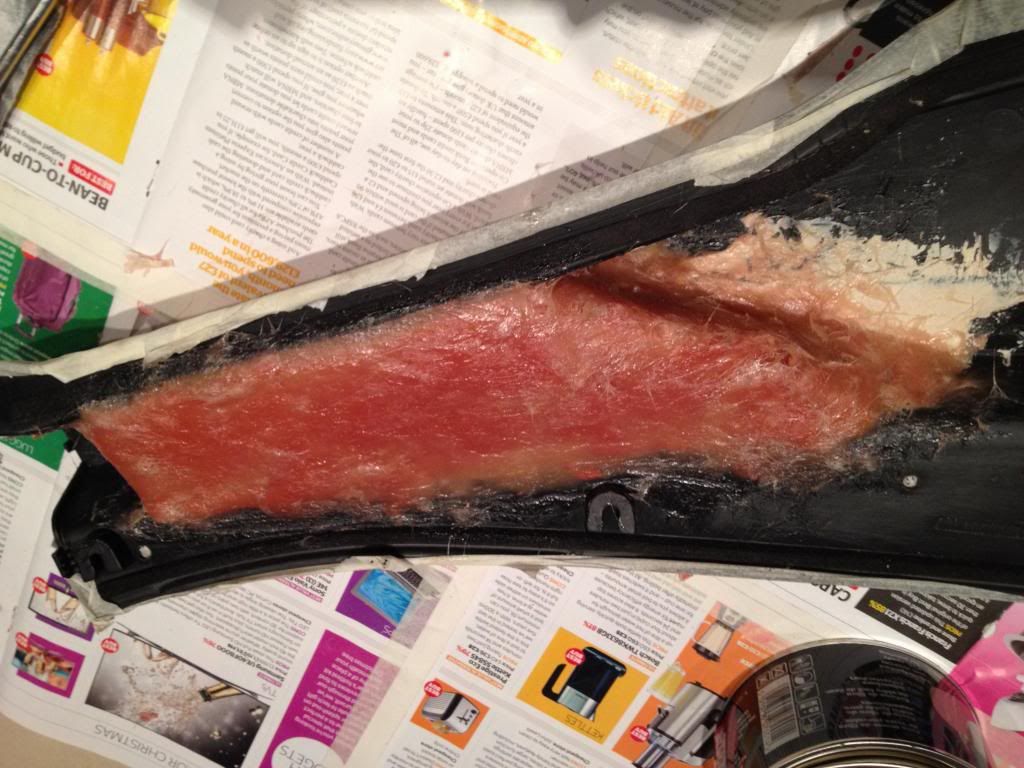
Now you can see the structure

Then came lots of filling and sanding with some 240 grit and a dremel, this part took forever and was the hardest by far to get a smooth shape!
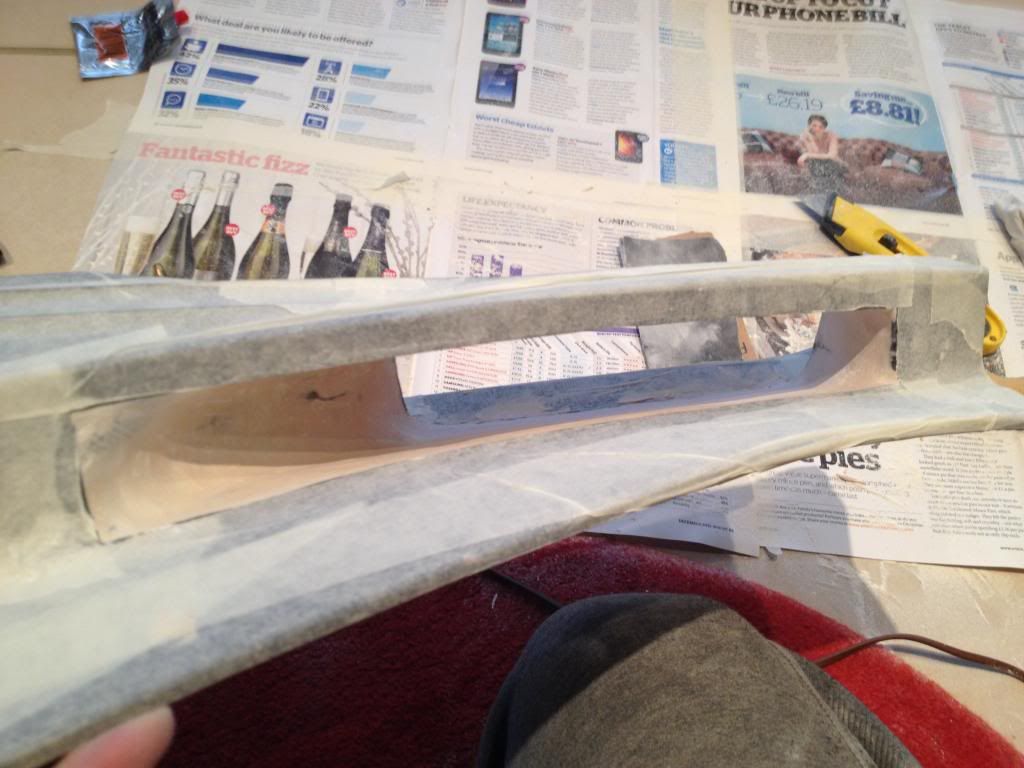
Then on with the primer.
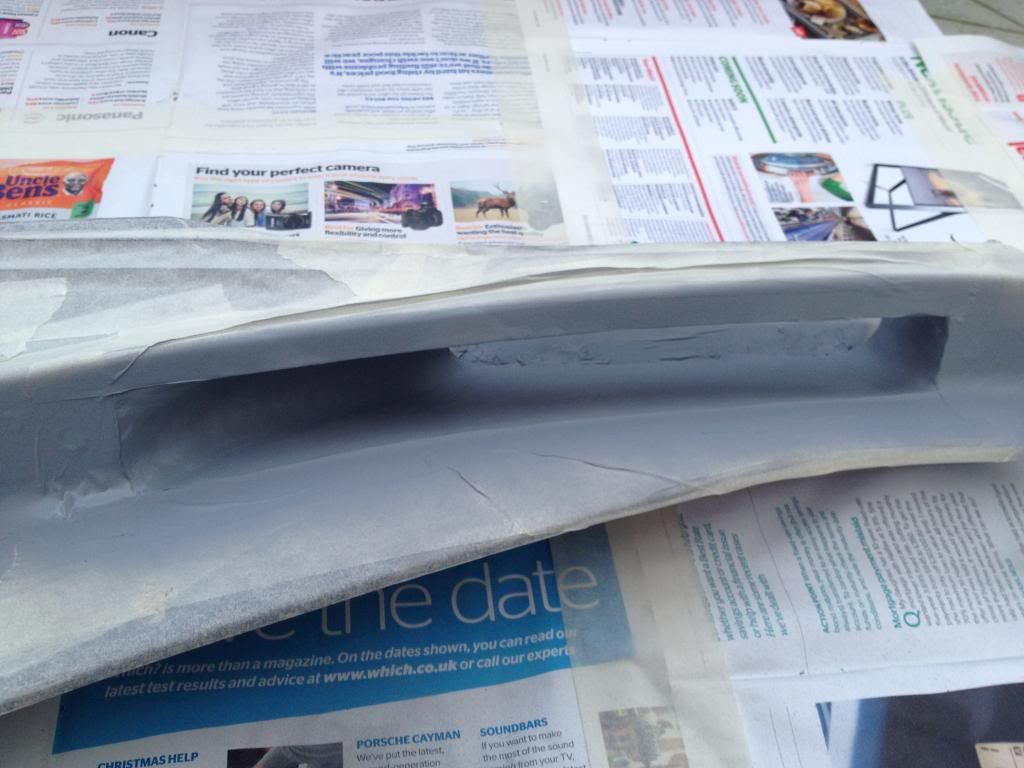
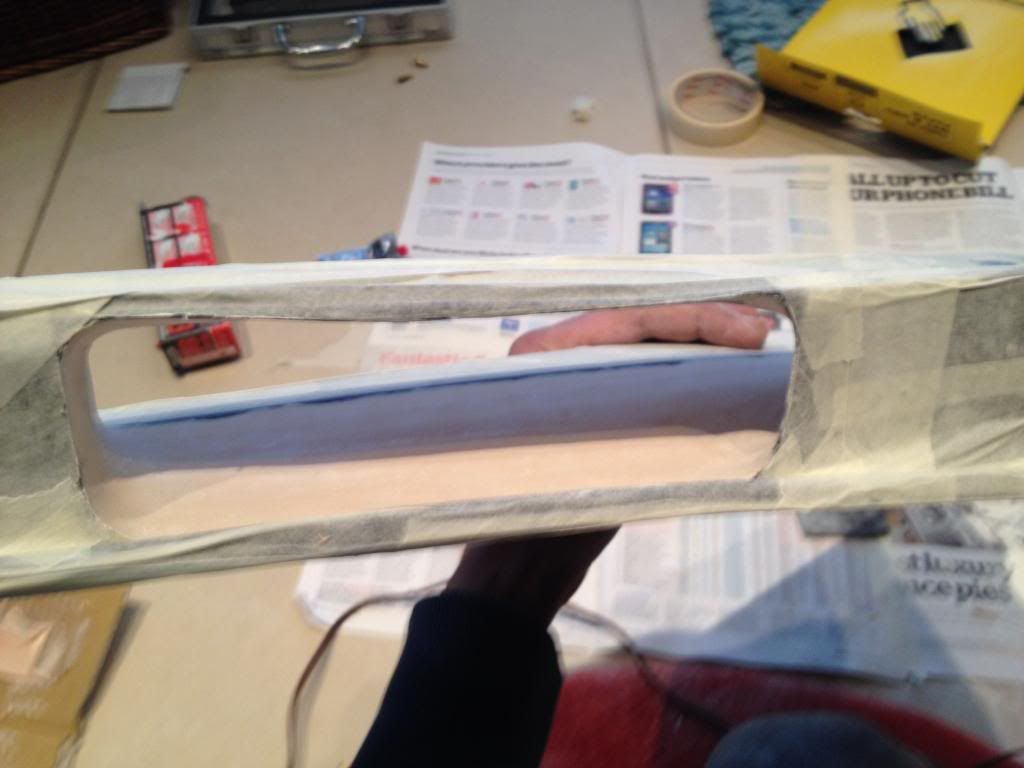
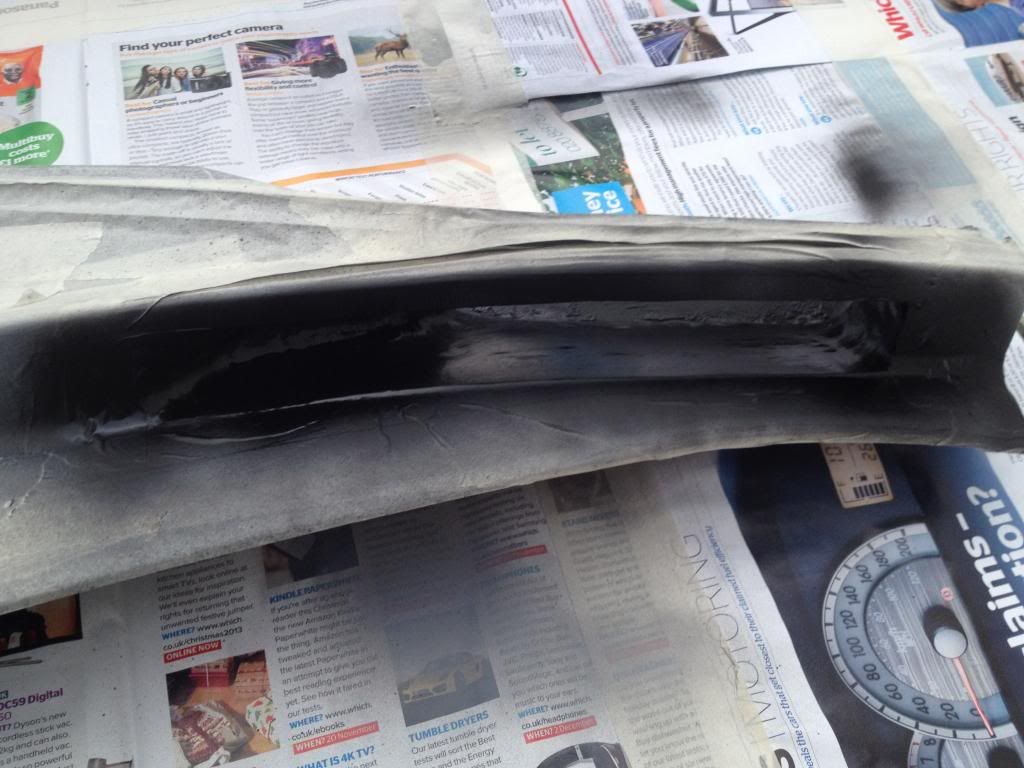
And finally on with the matt black, this is where you can see all the imperfections in the shape of the hole due to the wet paint but nobody is going to see it so i dont really care but its still a good shape and quite smooth.
Time to put it all together.
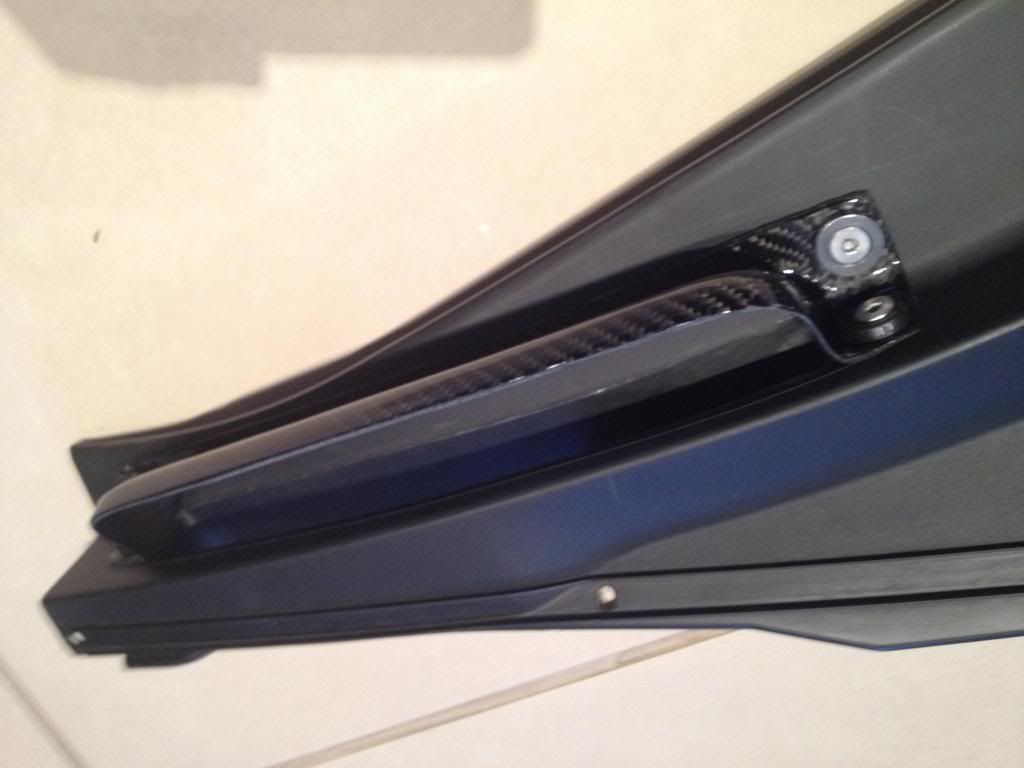
Bit of excess filler here which i will clean up when i get some more time to spend on the car but for now its on the side nobody will see so who cares?

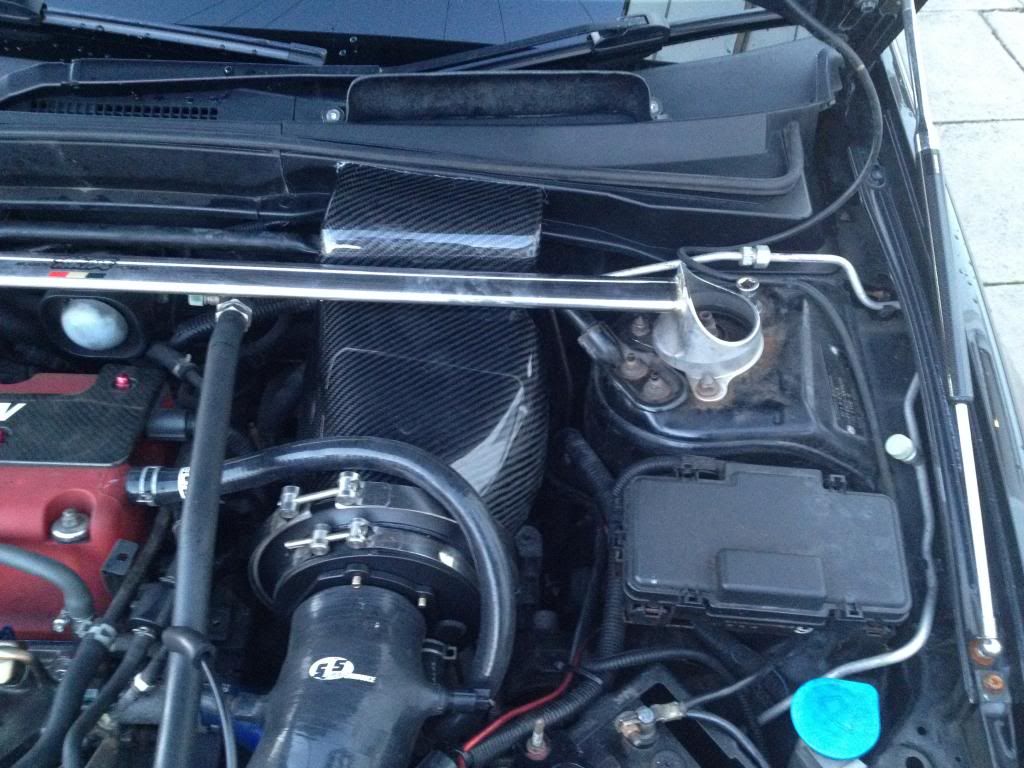
All finished! (excuse the filthy engine bay)
I hope this helps anyone who wants to try a scuttle mod themselves, whether its option 1, 2 or 3, I did it with no experience so if you're reasonably competent at working on your car you shouldn't find it too difficult.
I picked up a new Tegiwa intake a while ago and finally found the time to fit it thanks to the holidays, then it was on to modifying the scuttle panel. Now bearing in mind i have never attempted anything like this before i think it came out quite good
Most people seems to do it like this which seems the most popular way and involves some fabricating...
http://www.itr-dc5.com/forum/index.php?/topic/11420-gruppe-m-scuttle-mod-no2/
Or like here shown by Wedge which only involves cutting the holes either side...
http://www.itr-dc5.com/forum/index.php?/topic/28040-tegiwa-intake-fitment-pics/?hl=scuttle
Both have their merits and in my mind i thought a combination of the two was the most ideal, so my OCD kicked in and it went something like this...
First i fitted the intake and measured everything up to the scuttle panel, i found the spacing of the holes on the supplied scoop are too close together meaning you cant use all the washers and they dont sit in quite the right position, so out came the dremel to extend the holes into the right position and on it went so i could work the rest out.

Then came cutting the hole for the mouth of the intake.

Then cut the other side and started to mask it all up.

Used some P40 to create the bulk of the roof of the intake, followed by some P38 to smooth it off but forgot to take a pic of it.

Then using masking tape i created the shape of the bridge between the intake holes, and applied some Isopon aluminium mesh to it, you can see some of the P38 used earlier to smooth the roof.

Here you can see the shape of the hole coming together.

Then came the first scary bit, applying the fibreglass to the mesh!

Now you can see the structure


Then came lots of filling and sanding with some 240 grit and a dremel, this part took forever and was the hardest by far to get a smooth shape!


Then on with the primer.

And finally on with the matt black, this is where you can see all the imperfections in the shape of the hole due to the wet paint but nobody is going to see it so i dont really care but its still a good shape and quite smooth.

Time to put it all together.

Bit of excess filler here which i will clean up when i get some more time to spend on the car but for now its on the side nobody will see so who cares?

All finished! (excuse the filthy engine bay)

I hope this helps anyone who wants to try a scuttle mod themselves, whether its option 1, 2 or 3, I did it with no experience so if you're reasonably competent at working on your car you shouldn't find it too difficult.