Rom
Advanced Member
- Messages
- 1,742
I said id make this, as its been asked a lot.
Its a pretty straight forward job, with mostly basic tools needed. Id allow 1-2 hours, depending on your experience.
Tools you'll need
17mm Socket / Spanner
29mm Spanner / Adjustable spanner
Hammer
Punch / Lever bar / Something to hit
Clip pliers (you can get away with screwdriver and side cutters)
Its also advisable to remove the strut brace, and have the car jacked up, as turning the steering makes life much easier.
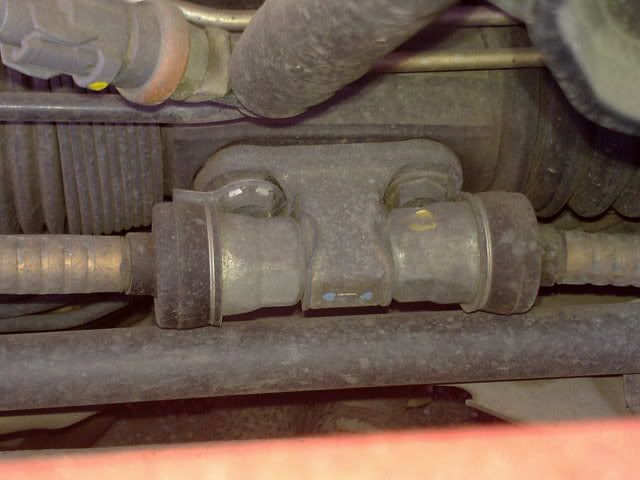
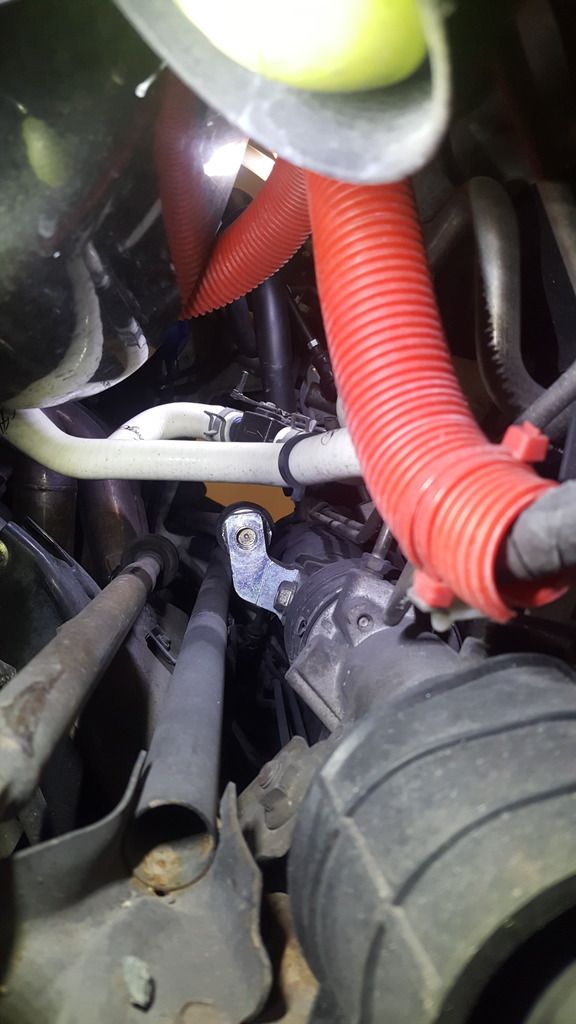
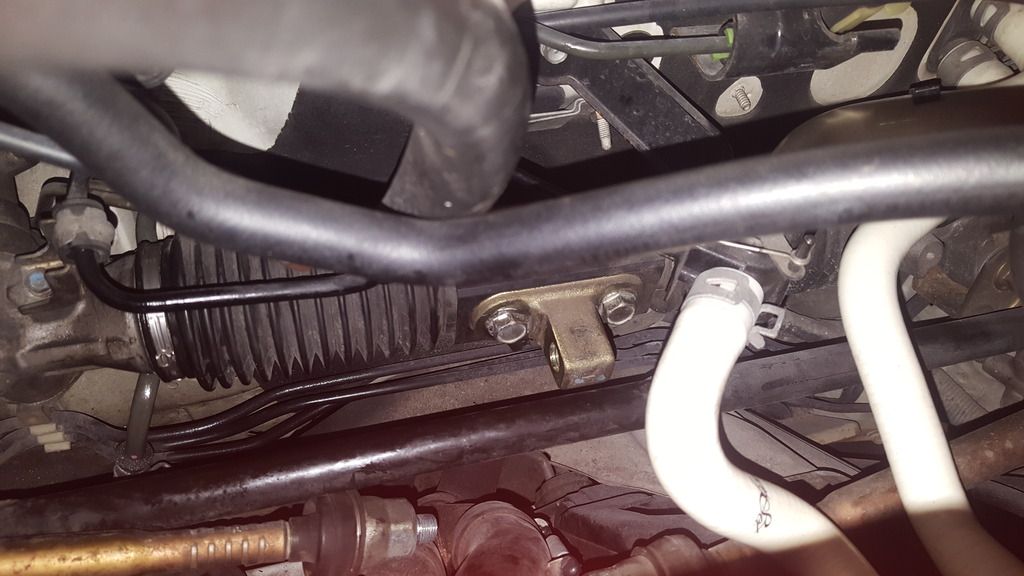
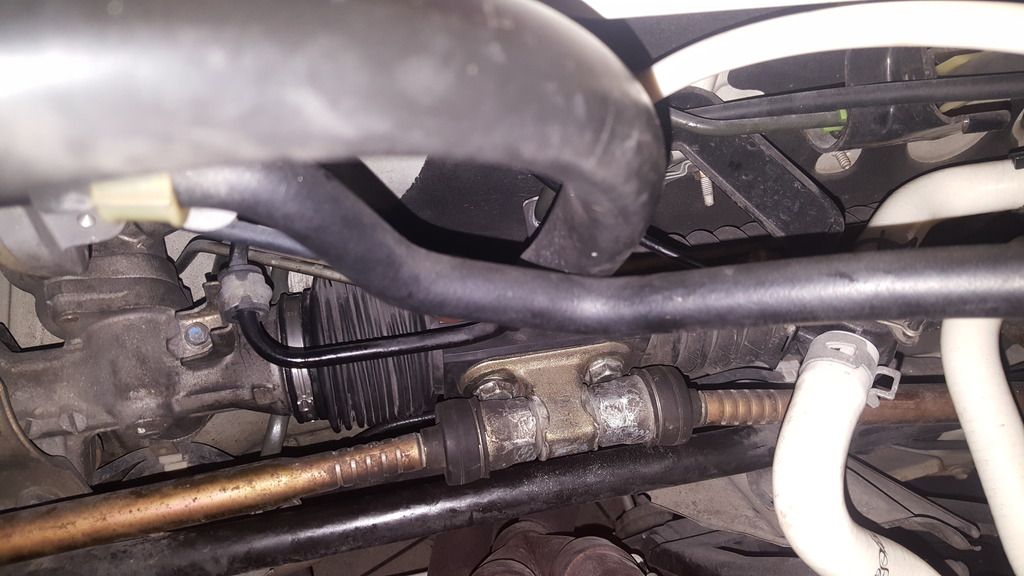
So this is what you will be looking at. I have a rack riser, so looks a little different, but you can get the idea.
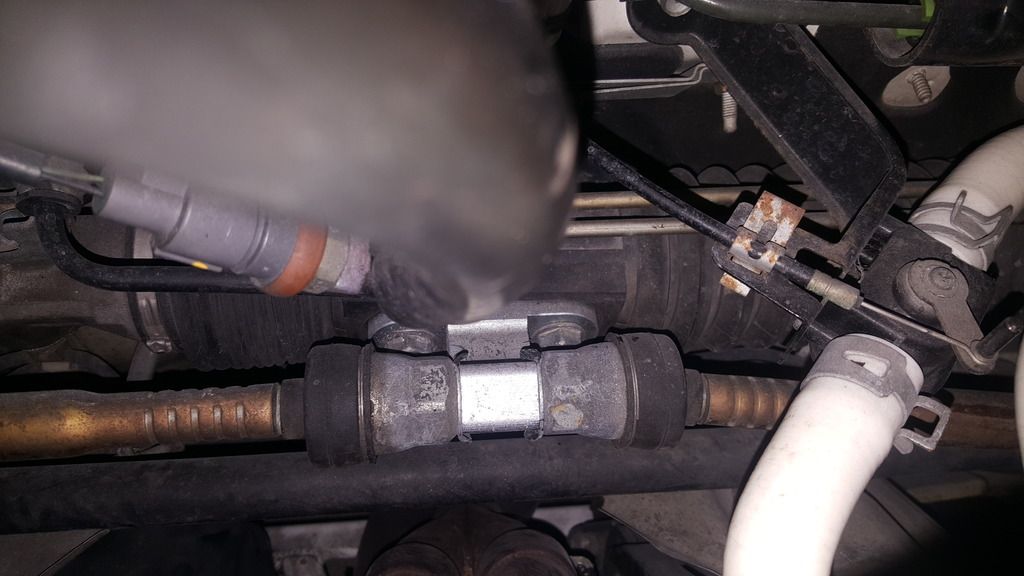
First step, you need to bend the washer tabs back, so you can undo the arms. I use a lever bar and a hammer, whatever you can get in there.
The arms are a 29mm, and fairly tight. Turn the steering to allow access to the arms. Depending on the air filter and manifold, space will vary.
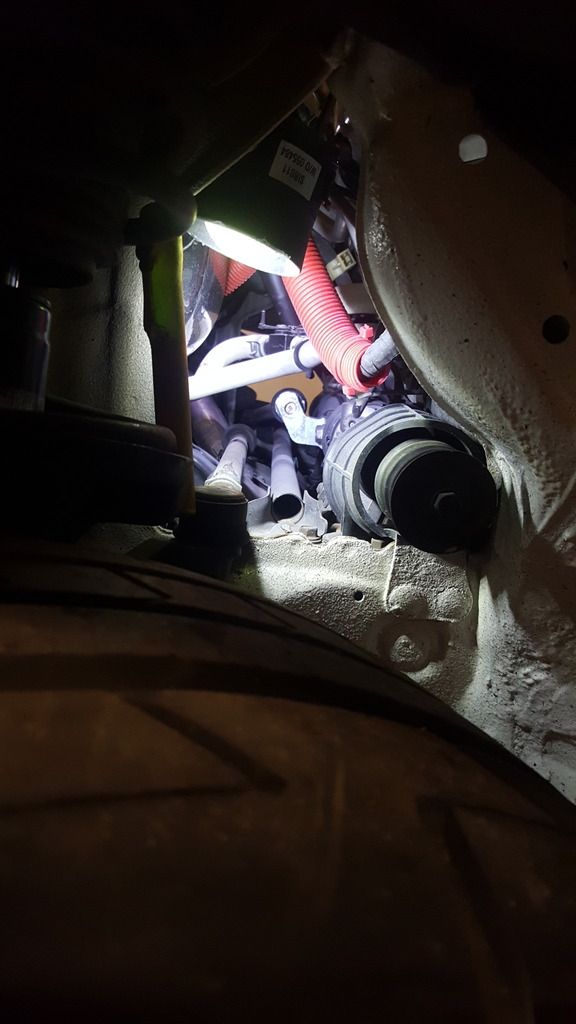
Once you've got one arm off, I tend to go in through the NS arch, to bend the other washer
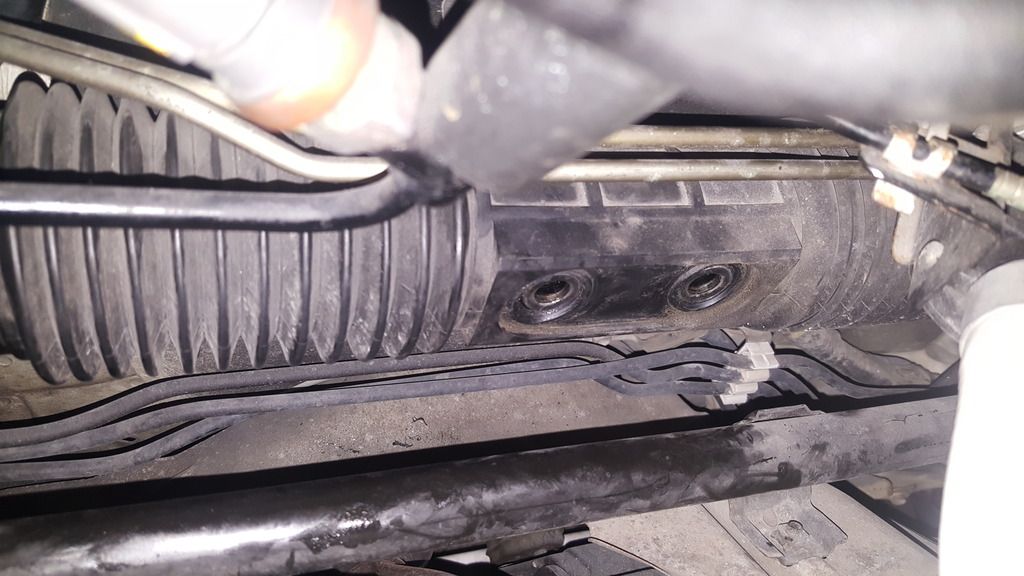
With both arms off, you just remove the little washer from the bolt, and remove the 2 17mm bolts.

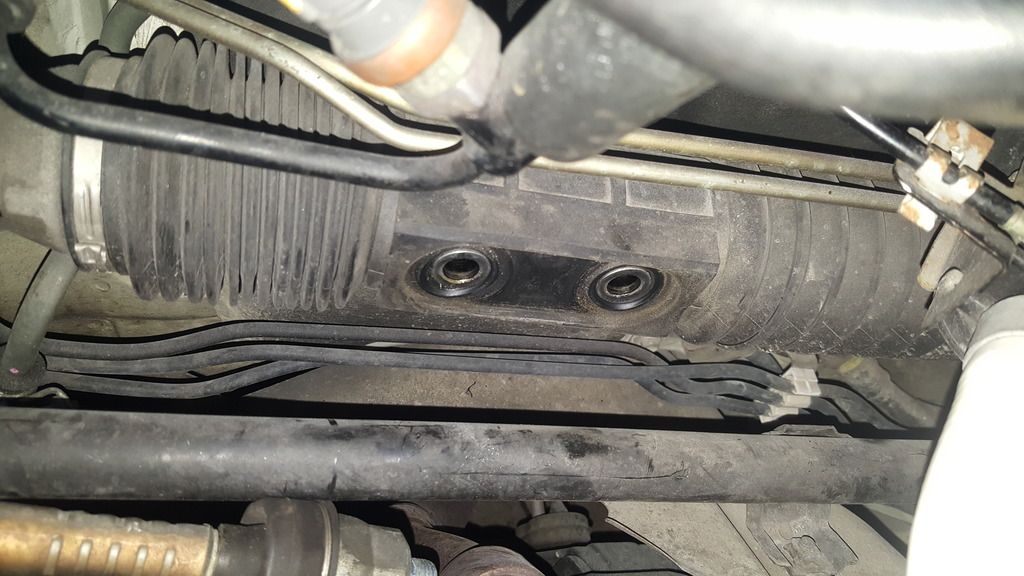
You should then be left with this
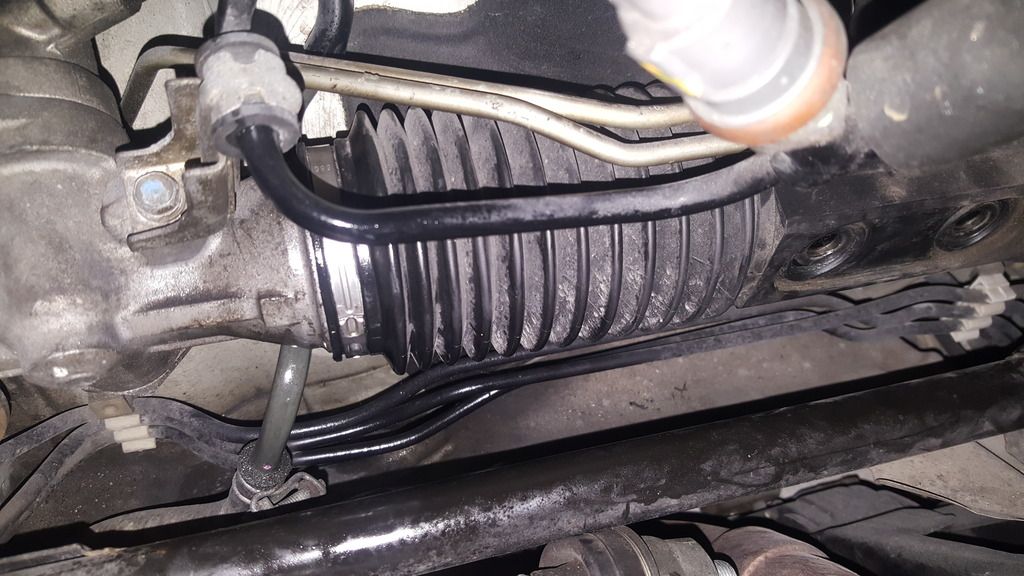
I removed the OS clip from the rack boot, i didnt want to remove my air filter. but you could do the NS if thats easier for you.
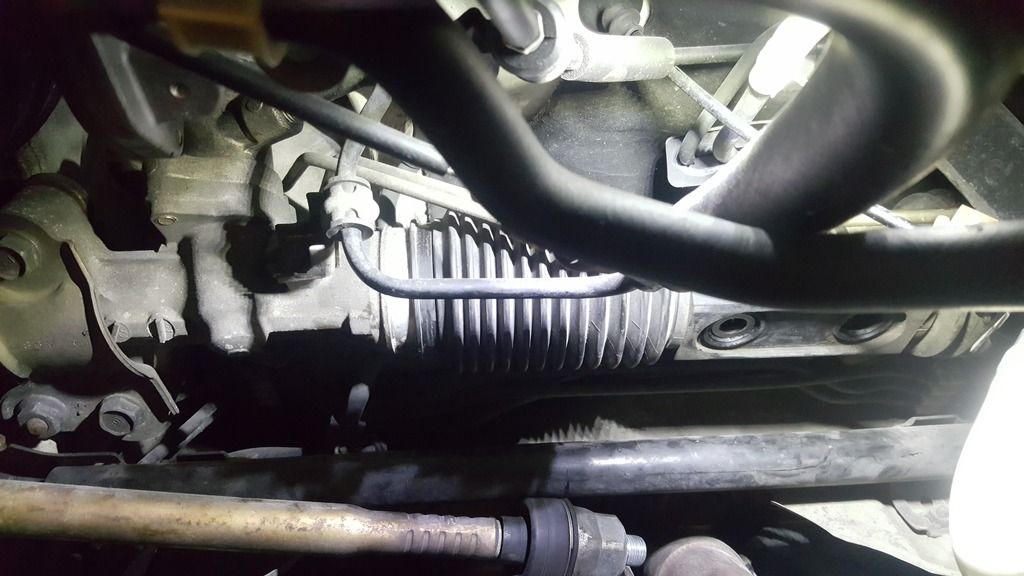
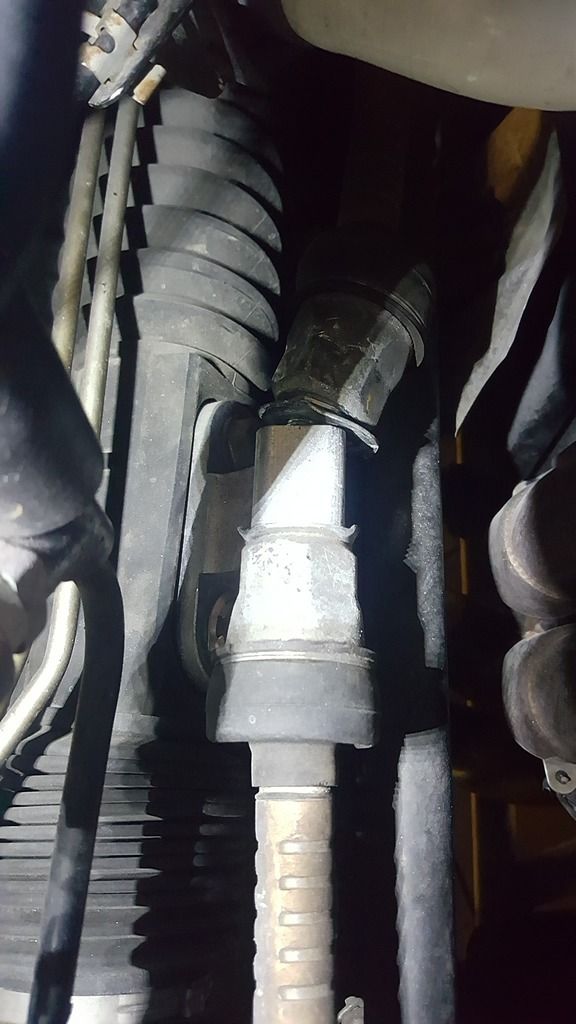
Turn the steering, so the slider is closest to the OS. Then slide the boot back with one hand. You will then see the old slider that you want to remove, it just pops out. I couldnt get a decent picture, as the boot is pretty hard to hold back. You will have to pop the boot off the little circle bits of the slider, to allow it to release. If you look at the above picture, you can see the right hole of the boot, is empty, the slider is all the way over the OS, just inside the boot. So the metal circle you see above, is actually the one from the NS. The OS one is behind the boot bellow.

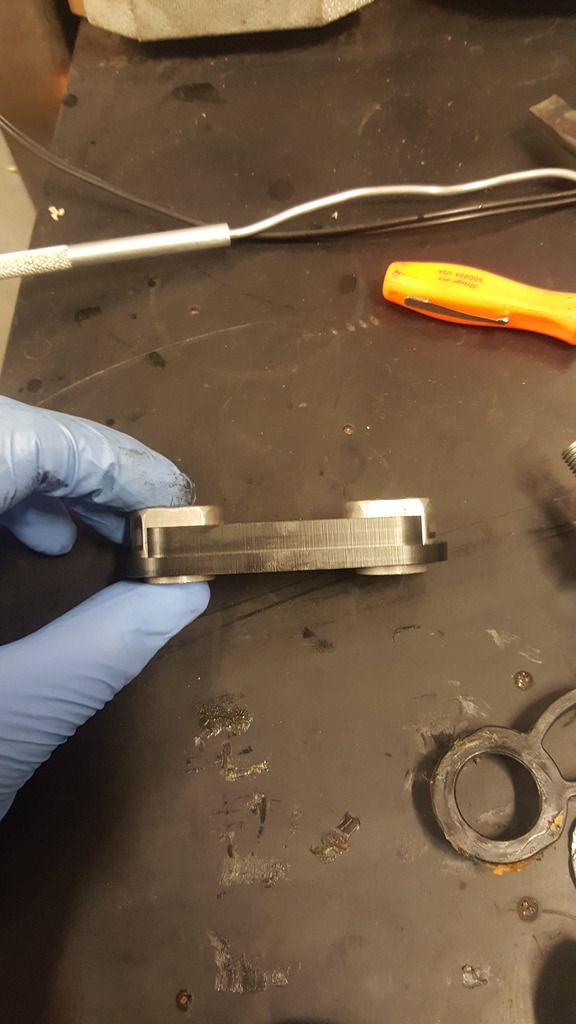
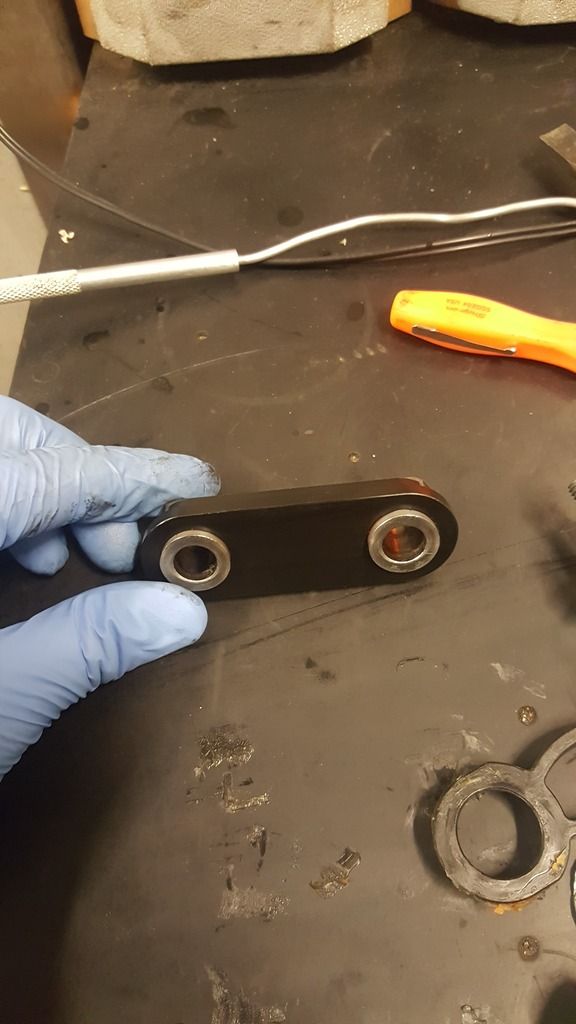
Remove the metal collets, and clean them up. Then fit to the new slider
Push the boot back, and pack some new grease in there. This is more of a 'may as well, while you're there'. I used grease I have at work, though Honda sell the 'right' stuff.
Then hold the boot back, and pop the slider back into place. Make sure its properly located into the rack. It should be quite firm and secure once in place.
Pop the boot over it, and make sure the circle parts of the boot are lined up with the slider.
Fit the clip to the boot, then slide the boot over the rack. Crimp the clip back up. Again, you can re use the clip, I did. Or you can get a new one.
Refit the front bracket with the 2 17mm bolts, and re fit the locking washer.
You can reuse the washers on the arms, flatten them back out, and either refold the same tab, or turn them so you fold a new part.
I bought new washers when i fitted my rack riser, and they looked a bit crap once removed again.
So i reused the original washers again, they seem to be stronger / more resistant to abuse.
Fit the arms, and do them up.

Then fold the washer tabs over. Make sure you fold them the right way, in towards each other, over the bracket.
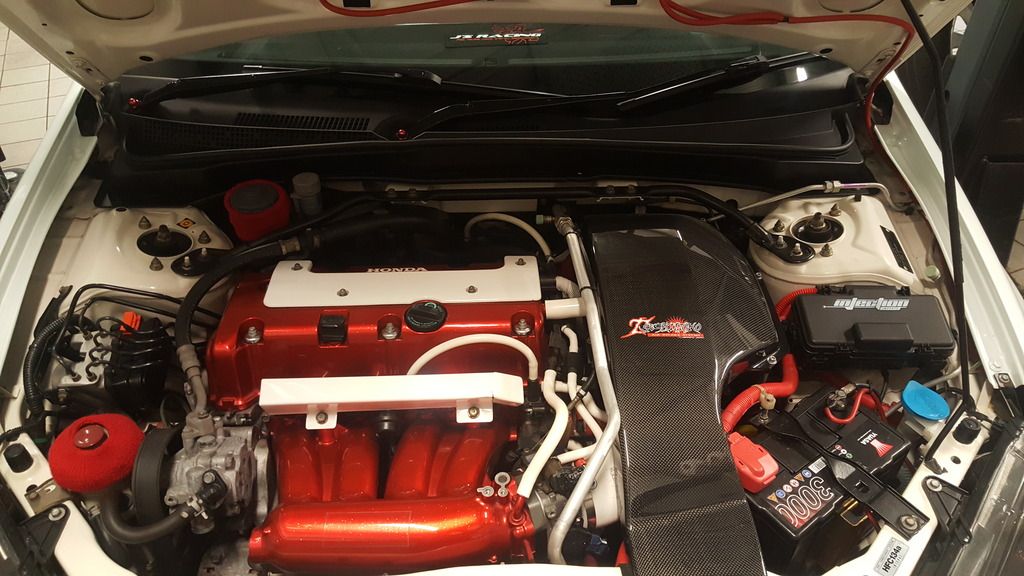
Stand back, and admire your engine bay!
Job done. If you havent fitted or removed a rack riser (as in, had one, but took it off or vice versa) then you wont need to adjust the wheel alignment. As you have touched anything adjustable.
To show why these are fitted, and what the original problem is, I took a video showing the play in the old slider. I cant get the normal link to work / embed from photobucket, so had to upload it to youtube. Im trying to edit the music out, before it gets hit with a ban hammer, but i have no idea about youtube. Says edit in progress.
https://www.youtube.com/watch?v=tHQ5uaE-GVc
Its a pretty straight forward job, with mostly basic tools needed. Id allow 1-2 hours, depending on your experience.
Tools you'll need
17mm Socket / Spanner
29mm Spanner / Adjustable spanner
Hammer
Punch / Lever bar / Something to hit
Clip pliers (you can get away with screwdriver and side cutters)
Its also advisable to remove the strut brace, and have the car jacked up, as turning the steering makes life much easier.
So this is what you will be looking at. I have a rack riser, so looks a little different, but you can get the idea.
First step, you need to bend the washer tabs back, so you can undo the arms. I use a lever bar and a hammer, whatever you can get in there.
The arms are a 29mm, and fairly tight. Turn the steering to allow access to the arms. Depending on the air filter and manifold, space will vary.
Once you've got one arm off, I tend to go in through the NS arch, to bend the other washer
With both arms off, you just remove the little washer from the bolt, and remove the 2 17mm bolts.
You should then be left with this
I removed the OS clip from the rack boot, i didnt want to remove my air filter. but you could do the NS if thats easier for you.
Turn the steering, so the slider is closest to the OS. Then slide the boot back with one hand. You will then see the old slider that you want to remove, it just pops out. I couldnt get a decent picture, as the boot is pretty hard to hold back. You will have to pop the boot off the little circle bits of the slider, to allow it to release. If you look at the above picture, you can see the right hole of the boot, is empty, the slider is all the way over the OS, just inside the boot. So the metal circle you see above, is actually the one from the NS. The OS one is behind the boot bellow.
Remove the metal collets, and clean them up. Then fit to the new slider
Push the boot back, and pack some new grease in there. This is more of a 'may as well, while you're there'. I used grease I have at work, though Honda sell the 'right' stuff.
Then hold the boot back, and pop the slider back into place. Make sure its properly located into the rack. It should be quite firm and secure once in place.
Pop the boot over it, and make sure the circle parts of the boot are lined up with the slider.
Fit the clip to the boot, then slide the boot over the rack. Crimp the clip back up. Again, you can re use the clip, I did. Or you can get a new one.
Refit the front bracket with the 2 17mm bolts, and re fit the locking washer.
You can reuse the washers on the arms, flatten them back out, and either refold the same tab, or turn them so you fold a new part.
I bought new washers when i fitted my rack riser, and they looked a bit crap once removed again.
So i reused the original washers again, they seem to be stronger / more resistant to abuse.
Fit the arms, and do them up.
Then fold the washer tabs over. Make sure you fold them the right way, in towards each other, over the bracket.
Stand back, and admire your engine bay!
Job done. If you havent fitted or removed a rack riser (as in, had one, but took it off or vice versa) then you wont need to adjust the wheel alignment. As you have touched anything adjustable.
To show why these are fitted, and what the original problem is, I took a video showing the play in the old slider. I cant get the normal link to work / embed from photobucket, so had to upload it to youtube. Im trying to edit the music out, before it gets hit with a ban hammer, but i have no idea about youtube. Says edit in progress.
https://www.youtube.com/watch?v=tHQ5uaE-GVc