Trialled headlight polish

p1tse

Advanced Member
Messages
2,696
I tried to polish one of my headlights with ungrit wet and dry sand 2000, 2500, 3000.
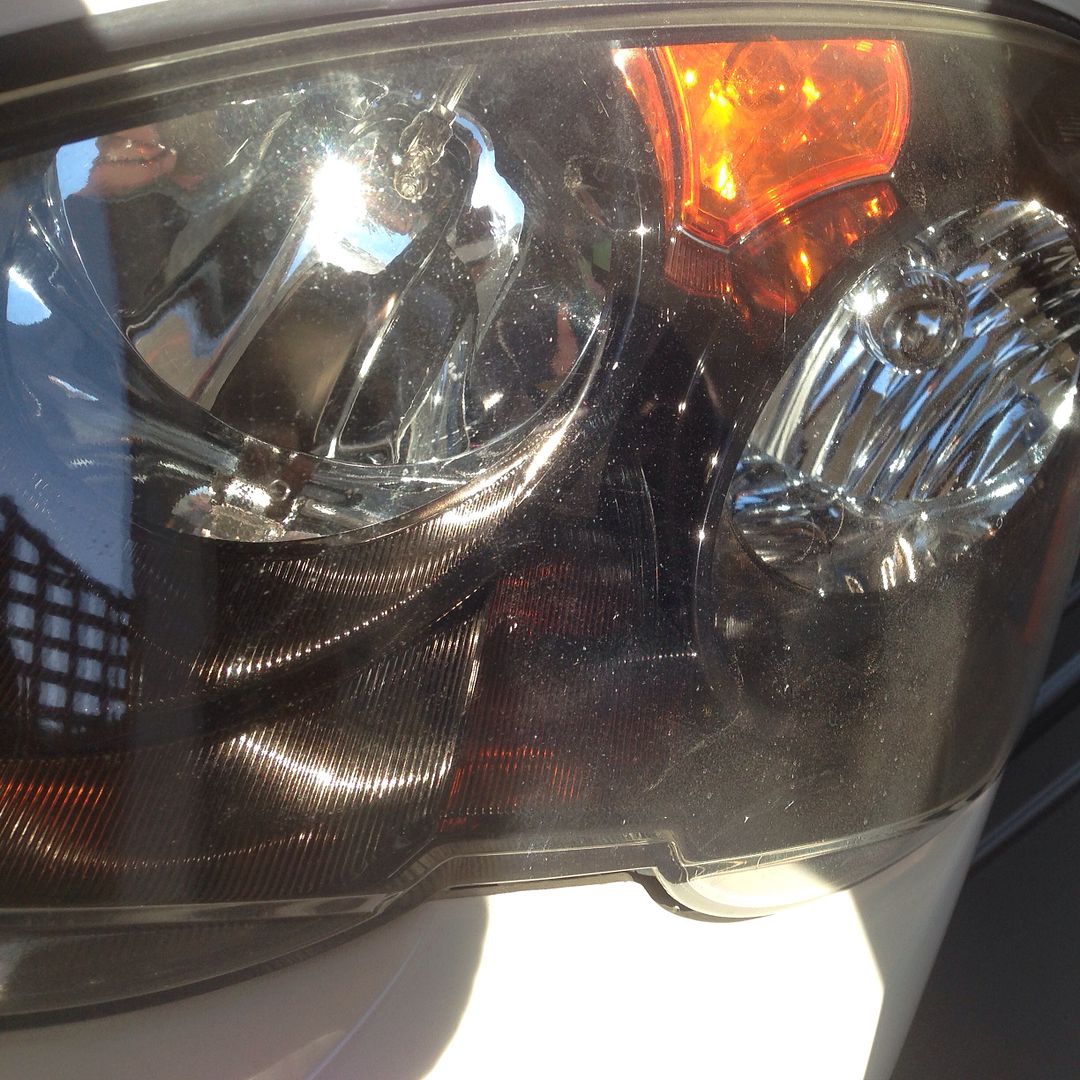
First attempt made the headlight smoother but lost a bit of clarity and with a bad technique I left some marks

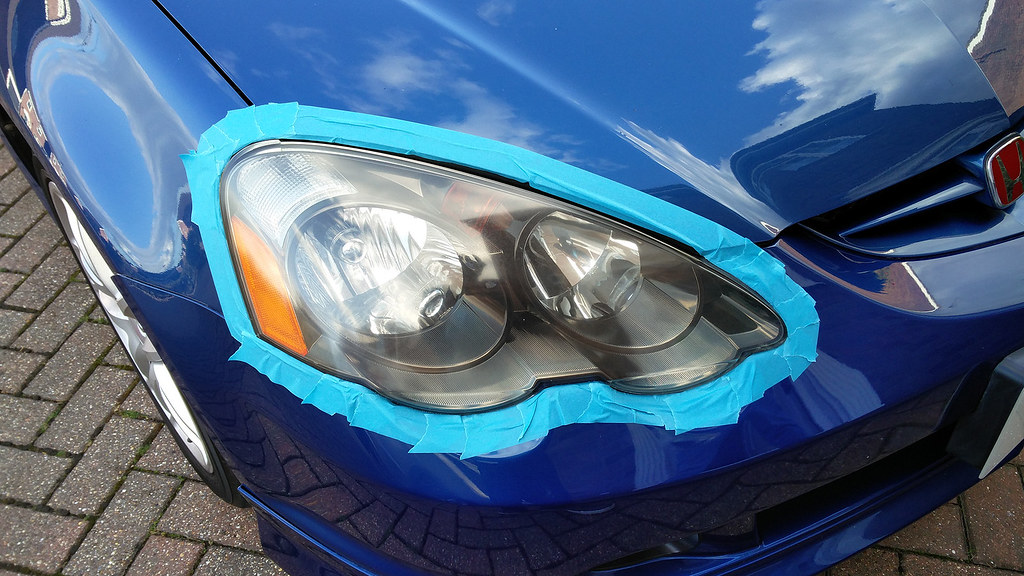
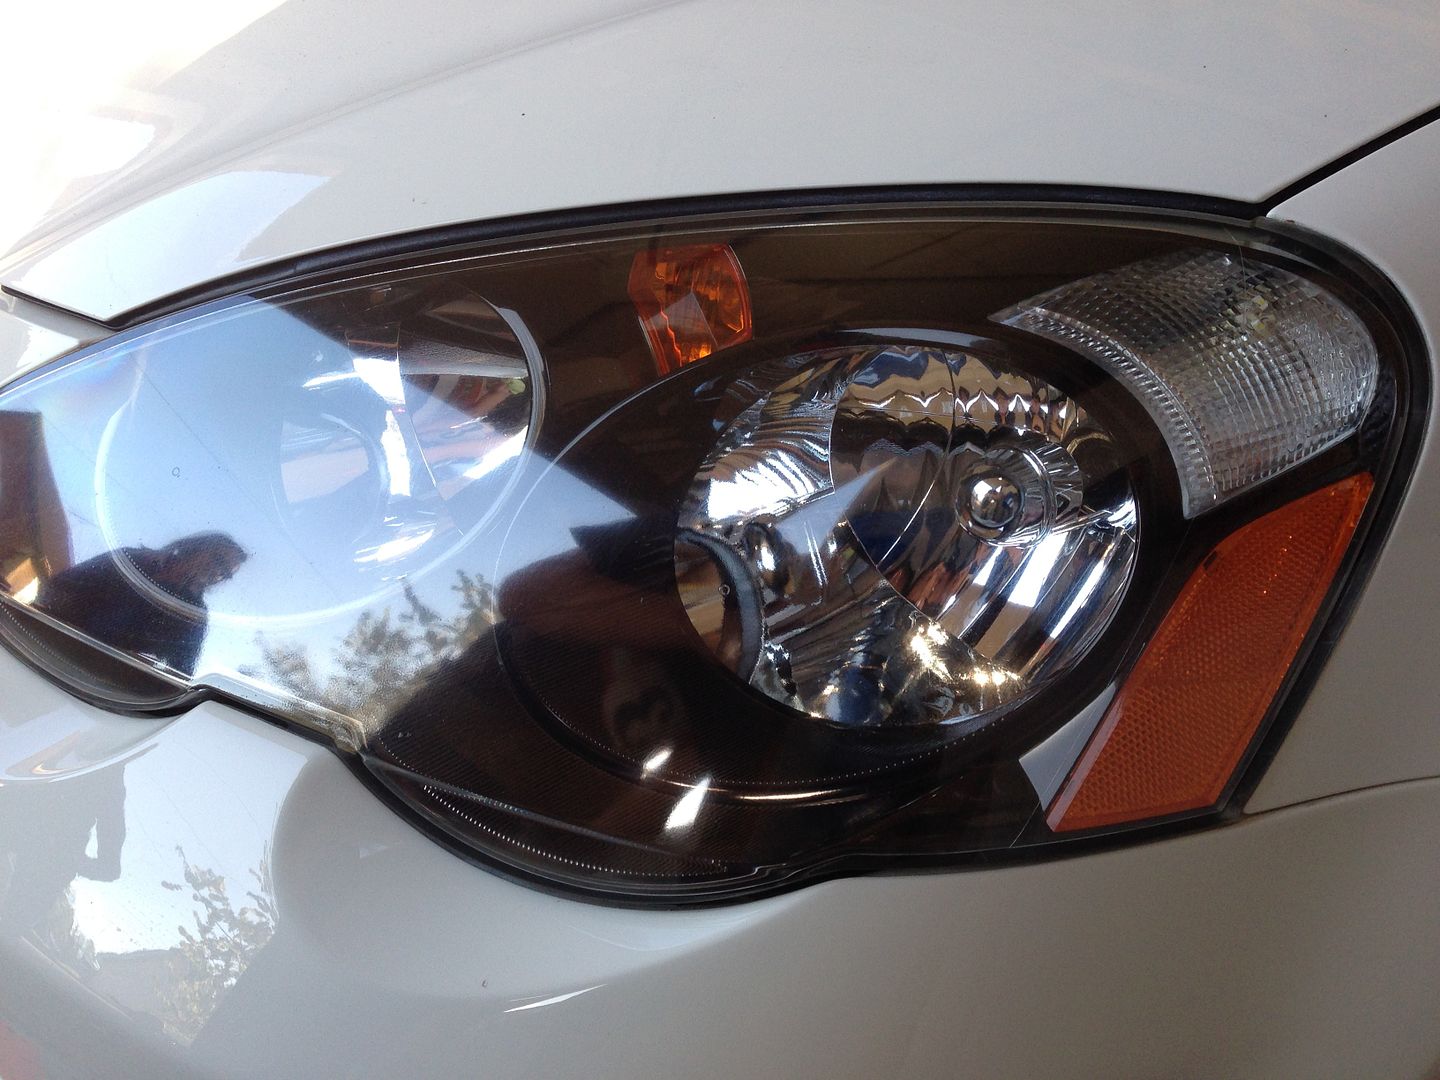
Started with a not too bad condition headlight, although with some marks and stone chips


Cracked on with the wet and dry sand making sure headlight was continuous wet


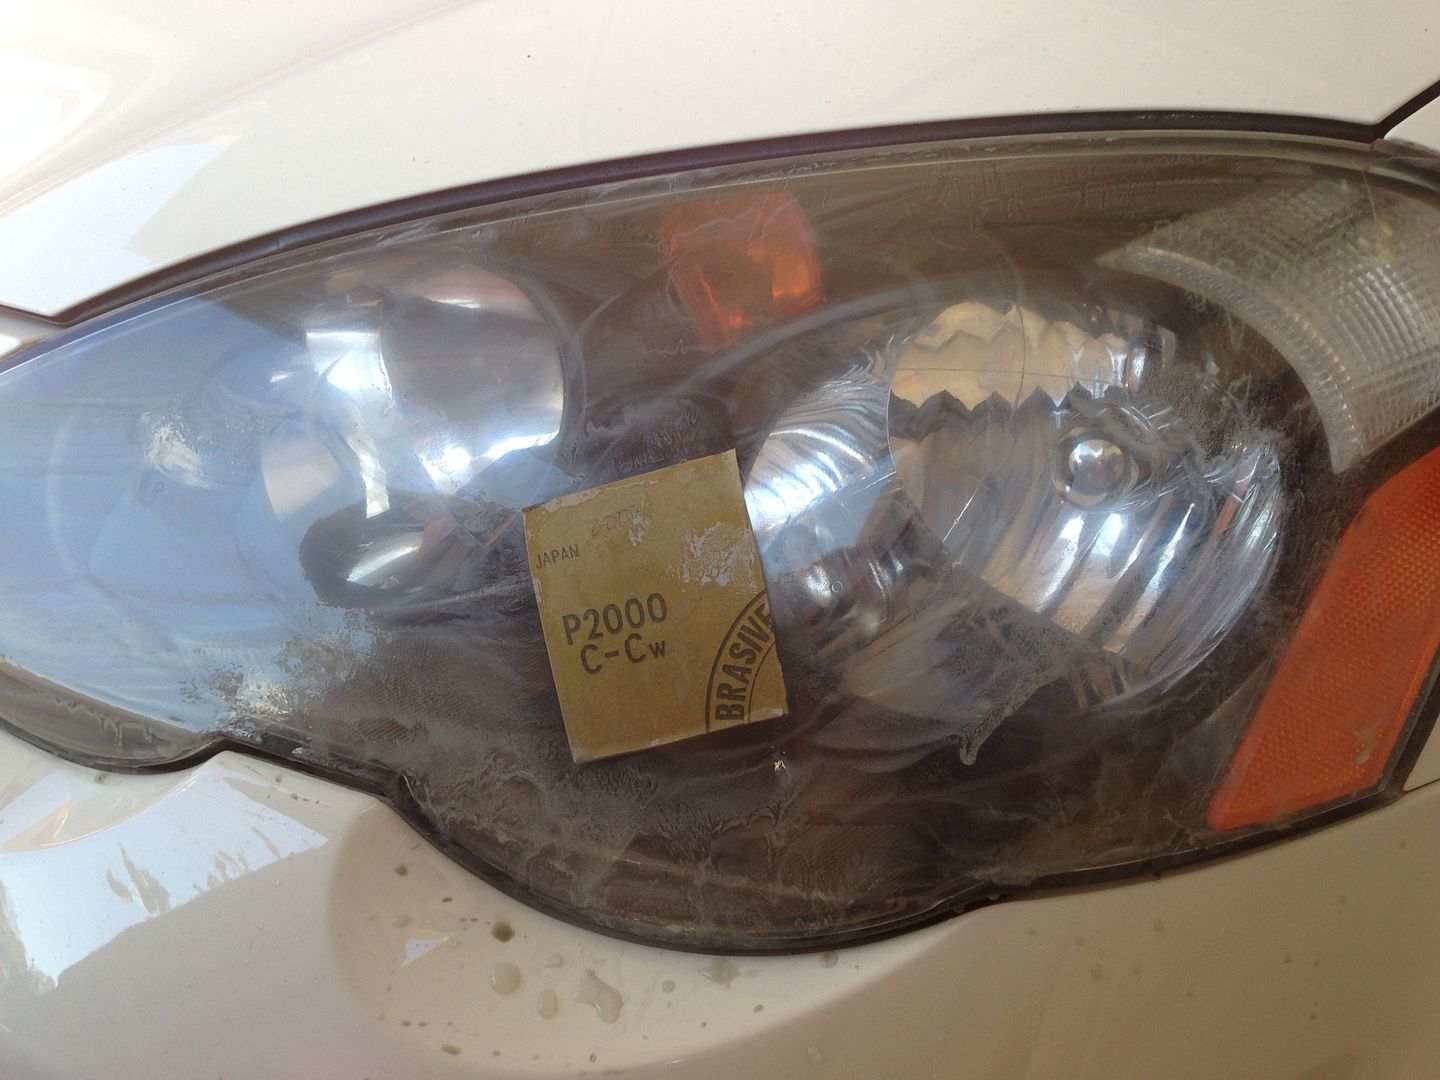
But take not, bad circular technique

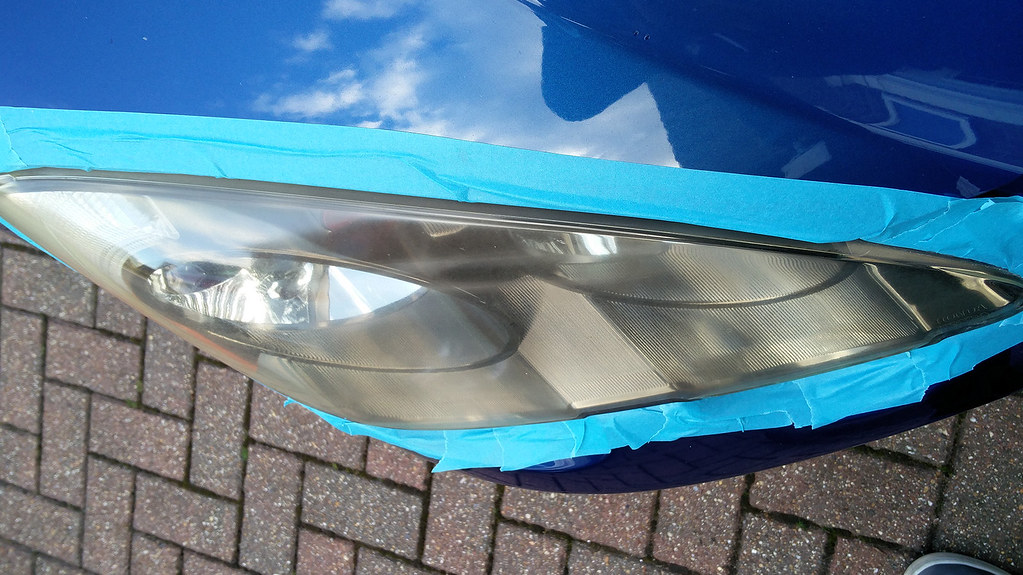
After going through the different ungrit grade, dry and polish by hand it didn't look too bad from a distance


But up close you can see why I wasn't happy


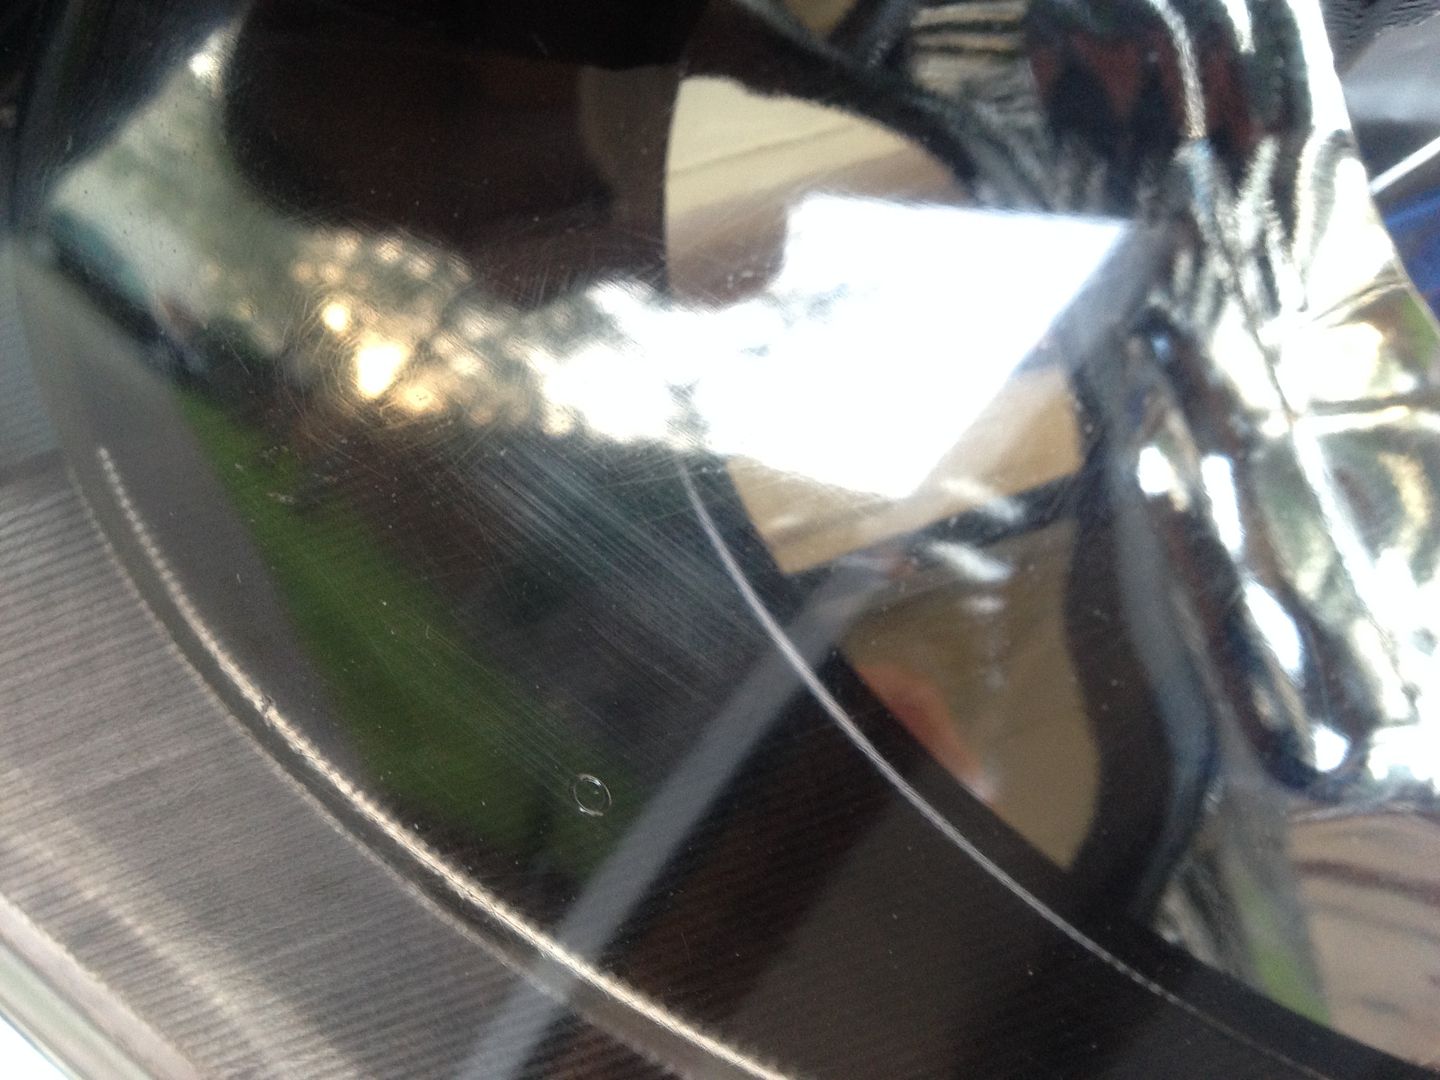
So off I went to do some reading and correction...
 

p1tse

Advanced Member
Messages
2,696
Anyone who attempts this, the things I learnt was not to use ungrit in a circular motion but go east to west with one grade, next grade use north to south motion and change grade and back to east to west

A reminder of the marks I left and this time under light


So I went again with the ungrit with the new technique and also soaked the paper before hand this time. It leaves a hazy finish


Polished up and a mist of gtechniq c2v3 trial bottle I have as a sealant and also has uv protection which I didn't know when I bought it, but had been suggested to seal with a uv protector, so hope this does the trick

Now I'm happier with the results but probably could do with another pass of cutting compound to get the 10-20% of marks left, but I didn't want to apply too much heat on the lens with the dual action

Will see how it looks against the other headlight tomorrow in daylight

But for now much better


DC5RS

DC5
Messages
1,751
nice job .. to be honest I always trust the machine polish for this kind of jobs. Makes a lot of difference rather than doing it by hand

But still looks a ton better on the last pic
 

p1tse

Advanced Member
Messages
2,696
Used a mixture of 3m polish from fine cut plus to ultra fine

Sealant I used gtechnic c2v3, only bought 100ml bottle the other day to try out and just my normal wax nothing fancy I have p21s

Will see how it goes

Not done the other headlight apart from did try similar products above by hand and no wet and dry sand. Will leave it for now so can see a comparison over time
 

Rom

Advanced Member
Messages
1,742
2000 is very fine. When i done mine i went down to 1200. As an idea, you can paint straight over 800 and still get a good finish.

But i was using a machine polisher, so could generate far more cut and heat than by hand.

They have come out nice though! I only used compound, nothing special. Gtechniq seem to do some really good stuff.
 

p1tse

Advanced Member
Messages
2,696
Yes, 2000 is still very fine but did a good job.

Headlights are/ were not in too bad a shape to begin with. Having just done one side the most noticeable is the cleanliness, as clarity is good on the other but a finger test the smoothest is the most noticeable
 

MrRy

Advanced Member
Messages
528
I've given mine to the bodyshop on Saturday to take the lights off and sand them back and re-laquer / UV seal. Looked at doing this myself, but for the cost of bits and the time, it made sense to pay a little more and get it done by the pros with the best equipment possible.

Regardless that's a very good job and a massive improvement!!
 

p1tse

Advanced Member
Messages
2,696
Thanks.
Time will tell.

It cost me nothing as I had all the polish, ungrit paper etc. from before.

Ungrit paper was only £1 a sheet and I've cut it up in 8-ths

There are kits out there which come for £20-30 are suppose to be quite good.

If you don't mind me asking how much does a bodyshop option cost; I've seen others buying replacement units as another option
 

Erm

Advanced Member
Messages
1,369
Always work in lines, never circular motions. Especially when it comes to car paint. Micro scratches are far easier to remove in lines than they are for circles. Same principle when wet sanding, you're making scratches in the surface.... but the idea is to make the scratches with the sandpaper uniform.... therefore they are easy to "flatten" off with a compound/polish to a flat surface which will appear very glossy and clear.
 

MrRy

Advanced Member
Messages
528
£50 per headlight. That includes taking them off and on again. Gives the lights another 5+ years of hassle free shine. (Plus the older I get, the less I can be arsed with doing anything myself.)
 

p1tse

Advanced Member
Messages
2,696
MrRy said:
£50 per headlight. That includes taking them off and on again. Gives the lights another 5+ years of hassle free shine. (Plus the older I get, the less I can be arsed with doing anything myself.)
Thanks
If mine were bad then yes I would go down a route like this

But this is easy on the wallet for now
 

moodyedge

Advanced Member
Messages
274
Anybody know if its possible to ditch the orange lenses in these headlights? Im sure ive seen it done, just cant remember where??????

Especially the side one in particular.
 

linh-ej9

Advanced Member
Messages
504
You will need to purchase aftermarket headlight with clear reflectors in them, open then up and move the reflectors over to you oem headlights.
 

Teggs

Active Member
Messages
83
Kind of resigned myself to buying new lights, but thought for the sake of £20 I thought I'd give the kit a go, apologies for the quality and lack of detail in photos but they hopefully give a good impression of what can be achieved, seems my car was parked in the same place in japan for the last 10+ years as there was a massive difference in lens discolouration, albeit no chips or scratches on the plastic.

1st pic shows a treated lamp on the R/H side, this was the much lesser affected lens (no proper 'before' pic I'm afraid) and this lamp just had a 2 minute treatment with the 'fluffer' and enclosed compound, was very impressed after such an easy task.


Close up on the worst lense.....


2nd lamp took a bit more effort, a quick whizz with the wool pad didn't do much so thought I do the full wet and dry,

after 1st go.....(all wet and dry grades and buffer)


After 2nd go, again same process...


All in all pretty impressed, I know nothing about detailing but a massive improvement, 2nd lamp took maybe 20-30 mins and was a very slap dash approach, but the change is quite apparent, might have another go soon when I've got a bit more time.
 

truupR

Advanced Member
Messages
299
Done this to mine a few weeks ago. Started with a 2500 then moved up to a 3000 grit. Kept the surface and the sandpaper wet for the whole process. Finished up with the DA polisher, orange hexlogic and megs ultimate compound (don't rate megs #105 at all) The results:

2500:


3000:


DA polisher:


Still need to split the plastic off to clean the inside. They aren't crystal clear when the headlights are on which really irritates me :(
 

spooke

Advanced Member
Messages
1,392
Had a go at mine, just needs to be polished with a machine, much better though!

Before


After


Top