Repairing Paint to Calipers

kingston

Advanced Member
Messages
3,258
HAd a search for it but couldnt find it, does anyone know how we can effectively repair the caliper paint where its started to flake off?

Or is it a case of just going to halfords and getting the caliper paint?

I remember at last years JAE, the mitsi guy said something him going to talk to brembo about it but...

Also he said the only paint that doesnt chip of is the yellow ones.....
 

RyJay

Active Member
Messages
57
when i last did my brakes i noticed that all the clear laquer was peeling off and making the red fade alot. not a complete fix to the problem but i just gave em a T-cut and wax and it's brought them up pretty nice till a can find out whether the laquer is hight temperature :wink:
 

dan the man

Advanced Member
Messages
3,682
yeah seems to be the laquer that fails, then salt attacks and it all goes worse. maybe just tcut the lot then good polish to protect?
 

gregb

Advanced Member
Messages
967
RyJay said:
when i last did my brakes i noticed that all the clear laquer was peeling off and making the red fade alot. not a complete fix to the problem but i just gave em a T-cut and wax and it's brought them up pretty nice till a can find out whether the laquer is hight temperature :wink:
looking for a solution myself.
they`re not bad yet but definetely give that a shot in the fine weather.
 

C&S Evo7

Administrator
Staff member
Messages
8,229
Here you all go. speak to these guys about the laquer

Alpha Coatings, Chatham, Kent Tel. 01634 823900

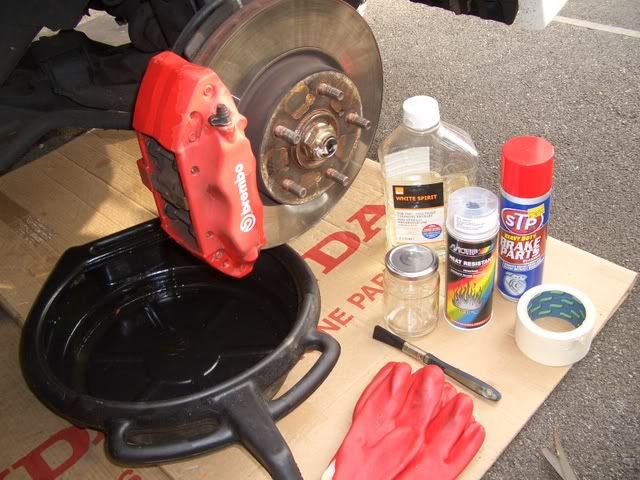
Motip clear lacquer, resistant to 650 degrees C

You'll need 1 can to do all four Brembo callipers, a couple of sheets of 600 grit wet and dry and a preparation silicone cleaner.

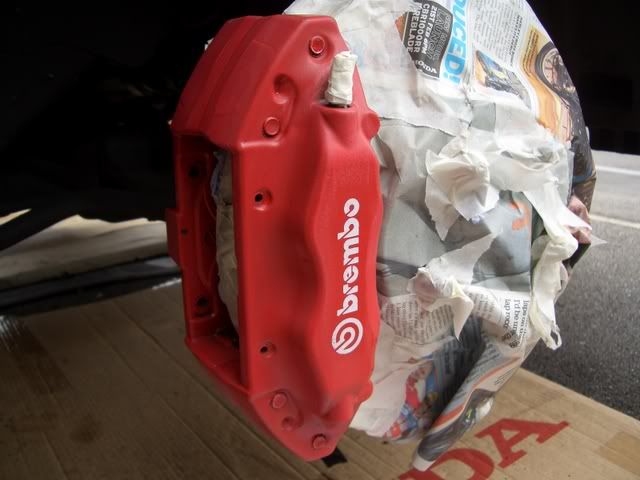
1. Ideally remove each caliper but they can be done in situ if need be.

2. Thoroughly clean each calliper, a good blast of brake cleaner then a suitable wheel cleaner and rinse with clean water.

3. Use your finger nail to remove any loose existing lacquer, keep working away at this as it's surprising how much comes off. The more old lacquer you can remove the better the new finish will be. Do not use any sharp utensil to remove the old lacquer e.g. a screwdriver could easily scratch the paint and cause you more problems!

4. Once you have cleared the damaged lacquer, use the wet and dry with water and lightly sand the whole calliper apart from the Brembo logo. A straight edge on the paper will allow you to get very close to the logo without causing any damage to it. Sand even the areas where the existing lacquer shows no sign of wear, this will help the new lacquer bond as it's applied.

5. Be careful not to sand too heavily or for too long, a good indicator is when the water shows signs of pink/red i.e. you are lifting the surface coat of paint.

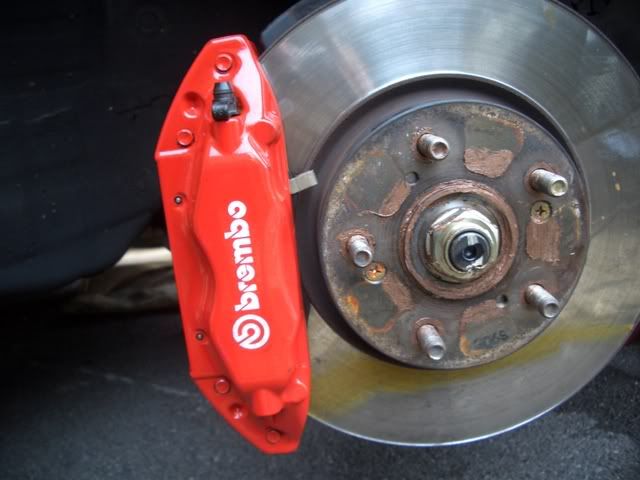
6. Wash thoroughly with clean water and dry. You will now be left with a rather sorry looking calliper, matt pink in appearance. Do not worry as the lacquer will restore the original deep red gloss finish when applied.

7. Use the preparation solution to completely clean and prepare the calliper (Alpha Coatings can supply if required). Simply apply to a clean lint free cloth and wipe the full surface of the calliper.

9. Completely mask the calliper taking good care to mask the open brake pad area, the bleed nipple and all directly surrounding areas. Time taken at this stage will save unecessary remedial time.

9. Before spraying the first coat of lacquer, I would advise that you use a hairdryer or heat lamp if you have one to ensure the calliper is completely dry. Any water residue will cause the new lacquer to blister.

10. Apply the first coat of lacquer, instructions on the can but basically an even coat and a light coat to prevent runs.

11. Leave for 15 mins before applying the second coat, another light coat.

12. Leave another 15 mins and then a third and final light coat.

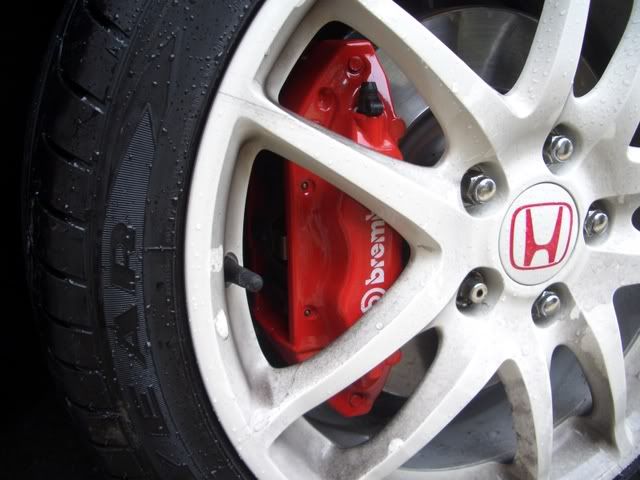
13. The calliper should really be looking good now but leave for 30 mins and then using either a hairdryer or heat lamp, effectively bake the whole surface area of the calliper. This will help seal the lacquer and ensure a smooth glass like finish.

14. If you have removed and stripped each calliper completely you could bake it at 300 degrees C to provide the same finish. I guess that most people will treat these in situ though and you can achieve a very high quality finish by doing just that.

Time consuming to do properly but well worth it, good luck.
 

Evs

Advanced Member
Messages
4,281
Top notch 'how-to', cheers Simon xthumbup

Maybe make it a sticky, mods? :idea:
 

mikegsi

Moderator
Staff member
Messages
6,095
the actual removal of the calipers is quite easy, its just whether or not you do the job properly and take them off the hoses too, that would mean a bleed of teh system as well though, i use wonder wheels to clean mine when i do my alloys, just stick the brush through the gaps in teh alloys! brings em up clean enough, but then my lacquer isnt coming off
 

Jor-El

Advanced Member
Messages
281
I've noticed the laquer coming off of my fornt right one, so I'm thinking I may need to do this
 

JT3173

Advanced Member
Messages
1,733
Mmmm, old thread I know but worth a re open in my current unfortunate situation.

Put the car in to my local Honda to have the Paul G's put on, Honda managed to scratch both front calipers, too deep to sand out and polish.

What happened to tying them up with string and covering with a rag whilst you knock about changing the discs!

ALSO, DOES ANYONE KNOW THE CORRECT BREMBO PAINT CODE SO I CAN GET SOME MIXED HERE IN GERMANY RATHER THAN MAIL ORDER?

Cheers,

James
 

Westie

Active Member
Messages
50
Hi ,
Excellent guide thanks very much, i really need to get out and do this, going to order my lacquer in the morning, instead of 600 grit wet and dry i might try scotchbrite for a finer finish, degreaser(brake cleaner) avalable from local car parts shop £3.50 a tin which is a bargin.
 

Westie

Active Member
Messages
50
Did my calipers this weekend i thort i'd post some pictures of the stages, I followed simon's instructions on the previous page.

All the items i used for the preparation,


The calliper lightly keyed with 800 wet/dry and scotch pad,you need to be carefull as there does not seem to be much paint on the calliper,i sanded down to the metal on a couple of places ! spent time masking up with old copy of MCN :)


Calliper had 5 coats of heat resistant paint left to dry then heated with hot air gun.


Finished article with wheel on.


A couple of points to note i took the pads out to make it easy to rub the callipers down and gave them a good clean while they were out. I also decided to leave the callipers on, as the backs were in good condition, so i only ended up lacquering the front and side. It took about 4 hrs from start to finish with quite a good result, in the end, time spent preparing for the final finish is well worth the result.
 

Gunn79

Advanced Member
Messages
452
Excellent post and reults, I will hopefully be doing mine in the near future. Where did you get the lacquer from??

You could have cleaned the wheels whilst they were off :p
 

Westie

Active Member
Messages
50
Got the lacqure from brooks paints(01708 342560) £20.38 delivered next day, motip heat resistant paint product no ART 04033, Thanks for pointing out the wheel.....not! :lol:
 
Top