
- Messages
- 4,361
Firstly, this is not a timing belt, as the K20 does not have one (chain driven)!
:arrow: This is a guide to change the auxillary belt. This drives: power steering pump, AC pump, alternator.
It's a really simple job if you consider yourself competant with spanners, etc.
:arrow: Tools needed:
Jack
Axle stand
Wheel brace (or equivalent)
Flat blade screwdriver
14mm long spanner (or regular 14mm combo and another similar size to double up)
Time: About 30 minutes.
That's it!
:arrow: Belt part number: 38920 PRC 023
Price: Just under £60 (I used Dave Johnson - Steels Honda)
It took a few weeks to arrive as it was ordered from Japan.
Please be careful not to hurt yourself! This is a guide to help you only. If you're not convident enough, pay a garage to do it. Having said that, I was surprised how easy it was despite how poor the accessability looks.
Please excuse the crappy iPhone pics.
:arrow: This is how my old belt looked:
May well have been on there from new - 10yrs, 80k miles! - as I've never changed it!
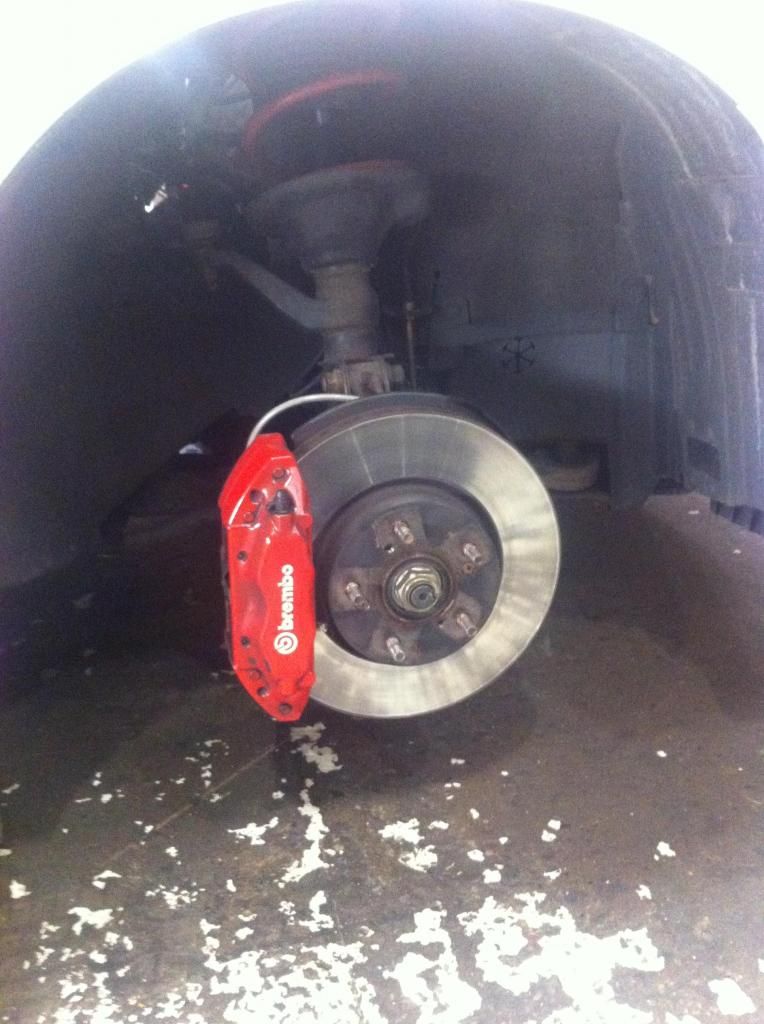
:arrow: Jack the driver side front up and secure with axle stand! Remove wheel. Should look like this:
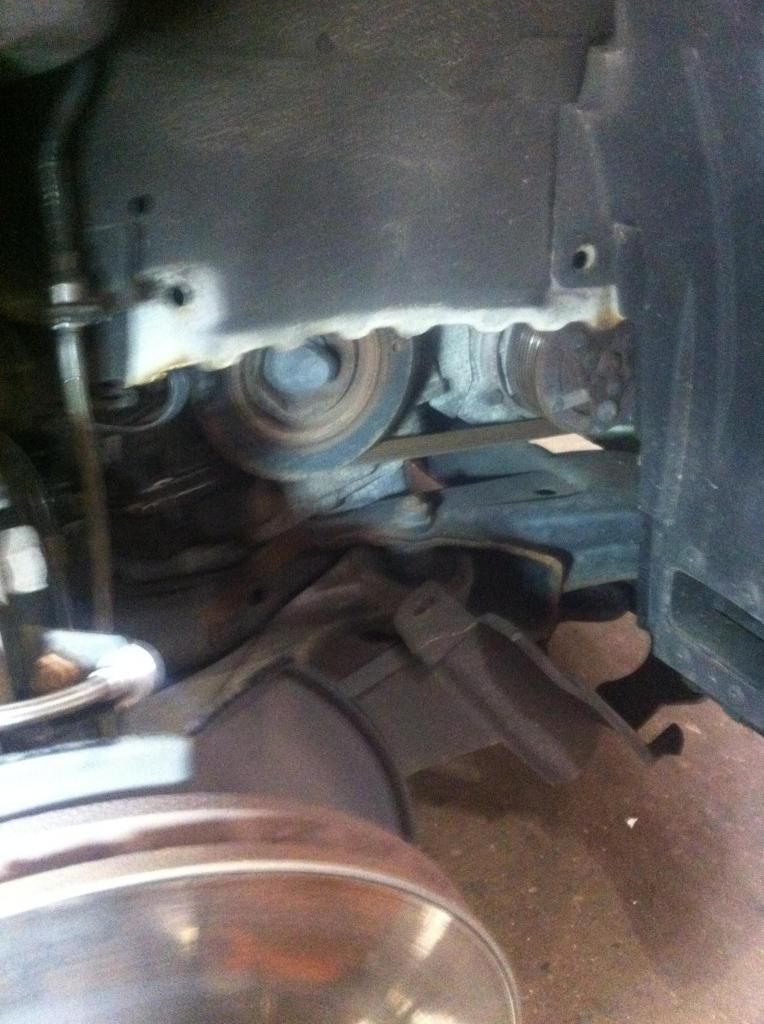
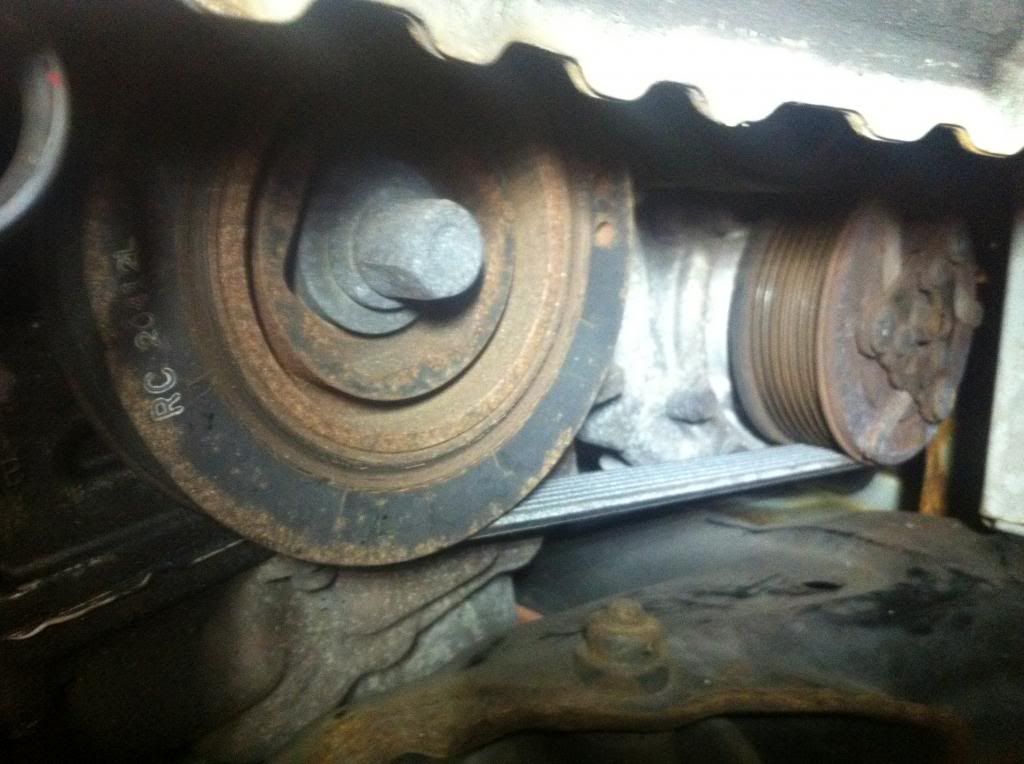
:arrow: Use the screwdriver to remove the 2 clips securing the plastic engine cover. Pull the cover down gently and leave it hang. You can now see the crank and AC pump pulleys. Like this:
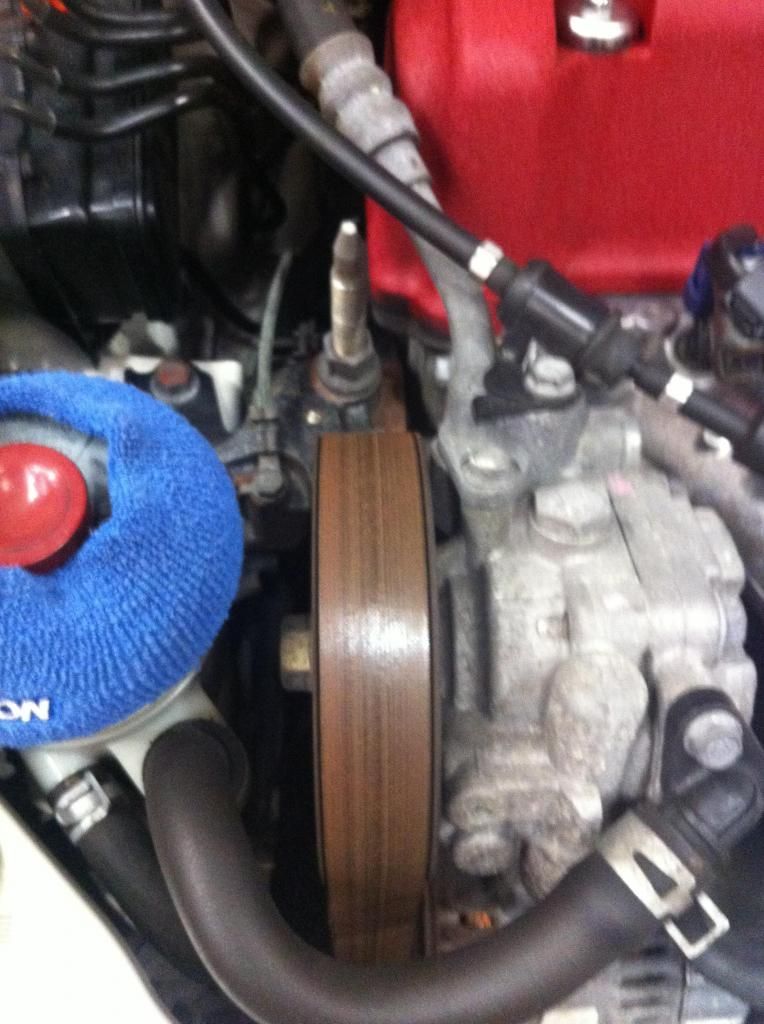
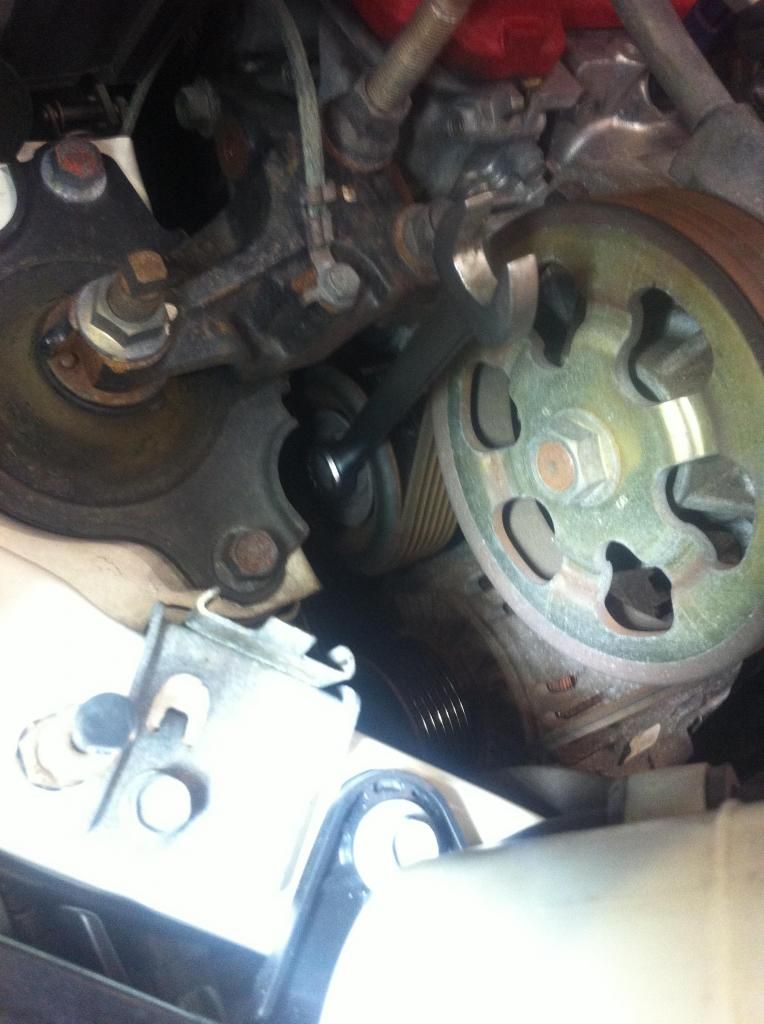
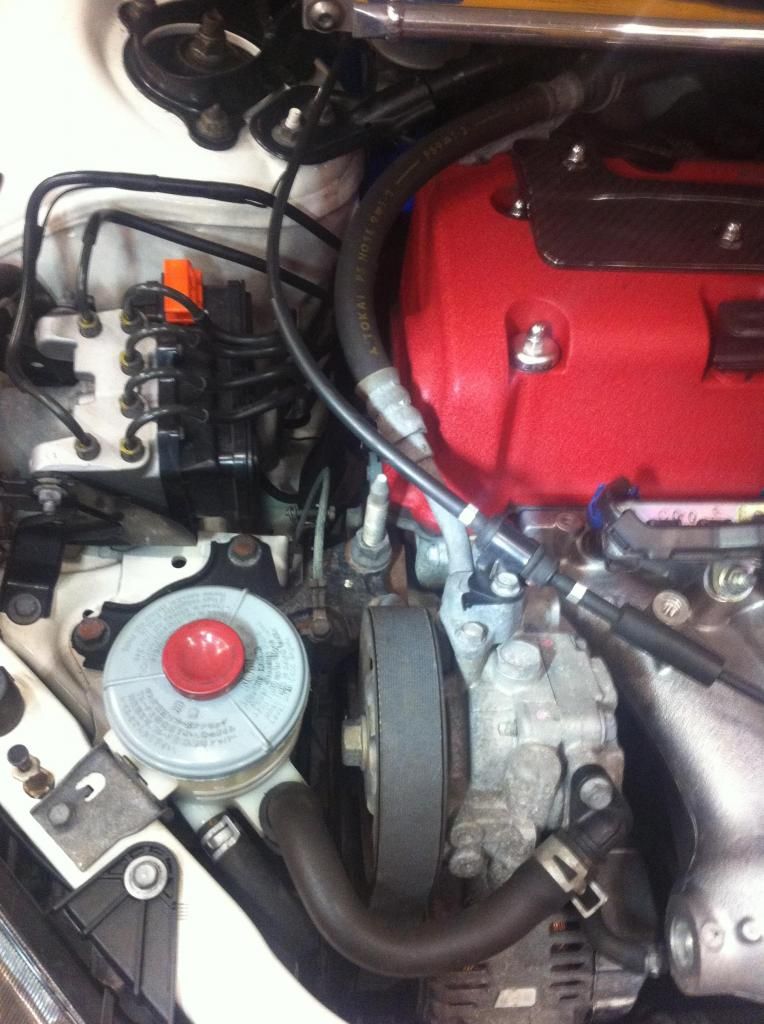
:arrow: From above, lift the power steering bottle out of its mount, like this:
:arrow: The belt is now more visible and accessable from above and below. Now was time to draw a quick sketch in case I got stuck :xlol:
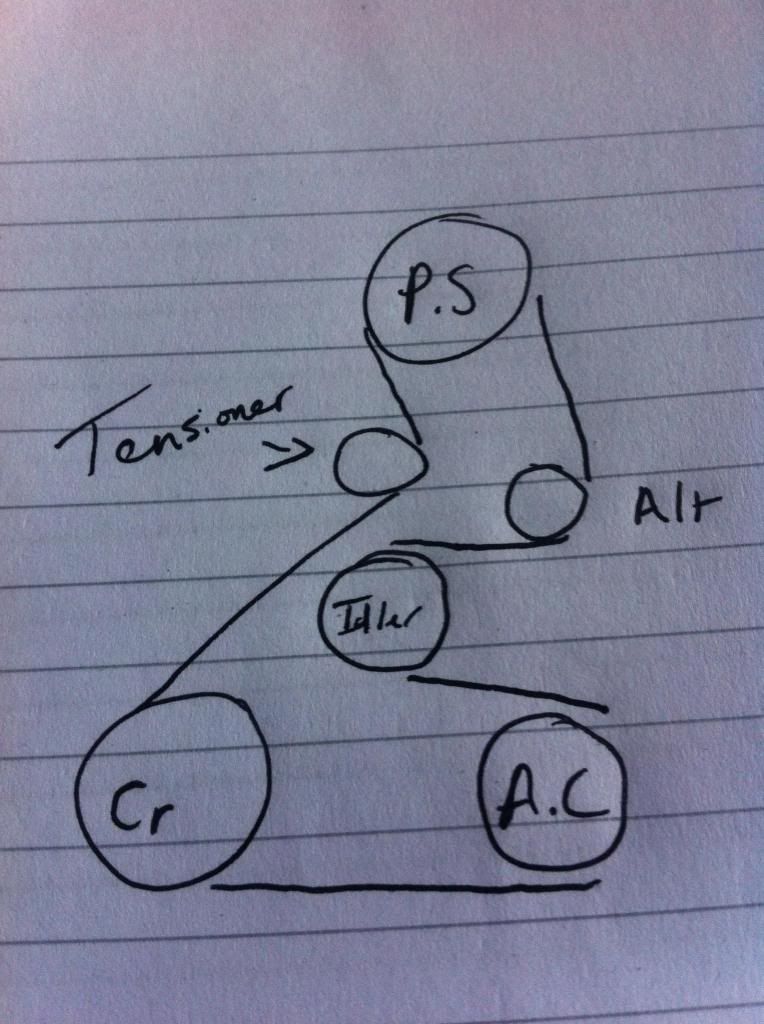
In hindsight, the idler is probably the waterpump..
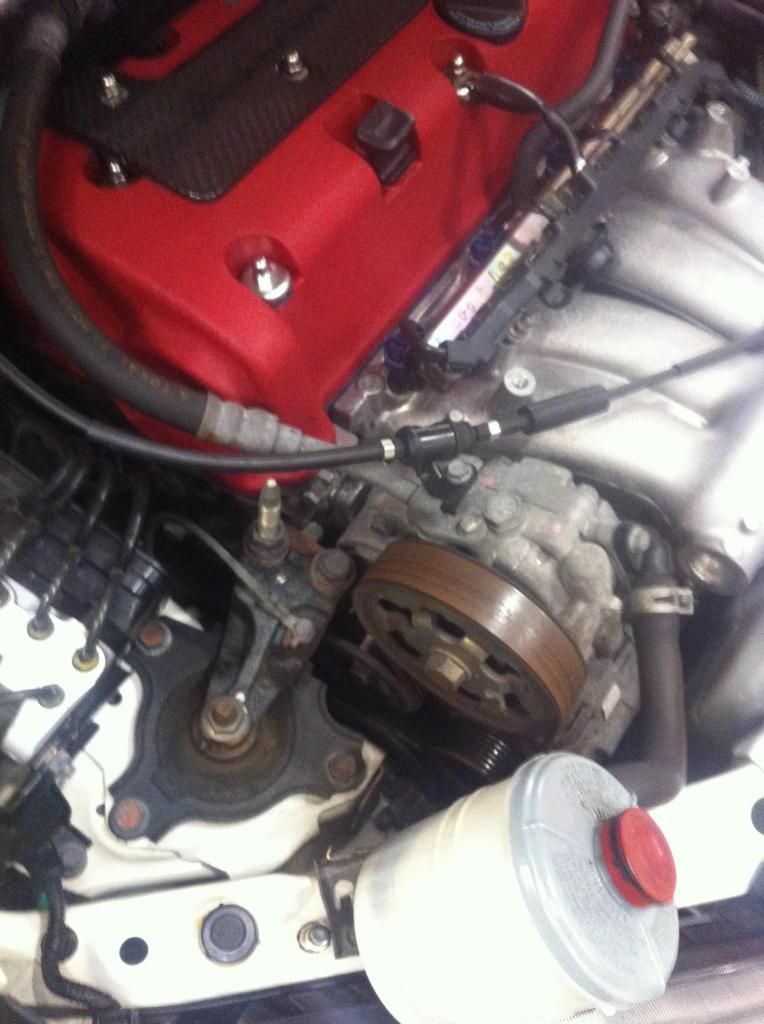
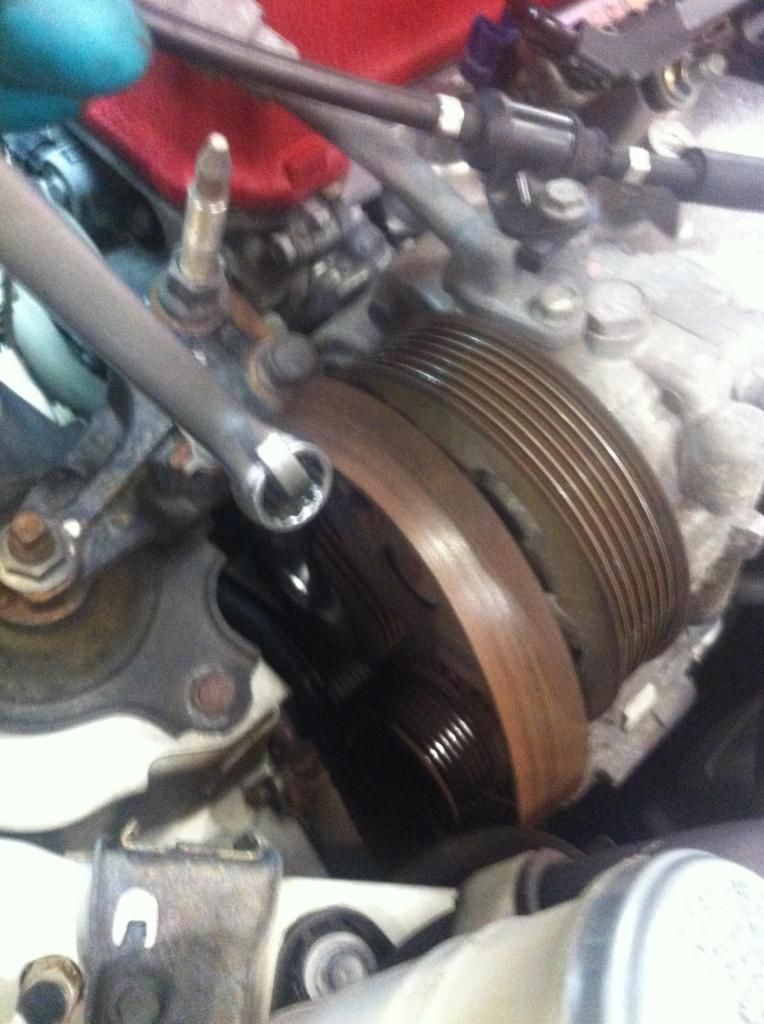
:arrow: Now, use the 14mm spanner and put on the pulley below/slightly behind the power steering pump, like this:
:arrow: By myself I found the regular spanner not enough, so I doubled up. Longer spanner would be better. Pull the spanner towards the front of the car in a smooth action (No sharp jolts). This will push the tensioner against its spring, releasing the belt. While holding the tensioner in this position, slide the belt off the power steering pulley, like this:
:arrow: Now pull the old belt out. I found it easier pulling it down, feeding it off the pulleys as I went.
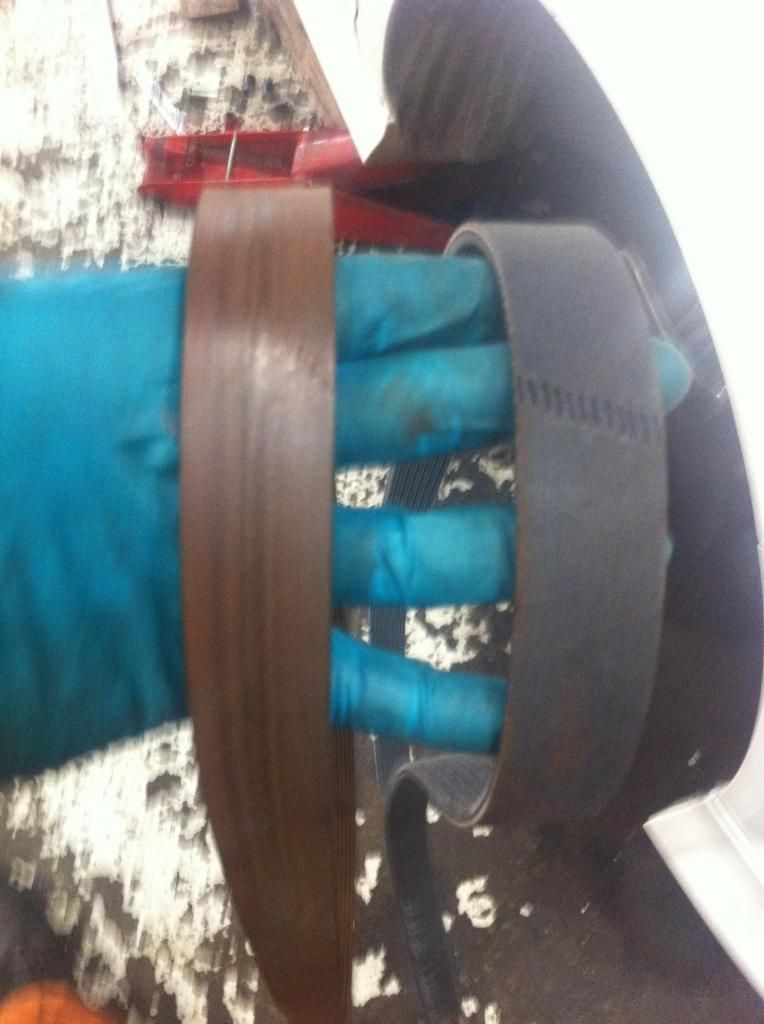
Old vs new
:arrow: Now feed the new belt from underneath, over each pulley, basically opposite to removal. Use the spanner to hold the tensioner and feed over the P.S pulley and tensioner last. When you've done this, gently release the tensioner and check the belt is correctly on each pulley from above and below! Dont start the car until you are sure the belt is correctly on each pulley!
New at top
New below
:arrow: When you're happy, start the car. Check the battery light turns off. Switch the engine off and double check belt is correctly fitted to all the pulleys.
:arrow: Then refit power steering tank, engine cover. Fit wheel and tighten/torque wheel nuts. Lower car to ground.
Tap yourself on the back for a job well done xthumbup
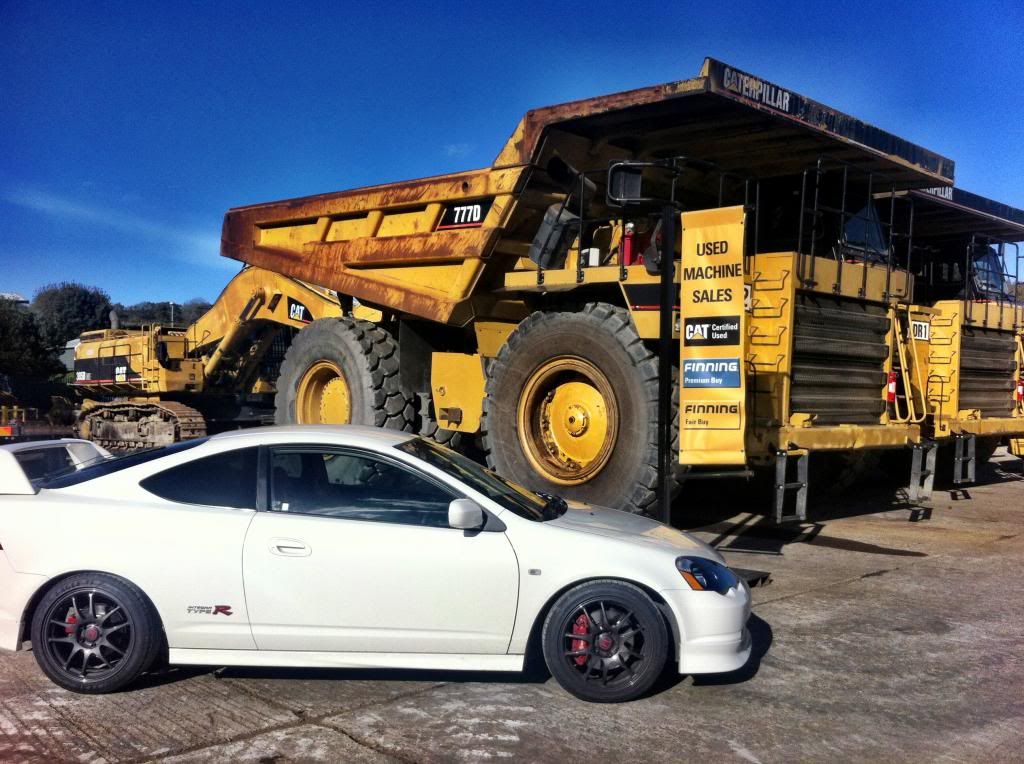
And what I usually work on:
HTH and best of luck!
Mark
:arrow: This is a guide to change the auxillary belt. This drives: power steering pump, AC pump, alternator.
It's a really simple job if you consider yourself competant with spanners, etc.
:arrow: Tools needed:
Jack
Axle stand
Wheel brace (or equivalent)
Flat blade screwdriver
14mm long spanner (or regular 14mm combo and another similar size to double up)
Time: About 30 minutes.
That's it!
:arrow: Belt part number: 38920 PRC 023
Price: Just under £60 (I used Dave Johnson - Steels Honda)
It took a few weeks to arrive as it was ordered from Japan.
Please be careful not to hurt yourself! This is a guide to help you only. If you're not convident enough, pay a garage to do it. Having said that, I was surprised how easy it was despite how poor the accessability looks.
Please excuse the crappy iPhone pics.
:arrow: This is how my old belt looked:
May well have been on there from new - 10yrs, 80k miles! - as I've never changed it!
:arrow: Jack the driver side front up and secure with axle stand! Remove wheel. Should look like this:
:arrow: Use the screwdriver to remove the 2 clips securing the plastic engine cover. Pull the cover down gently and leave it hang. You can now see the crank and AC pump pulleys. Like this:
:arrow: From above, lift the power steering bottle out of its mount, like this:
:arrow: The belt is now more visible and accessable from above and below. Now was time to draw a quick sketch in case I got stuck :xlol:
In hindsight, the idler is probably the waterpump..
:arrow: Now, use the 14mm spanner and put on the pulley below/slightly behind the power steering pump, like this:
:arrow: By myself I found the regular spanner not enough, so I doubled up. Longer spanner would be better. Pull the spanner towards the front of the car in a smooth action (No sharp jolts). This will push the tensioner against its spring, releasing the belt. While holding the tensioner in this position, slide the belt off the power steering pulley, like this:
:arrow: Now pull the old belt out. I found it easier pulling it down, feeding it off the pulleys as I went.
Old vs new
:arrow: Now feed the new belt from underneath, over each pulley, basically opposite to removal. Use the spanner to hold the tensioner and feed over the P.S pulley and tensioner last. When you've done this, gently release the tensioner and check the belt is correctly on each pulley from above and below! Dont start the car until you are sure the belt is correctly on each pulley!
New at top
New below
:arrow: When you're happy, start the car. Check the battery light turns off. Switch the engine off and double check belt is correctly fitted to all the pulleys.
:arrow: Then refit power steering tank, engine cover. Fit wheel and tighten/torque wheel nuts. Lower car to ground.
Tap yourself on the back for a job well done xthumbup
And what I usually work on:
HTH and best of luck!
Mark
")